- Jul 2, 2018
- 3,275
 |  |  |
 |
Headquarters |
 |
Joint Emergency Services Headquarters, Keswick Terminal, South Australia |
 |  |
| Type: | Amount: | Image: |
|---|---|---|
| Police Officers | 6,100 | 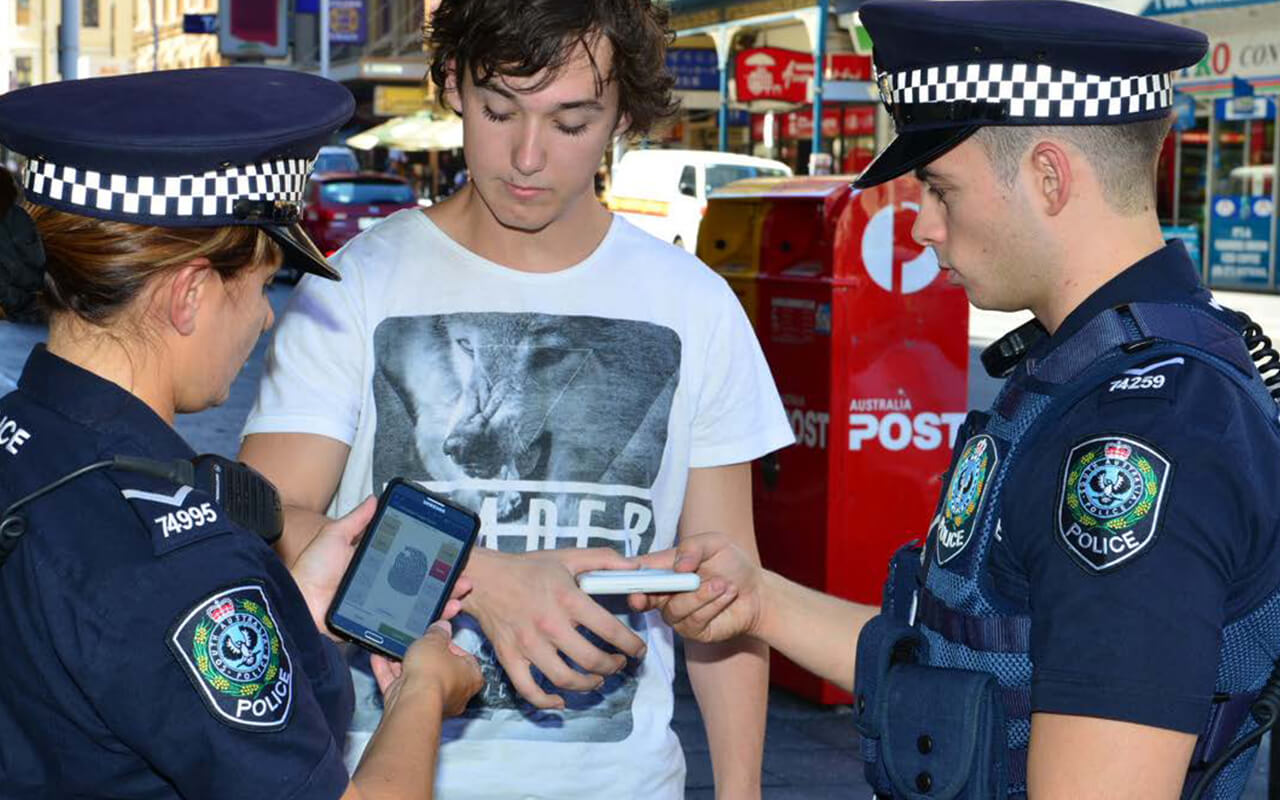 |
| Tactical Police Officers | 140 | 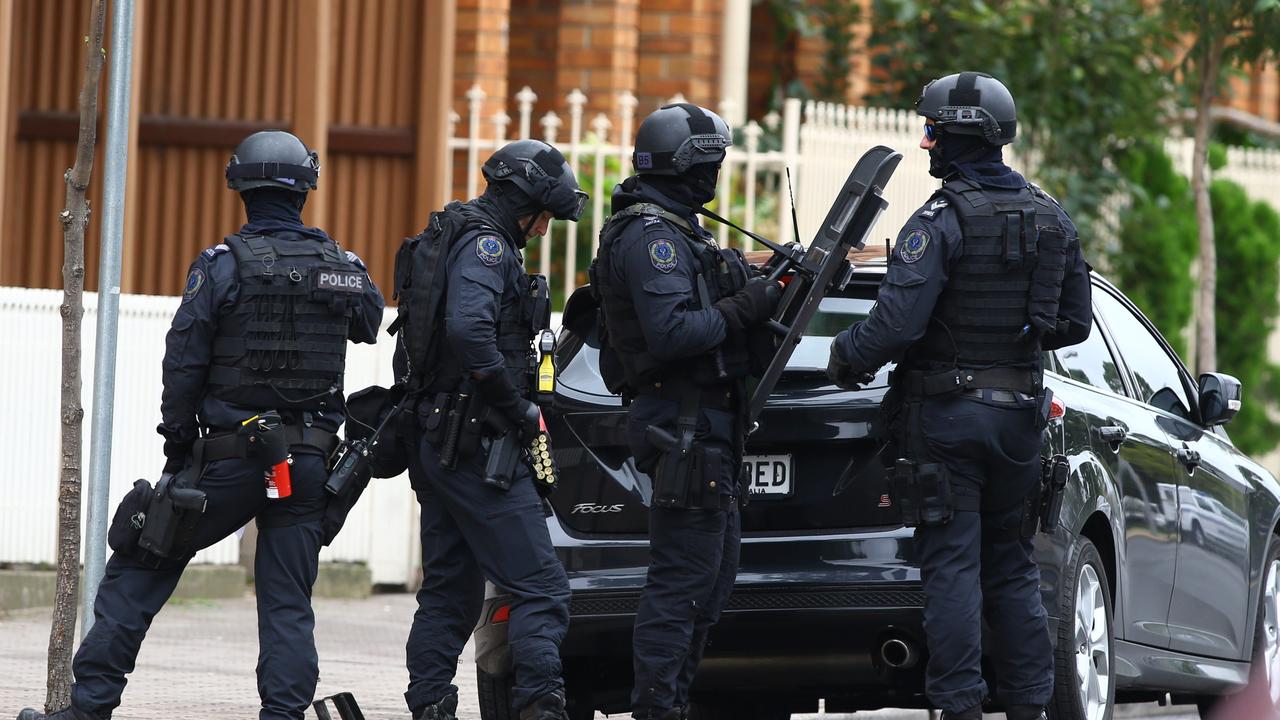 |
| Type: | Amount: | Image: |
|---|---|---|
| Police Cars | 1,220 |  |
| Highway Patrol Cars |  | |
| Police Boats | 2 |  |
| Investigator II | 1 | 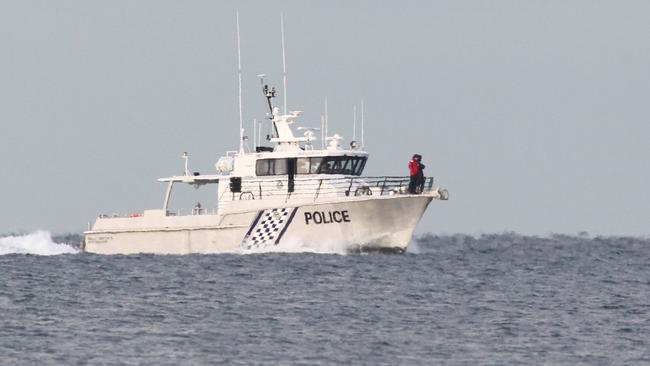 |
| Lenco BearCat | 1 |  |
| Pilatus PC-12 | 1 | 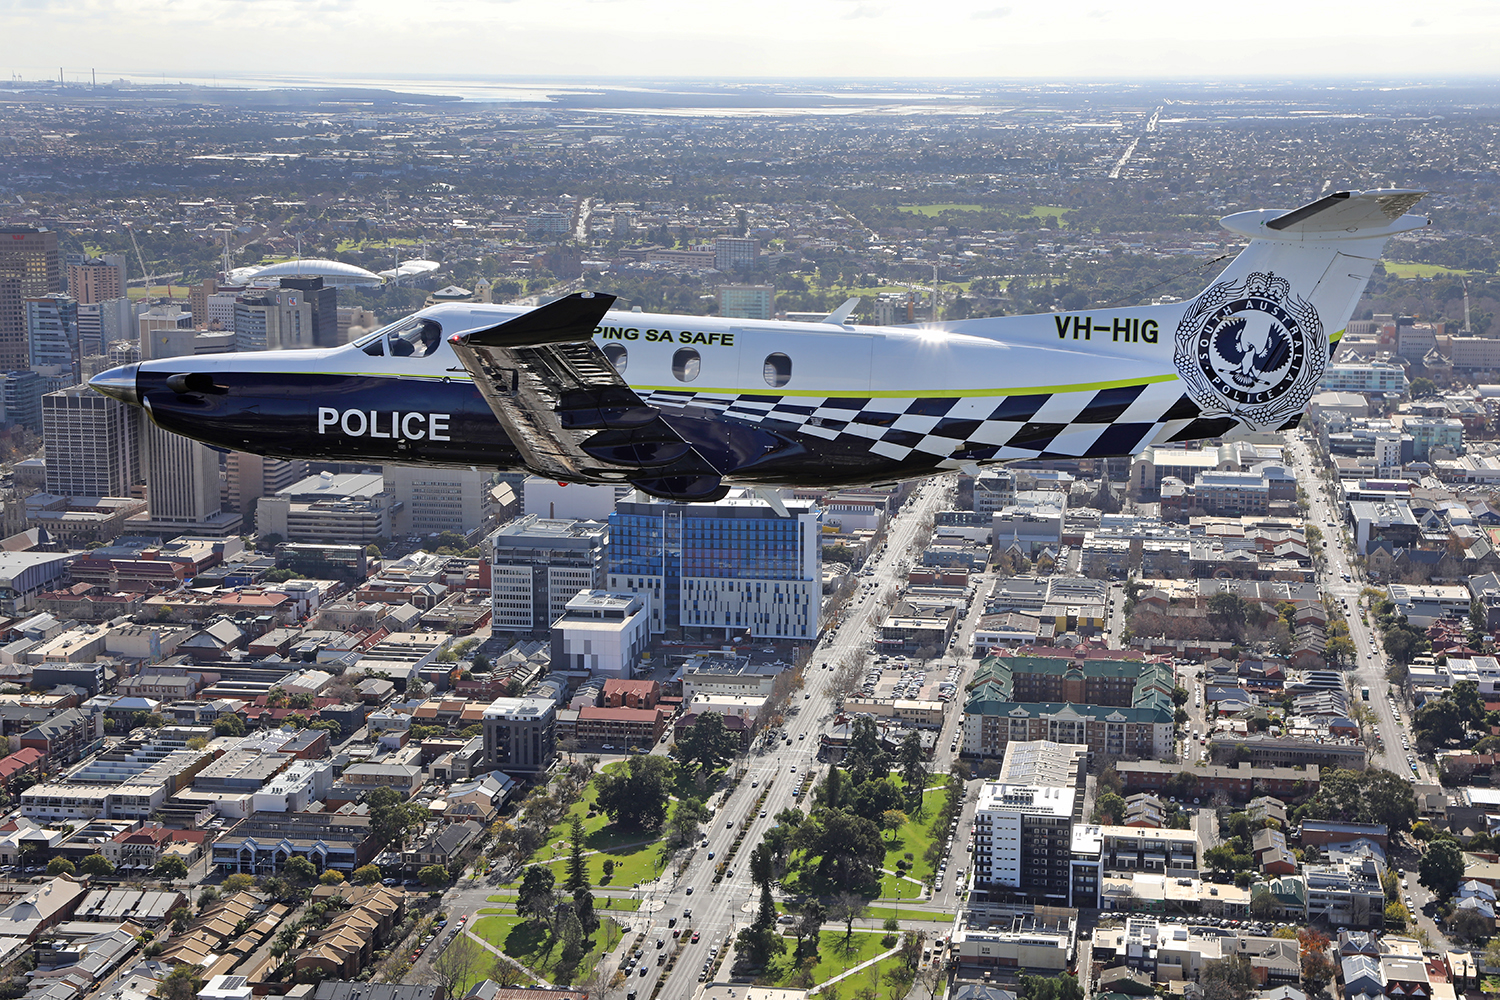 |
| Airbus Helicopters H145 | 1 |  |
 |  |
| Unit: | Size: | Base: | Crest: |
|---|---|---|---|
Band of the South Australia Police
| Police Headquarters, Angas Street, Adelaide |   |
| Unit: | Size: | Base: |
|---|---|---|
| Public Transport Safety Section | Adelaide Railway Station Police Storefront |
| Station: | Size: | Location: |
|---|---|---|
| Adelaide (Wakefield Street) Police Station | Adelaide CBD | |
| Grenfell Street Police Station | Adelaide CBD | |
| Hindley Street Police Station | Adelaide CBD | |
| Norwood Police Station | Norwood | |
| North Adelaide Police Station | North Adelaide |
| Station: | Size: | Location: |
|---|---|---|
| Elizabeth Police Station | Elizabeth | |
| Holden Hill Police Station | Holden Hill | |
| Salisbury Police Station | Salisbury | |
| Golden Grove Police Station | Golden Grove |
| Station: | Size: | Location: |
|---|---|---|
| Christies Beach Police Station | Christie Downs | |
| Sturt Police Station | Bedford Park | |
| Aldinga Police Station | Aldinga Beach | |
| McLaren Vale Police Station | McLaren Vale |
| Station: | Size: | Location: |
|---|---|---|
| Port Adelaide Police Station | Port Adelaide | |
| Netley Police Station | Netley | |
| Henley Beach Police Station | Henley Beach | |
| Glenelg Police Station | Glenelg |
| Unit: | Size: | Base: | Crest: |
|---|---|---|---|
| South Australia Highway Patrol | Parks Police Station, Ottoway |  |
| Unit: | Size: | Base: |
|---|---|---|
| State Operations Support Branch | Police Headquarters, Angas Street, Adelaide |
| Station: | Size: | Location: |
|---|---|---|
| Gawler Police Station | Gawler | |
| Nuriootpa Police Station | Nuriootpa | |
| Kapunda Police Station | Kapunda | |
| Eudunda Police Station | Eudunda | |
| Williamstown Police Station | Williamstown | |
| Riverton Police Station | Riverton | |
| Hamley Bridge Police Station | Hamley Bridge | |
| Mallala Police Station | Mallala | |
| Two Wells Police Station | Two Wells |
| Station: | Size: | Location: |
|---|---|---|
| Mount Barker Police Station | Mount Barker | |
| Victor Harbor Police Station | Victor Harbor | |
| Goolwa Police Station | Goolwa | |
| Strathalbyn Police Station | Strathalbyn | |
| Kingscote Police Station | Kingscote | |
| Woodside Police Station | Woodside | |
| Gumeracha Police Station | Gumeracha | |
| Mount Pleasant Police Station | Mount Pleasant | |
| Normanville Police Station | Normanville |
| Station: | Size: | Location: |
|---|---|---|
| Port Pirie Police Station | Port Pirie | |
| Peterborough Police Station | Peterborough | |
| Kadina Police Station | Kadina | |
| Crystal Brook Police Station | Crystal Brook | |
| Burra Police Station | Burra | |
| Jamestown Police Station | Jamestown | |
| Gladstone Police Station | Gladstone | |
| Spalding Police Station | Spalding | |
| Orroroo Police Station | Orroroo | |
| Booleroo Police Station | Booleroo Centre | |
| Hallett Police Station | Hallett | |
| Brinkworth Police Station | Brinkworth | |
| Snowtown Police Station | Snowtown | |
| Clare Police Station | Clare | |
| Balaklava Police Station | Balaklava | |
| Port Wakefield Police Station | Port Wakefield | |
| Port Broughton Police Station | Port Broughton | |
| Port Germein Police Station | Port Germein | |
| Maitland Police Station | Maitland | |
| Ardrossan Police Station | Ardrossan | |
| Port Victoria Police Station | Port Victoria | |
| Minlaton Police Station | Minlaton | |
| Stansbury Police Station | Stansbury | |
| Edithburgh Police Station | Edithburgh | |
| Yorketown Police Station | Yorketown |
| Station: | Size: | Location: |
|---|---|---|
| Murray Bridge Police Station | Murray Bridge | |
| Renmark Police Station | Renmark | |
| Berri Police Station | Berri | |
| Loxton Police Station | Loxton | |
| Waikerie Police Station | Waikerie | |
| Barmera Police Station | Barmera | |
| Morgan Police Station | Morgan | |
| Blanchetown Police Station | Blanchetown | |
| Tailem Bend Police Station | Tailem Bend | |
| Mannum Police Station | Mannum | |
| Swan Reach Police Station | Swan Reach | |
| Karoonda Police Station | Karoonda | |
| Pinnaroo Police Station | Pinnaroo | |
| Lameroo Police Station | Lameroo | |
| Meningie Police Station | Meningie | |
| Coonalpyn Police Station | Coonalpyn |
| Station: | Size: | Location: |
|---|---|---|
| Mount Gambier Police Station | Mount Gambier | |
| Naracoorte Police Station | Naracoorte | |
| Millicent Police Station | Millicent | |
| Bordertown Police Station | Bordertown | |
| Robe Police Station | Robe | |
| Kingston Police Station | Kingston SE | |
| Keith Police Station | Keith | |
| Penola Police Station | Penola | |
| Port MacDonnell Police Station | Port MacDonnell | |
| Beachport Police Station | Beachport | |
| Lucindale Police Station | Lucindale |
| Station: | Size: | Location: |
|---|---|---|
| Whyalla Police Station | Whyalla | |
| Port Lincoln Police Station | Port Lincoln | |
| Ceduna Police Station | Ceduna | |
| Cummins Police Station | Cummins | |
| Kimba Police Station | Kimba | |
| Cowell Police Station | Cowell | |
| Cleve Police Station | Cleve | |
| Lock Police Station | Lock | |
| Wudinna Police Station | Wudinna | |
| Tumby Bay Police Station | Tumby Bay | |
| Elliston Police Station | Elliston | |
| Coffin Bay Police Station | Coffin Bay | |
| Streaky Bay Police Station | Streaky Bay | |
| Penong Police Station | Penong | |
| Yalata Police Station | Yalata |
| Unit: | Size: | Base: | Crest: |
|---|---|---|---|
| Oodnadatta Desert Patrol | Oodnadatta Police Station |  |
| Station: | Size: | Location: |
|---|---|---|
| Port Augusta Police Station | Port Augusta | |
| Coober Pedy Police Station | Coober Pedy | |
| Roxby Downs Police Station | Roxby Downs | |
| Quorn Police Station | Quorn | |
| Hawker Police Station | Hawker | |
| Yunta Police Station | Yunta | |
| Leigh Creek Police Station | Leigh Creek | |
| Woomera Police Station | Woomera Village | |
| Marree Police Station | Marree | |
| Oodnadatta Police Station | Oodnadatta | |
| Marla Police Station | Marla | |
| Ernabella Police Station | Pukatja (Ernabella) | |
| Indulkana Police Station | Iwantja (Indulkana) | |
| Amata Police Station | Amata (Musgrave Park) | |
| Mimili Police Station | Mimili (Everard Park) | |
| Fregon Police Station | Kaltjiti (Fregon) | |
| Umuwa Police Station | Umuwa | |
| Murputja Police Station | Murputja (Nyapari-Kanpi) | |
| Pipalyatjara Police Station (with WA Police) | Pipalyatjara (Mount Davies) |
| Unit: | Size: | Base: | Crest: |
|---|---|---|---|
| Police Security Services Branch | Police Headquarters, Angas Street, Adelaide |  |
| Unit: | Size: | Base: |
|---|---|---|
| Communications Group | Police Headquarters, Angas Street, Adelaide | |
| Security Advice Section | Police Headquarters, Angas Street, Adelaide | |
| State Protective Security Branch | Parliament House, Adelaide | |
| Security Response Section | Grenfell Street Police Station |
 |
| Unit: | Size: | Base: | Crest: |
|---|---|---|---|
Tactical Operations Unit
| Netley Police Station |  | |
| Search and Rescue Unit | Netley Police Station |  | |
| Dog Operations Unit | Thebarton Police Barracks |  | |
Water Operations Unit
| Port Adelaide Police Station |  | |
| Water Police Unit | Port Adelaide Police Station |  | |
| Aviation Operations Unit | Adelaide International Airport |  | |
| Mounted Operations Unit | Thebarton Police Barracks |  | |
| Bomb Response Unit | Netley Police Station |  |
| Unit: | Size: | Base: | Crest: |
|---|---|---|---|
| Forensic Services Branch | Police Headquarters, Angas Street, Adelaide |  |
| Unit: | Size: | Base: |
|---|---|---|
| Firearms Branch | Police Headquarters, Angas Street, Adelaide | |
| Licensing Enforcement Branch | Police Headquarters, Angas Street, Adelaide | |
| Prosecution Services Branch | Police Headquarters, Angas Street, Adelaide | |
| State Intelligence Branch | Police Headquarters, Angas Street, Adelaide |
| Unit: | Size: | Base: | Crest: |
|---|---|---|---|
| Vice and Gaming Task Force | Hindley Street Police Station |  | |
| Drug Squad | Police Headquarters, Angas Street, Adelaide |  |
| Unit: | Size: | Base: |
|---|---|---|
| Financial and Cybercrime Investigation Branch | Police Headquarters, Angas Street, Adelaide | |
| Investigation Support Branch | Police Headquarters, Angas Street, Adelaide | |
| Major Crime Investigation Branch | Police Headquarters, Angas Street, Adelaide | |
| Public Protection Branch | Police Headquarters, Angas Street, Adelaide | |
| Serious and Organised Crime Branch | Police Headquarters, Angas Street, Adelaide |
Social Clubs |
 |  |
South Australia Police Bowling Club | South Australia Police Pistol Club |
| Type: | Amount: | Image: |
|---|---|---|
| Firefighters | 1,000 | 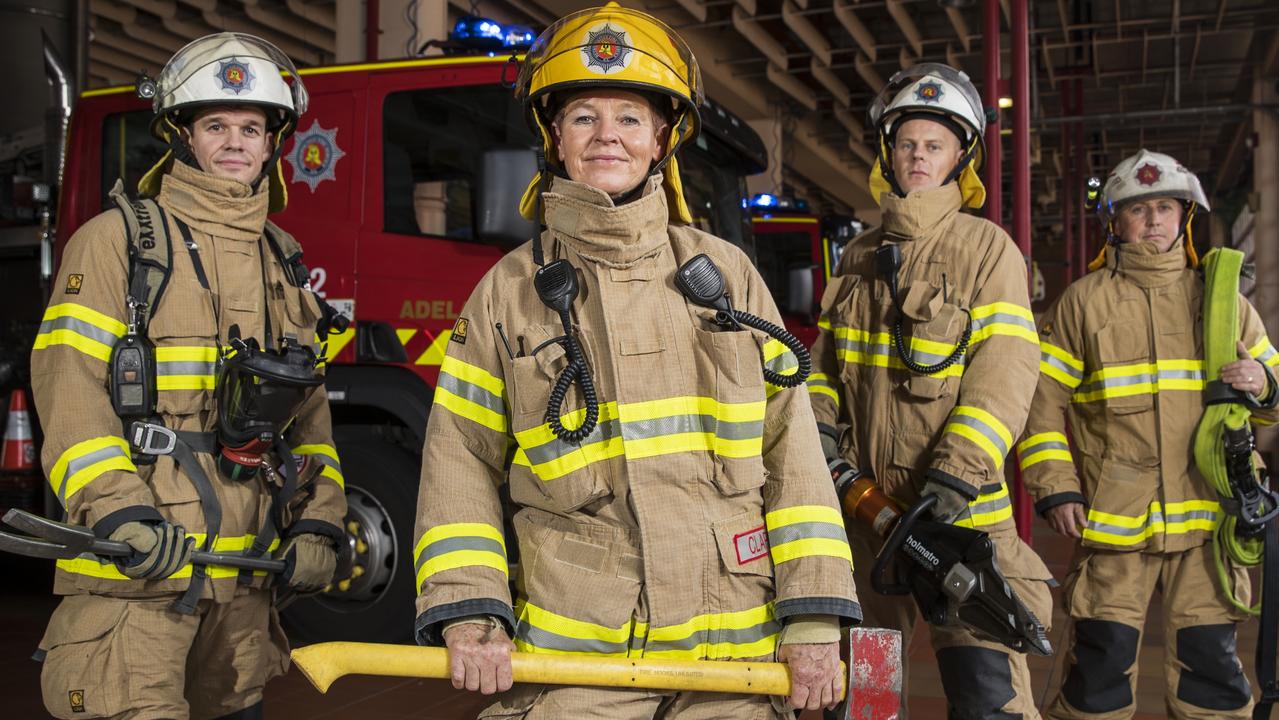 |
| Type: | Amount: | Image: |
|---|---|---|
| Heavy Pumper | 48 | 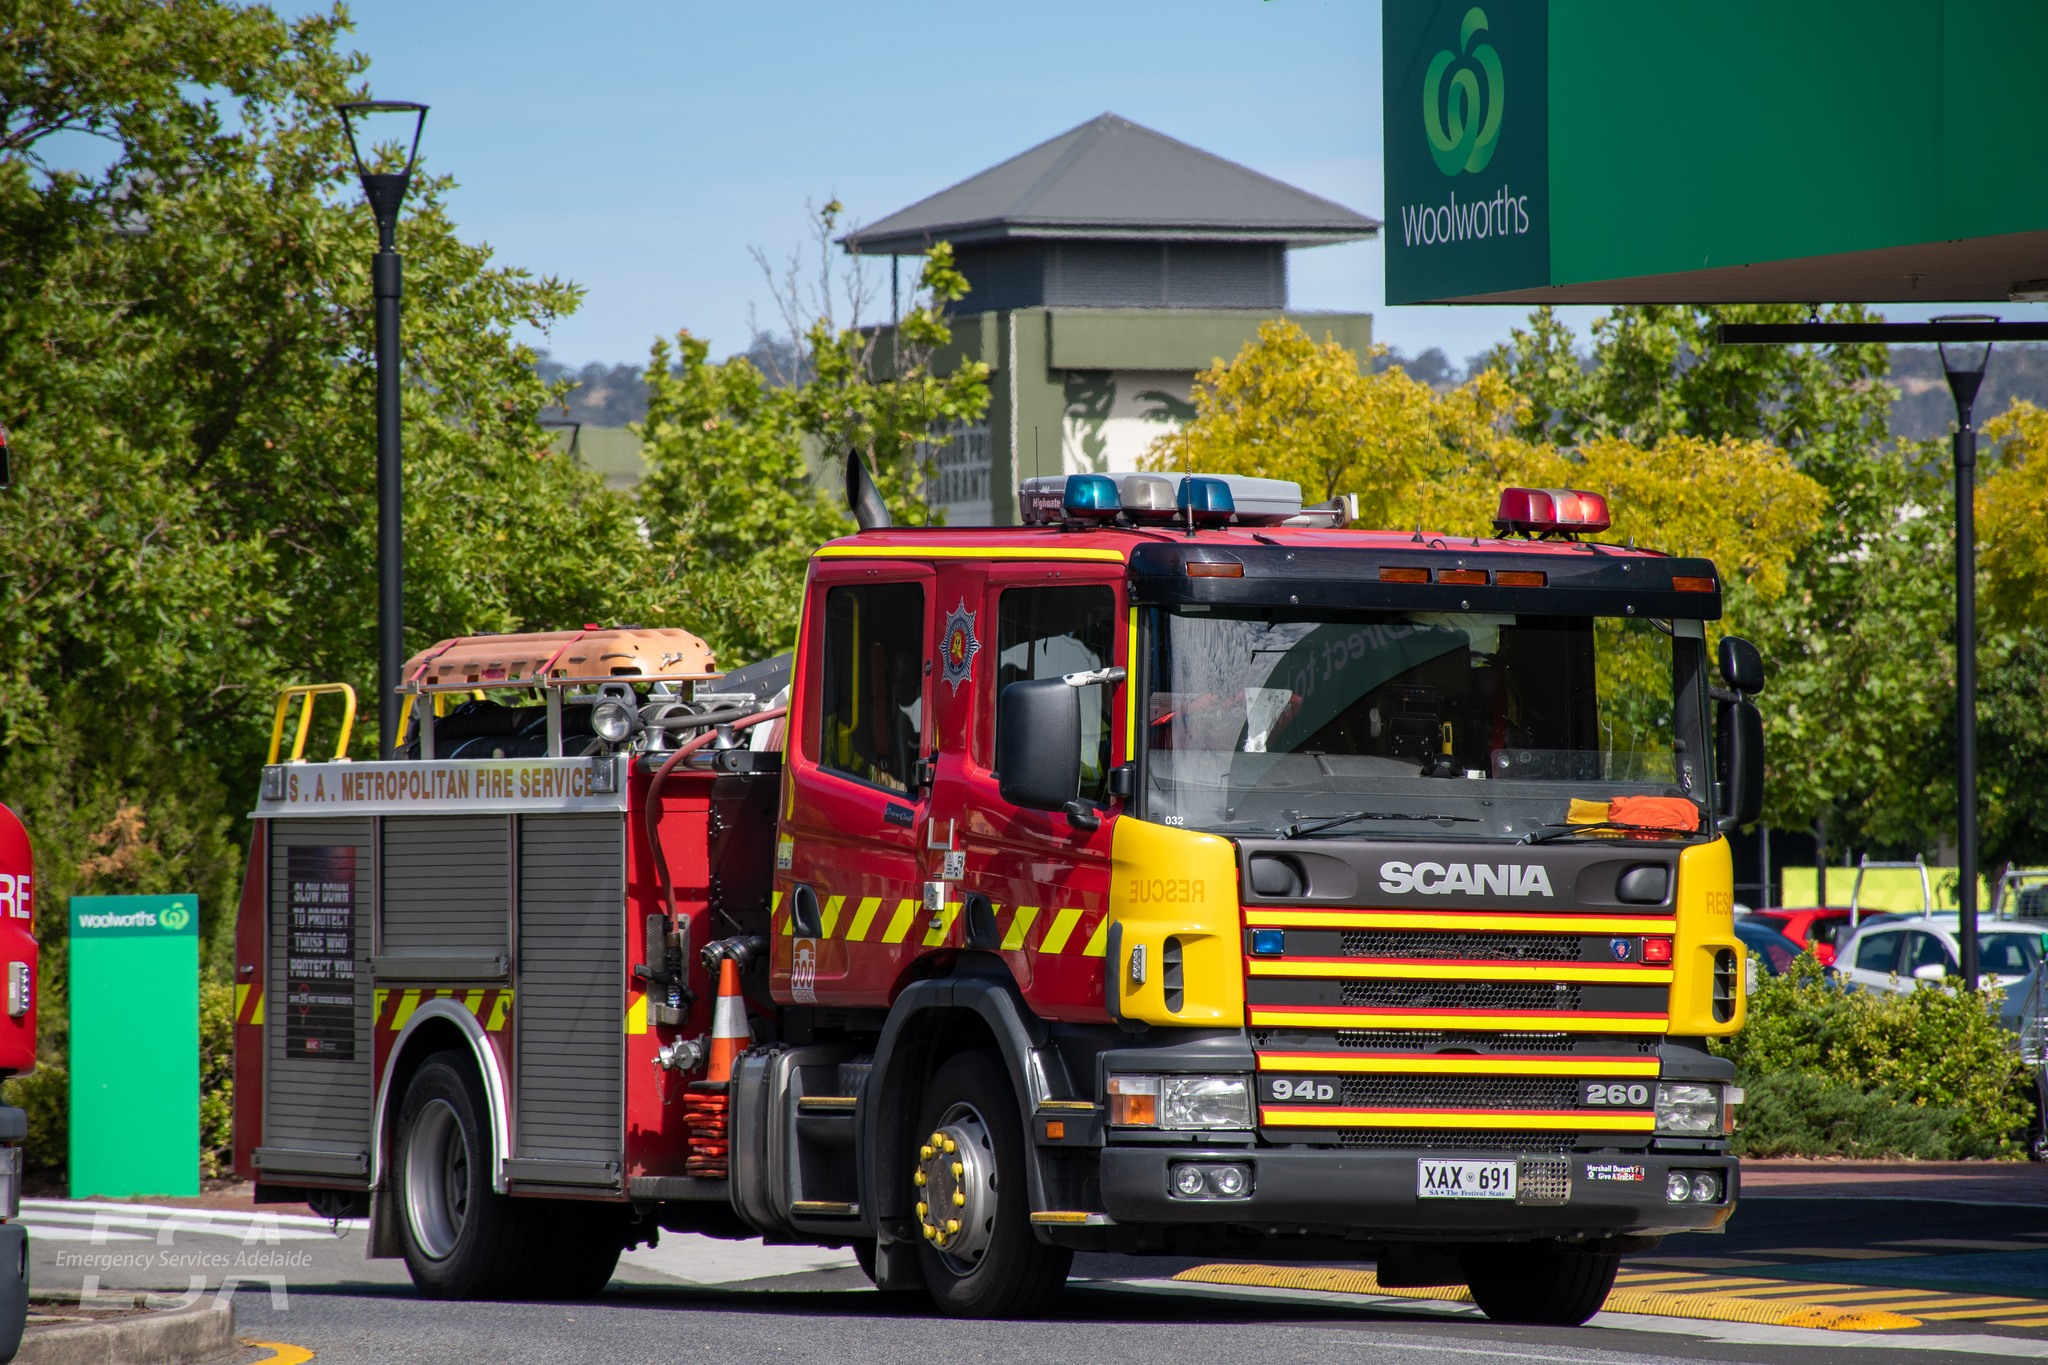 |
| Combined Aerial Pumper | 7 | 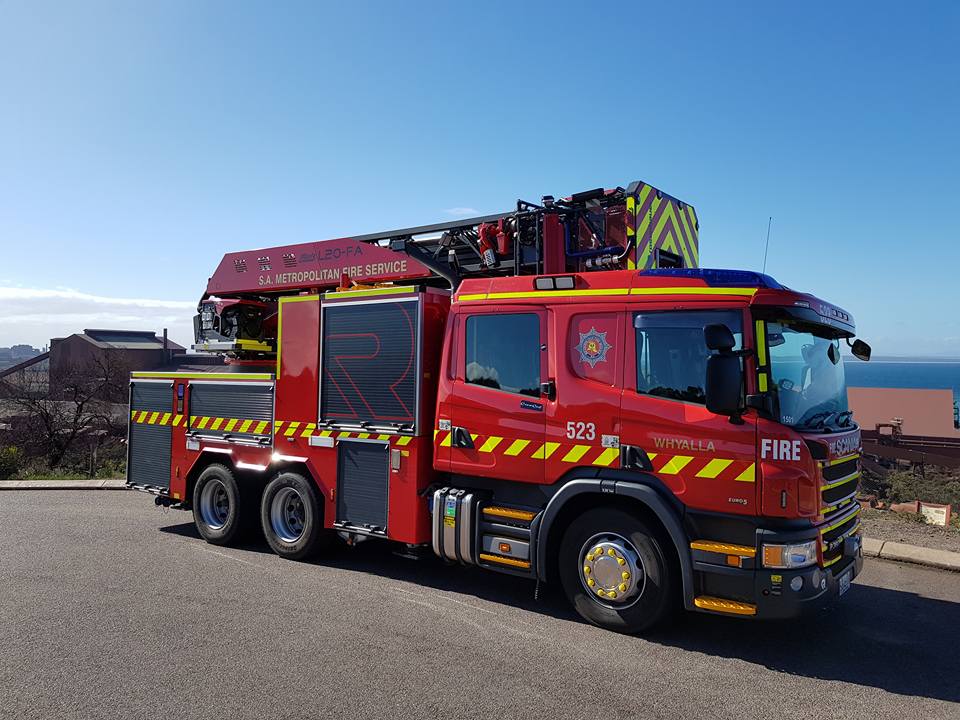 |
| Heavy Ladder | 2 |  |
| HAZMAT & Breathing Apparatus Truck | 1 |  |
| HAZMAT Support Vehicle | 1 |  |
| Rescue Truck | 1 | 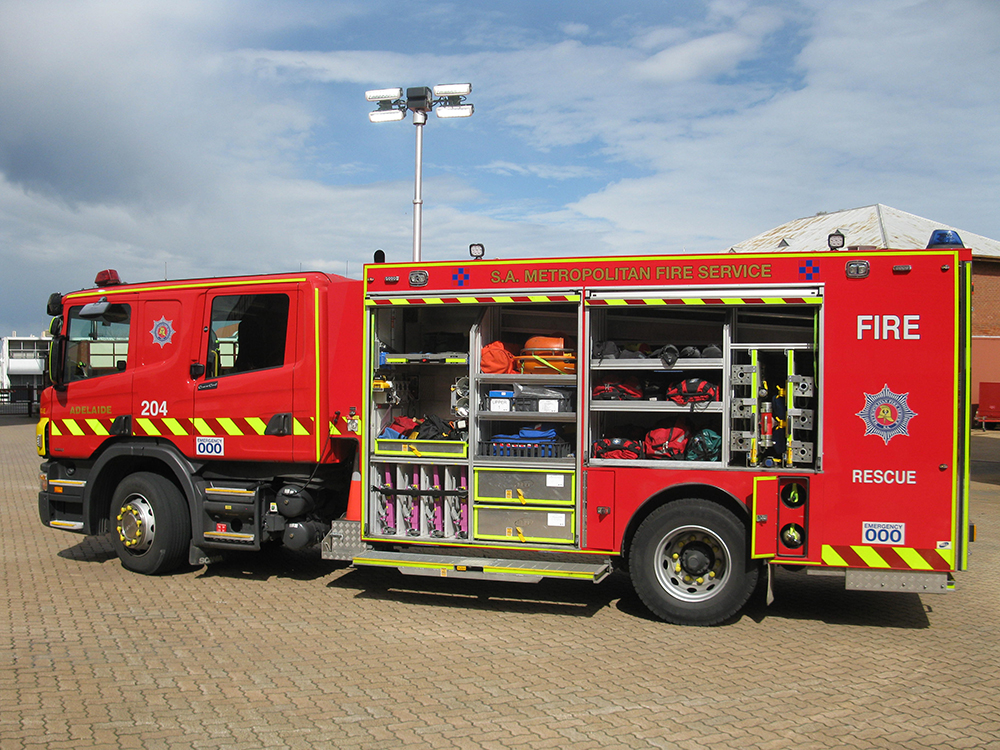 |
| Medium Pumper | 5 |  |
| Light Pumper | 11 |  |
| Bulk Water Carrier | 3 | 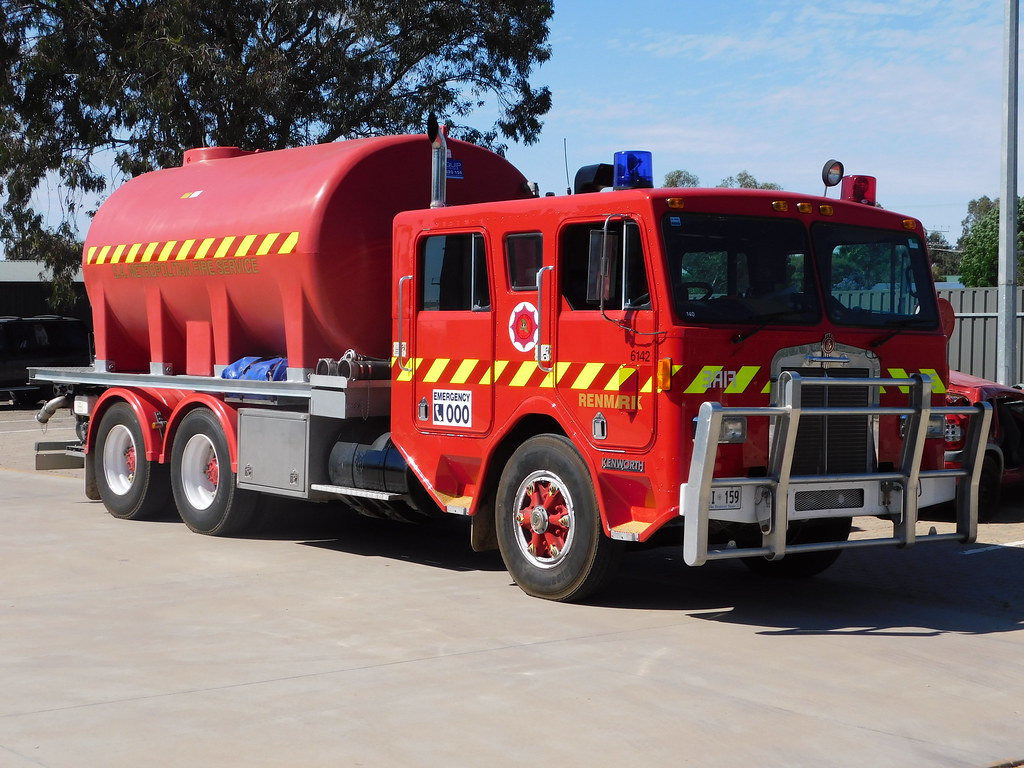 |
| Hook Lift Truck | 4 |  |
| MV Gallantry | 1 |  |
| Command Bus | 1 | 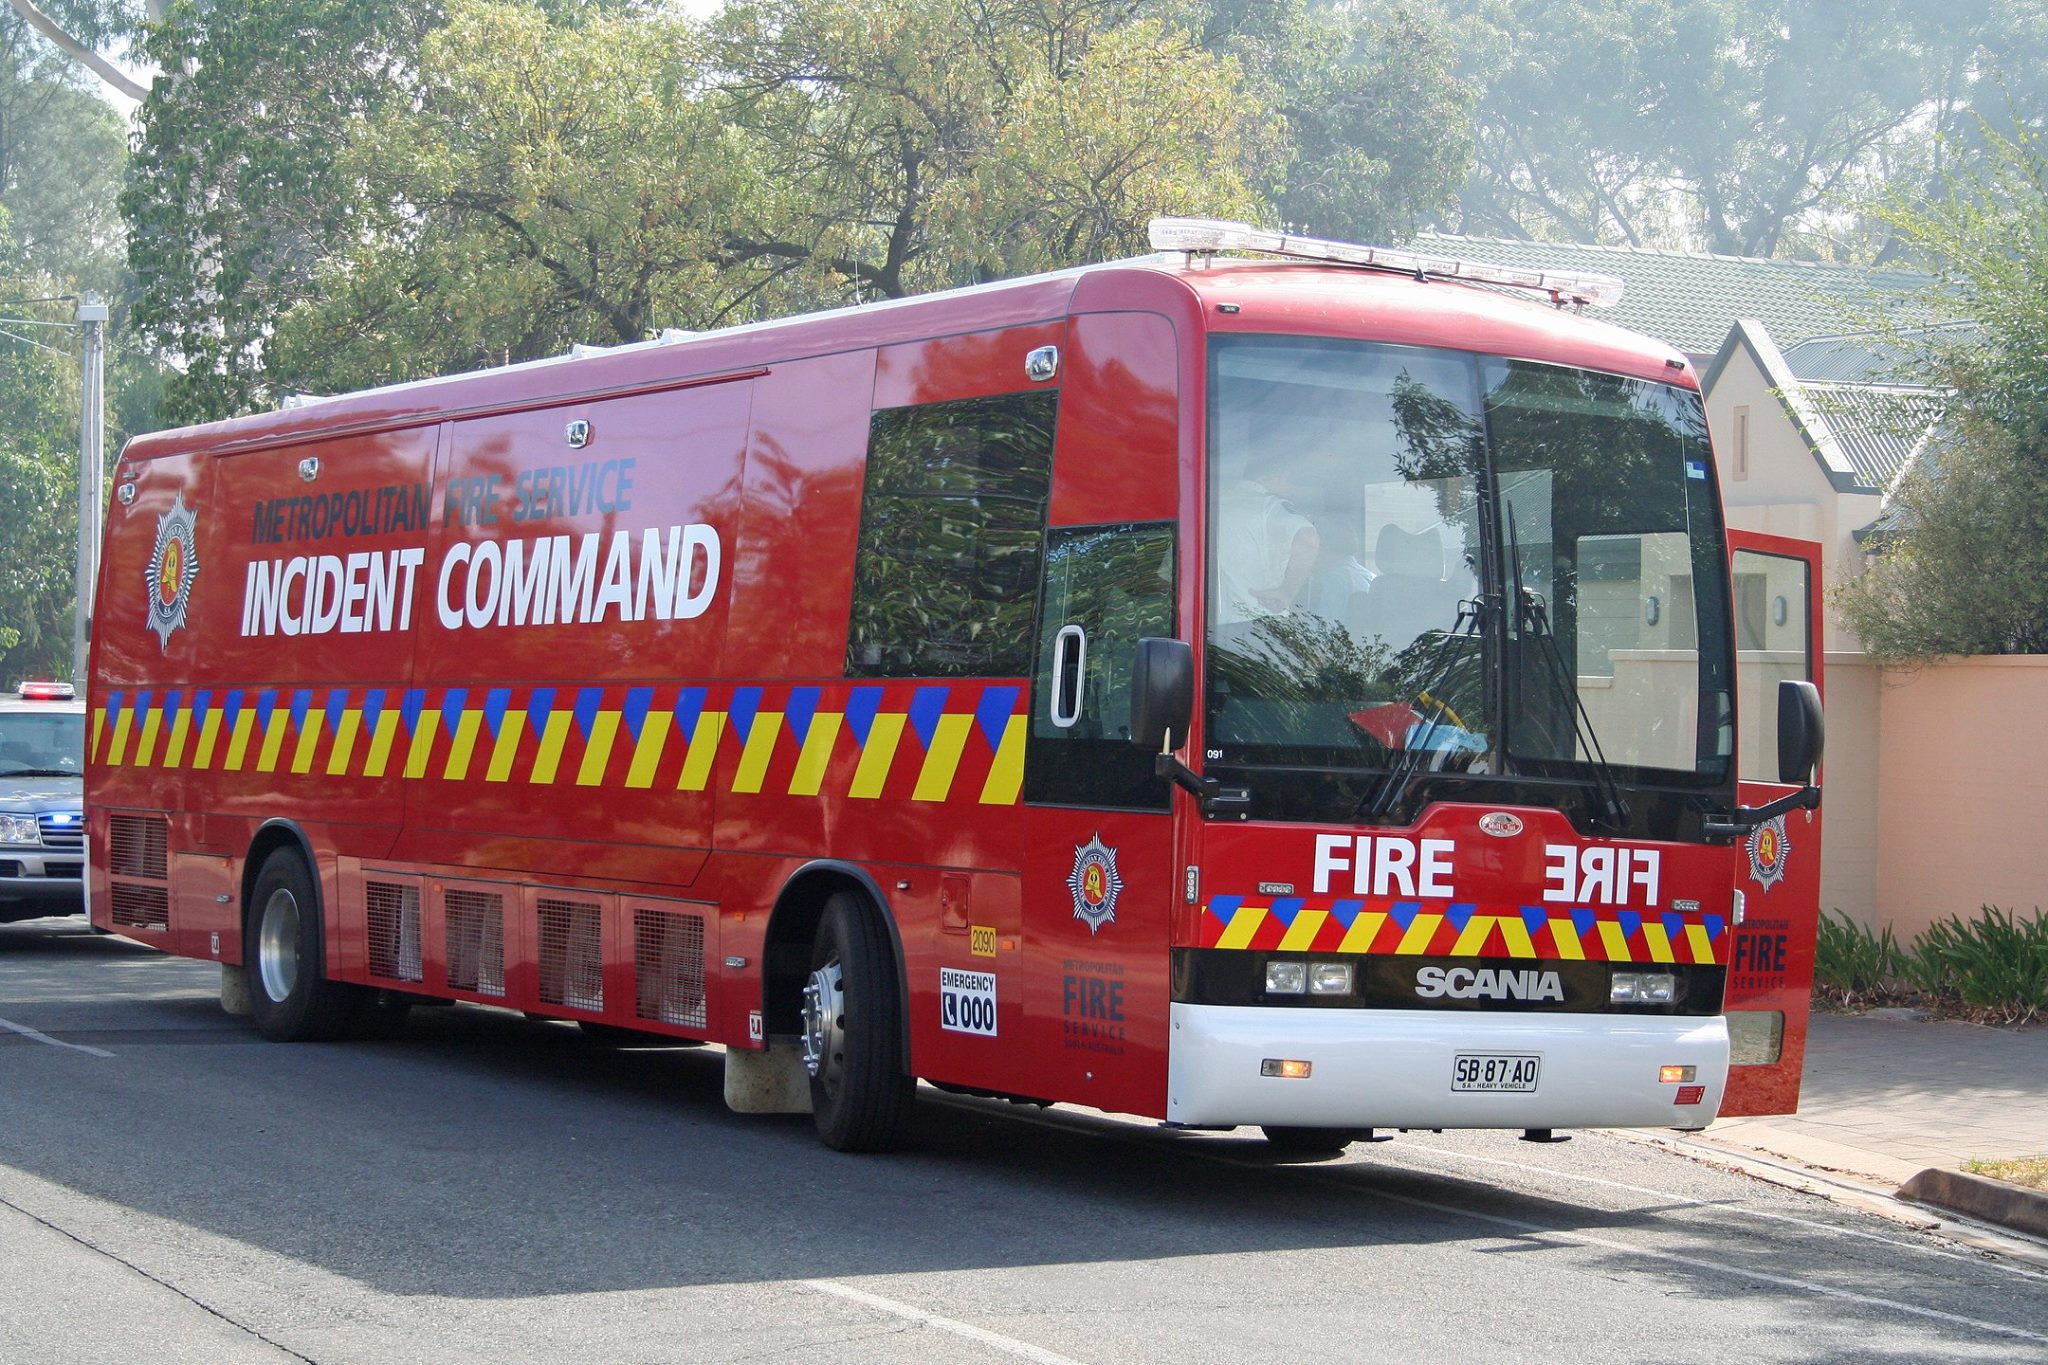 |
| Command Vehicle | 3 |  |
| Pods |
|
| Trailers |
|
| Unit: | Size: | Base: |
|---|---|---|
| Urban Search and Rescue Unit | 20x Firefighters | Angle Park Fire Station |
| Fire Cause Investigation Section | 15x Firefighters | Adelaide Fire Station |
| Station: | Size: | Location: |
|---|---|---|
| Marine Fire Station | 15x Firefighters, MV Gallantry | Outer Harbor |
| Australian Submarine Corporation Fire Station | 15x Firefighters, 1x Heavy Pumper | Osborne |
| Station: | Size: | Location: |
|---|---|---|
| Adelaide Fire Station | 130x Firefighters, 2x Heavy Pumpers, 1x Combined Aerial Pumper, 2x Heavy Ladders, 1x Rescue Truck, 1x HAZMAT & Breathing Apparatus Truck, 1x HAZMAT Support Vehicle, 2x Hook Lift Trucks, 1x Command Bus, 1x Command Vehicle Pods: Salvage, 1st Flat Bed, 1st Electricity Generator, HAZMAT & Breathing Apparatus, General Purpose, Mass Decontamination System, Rehab, Heavy Rescue, Special HAZMAT Support, 2nd Flat Bed, High Volume Hose, Bulk Foam, 1st Bulk Water Carrier | Adelaide CBD |
| Woodville Fire Station | 20x Firefighters, 1x Heavy Pumper, 1x Combined Aerial Pumper | Woodville South |
| Prospect Fire Station | 15x Firefighters, 1x Heavy Pumper | Prospect |
| Brooklyn Park Fire Station | 15x Firefighters, 1x Heavy Pumper | Brooklyn Park |
| Beulah Park Fire Station | 15x Firefighters, 1x Heavy Pumper | Beulah Park |
| Port Adelaide Fire Station | 15x Firefighters, 1x Heavy Pumper | Port Adelaide |
| Largs North Fire Station | 15x Firefighters, 1x Heavy Pumper | Largs North |
| Station: | Size: | Location: |
|---|---|---|
| Salisbury Fire Station | 30x Firefighters, 2x Heavy Pumpers, 1x Command Vehicle | Salisbury Heights |
| Elizabeth Fire Station | 20x Firefighters, 2x Heavy Pumpers | Elizabeth |
| Oakden Fire Station | 20x Firefighters, 1x Heavy Pumper, 1x Combined Aerial Pumper | Oakden |
| Golden Grove Fire Station | 15x Firefighters, 1x Heavy Pumper | Surrey Downs |
| Gawler Fire Station | 15x Firefighters, 1x Heavy Pumper | Gawler |
| Paradise Fire Station | 15x Firefighters, 1x Heavy Pumper | Paradise |
Angle Park Fire Station
| 15x Firefighters, 1x Hook Lift Truck Pods: 2nd Electricity Generator, Toilet Facility, Urban Search & Rescue, 2nd Bulk Water Carrier, Emergency Water Purification | Angle Park |
| Station: | Size: | Location: |
|---|---|---|
| Noarlunga Fire Station | 30x Firefighters, 1x Heavy Pumper, 1x Combined Aerial Pumper, 1x Command Vehicle | Noarlunga Centre |
| St Marys Fire Station | 20x Firefighters, 2x Heavy Pumpers | St Marys |
| Seaford Fire Station | 15x Firefighters, 1x Heavy Pumper | Seaford Meadows |
| O'Halloran Hill Fire Station | 15x Firefighters, 1x Heavy Pumper | Trott Park |
| Camden Park Fire Station | 15x Firefighters, 1x Heavy Pumper | Camden Park |
| Glen Osmond Fire Station | 15x Firefighters, 1x Heavy Pumper | Glen Osmond |
| Station: | Size: | Location: |
|---|---|---|
| Mount Gambier Fire Station | 35x Firefighters, 2x Heavy Pumpers, 1x Combined Aerial Pumper, 1x Light Pumper | Mount Gambier |
| Mount Barker Fire Station | 25x Firefighters, 2x Heavy Pumpers, 1x Light Pumper | Mount Barker |
| Murray Bridge Fire Station | 20x Firefighters, 2x Heavy Pumpers | Murray Bridge |
| Victor Harbor Fire Station | 20x Firefighters, 2x Heavy Pumpers | Victor Harbor |
| Station: | Size: | Location: |
|---|---|---|
| Renmark Fire Station | 35x Firefighters, 1x Heavy Pumper, 1x Medium Pumper, 1x Light Pumper, 1x Bulk Water Carrier Trailers: 1st Portable Pump | Renmark |
| Berri Fire Station | 25x Firefighters, 2x Heavy Pumpers, 1x Light Pumper Trailers: Breathing Apparatus Compressor, Bulk Foam | Berri |
| Loxton Fire Station | 25x Firefighters, 1x Heavy Pumper, 1x Medium Pumper, 1x Light Pumper Trailers: 2nd Portable Pump | Loxton |
| Kapunda Fire Station | 15x Firefighters, 1x Heavy Pumper | Kapunda |
| Tanunda Fire Station | 15x Firefighters, 1x Heavy Pumper | Tanunda |
| Station: | Size: | Location: |
|---|---|---|
| Port Pirie Fire Station | 45x Firefighters, 3x Heavy Pumpers, 1x Light Pumper, 1x Hook Lift Truck | Port Pirie South |
| Moonta Fire Station | 20x Firefighters, 1x Heavy Pumper, 1x Light Pumper | Moonta |
| Kadina Fire Station | 15x Firefighters, 1x Heavy Pumper | Kadina |
| Wallaroo Fire Station | 15x Firefighters, 1x Heavy Pumper | Wallaroo |
| Station: | Size: | Location: |
|---|---|---|
| Whyalla Fire Station | 45x Firefighters, 1x Heavy Pumper, 1x Combined Aerial Pumper, 1x Medium Pumper, 1x Light Pumper, 1x Bulk Water Carrier | Whyalla Playford |
| Port Lincoln Fire Station | 45x Firefighters, 1x Heavy Pumper, 1x Combined Aerial Pumper, 1x Medium Pumper, 1x Light Pumper, 1x Bulk Water Carrier | Port Lincoln |
| Port Augusta Fire Station | 25x Firefighters, 1x Heavy Pumper, 1x Medium Pumper, 1x Light Pumper | Port Augusta |
| Peterborough Fire Station | 20x Firefighters, 1x Heavy Pumper, 1x Light Pumper | Peterborough |
 |
Headquarters |
 |
State Coordination Centre, Keswick Terminal, South Australia |
| Type: | Amount: | Image: |
|---|---|---|
| Permanent Personnel | 200 |  |
| Volunteer Firefighters | 16,500 | 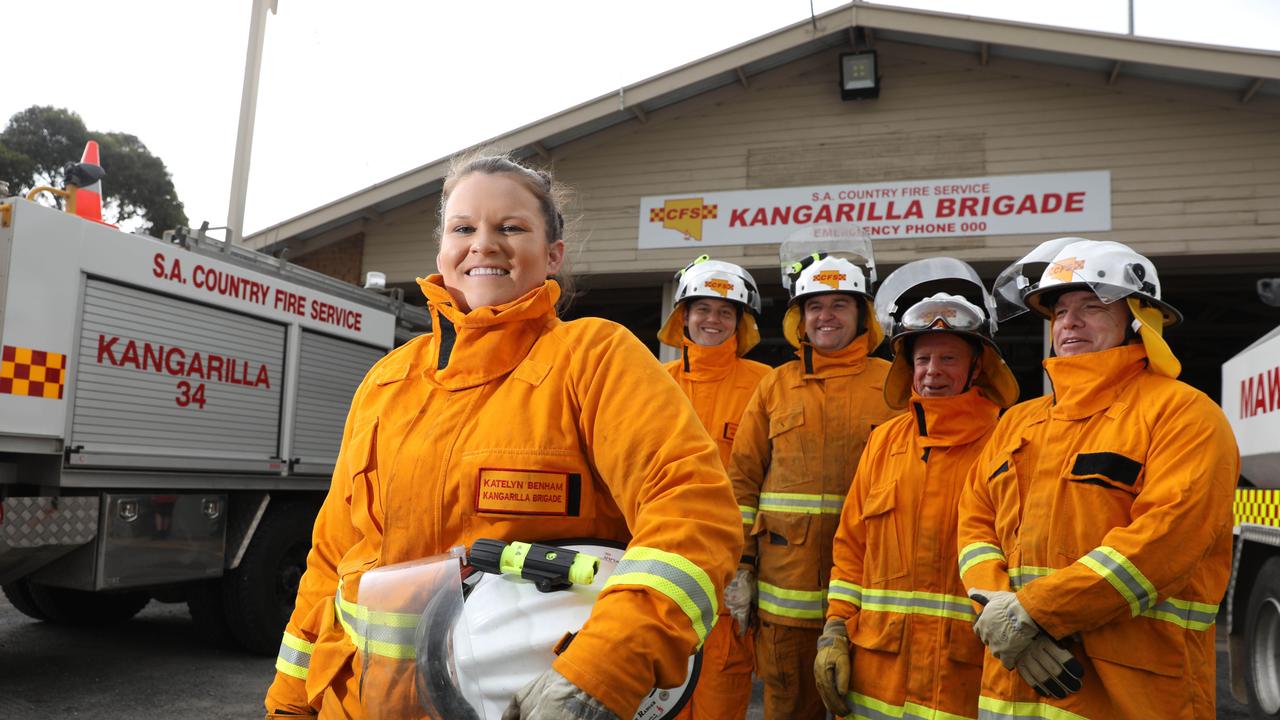 |
| Type: | Amount: | Image: |
|---|---|---|
| Heavy Tanker | 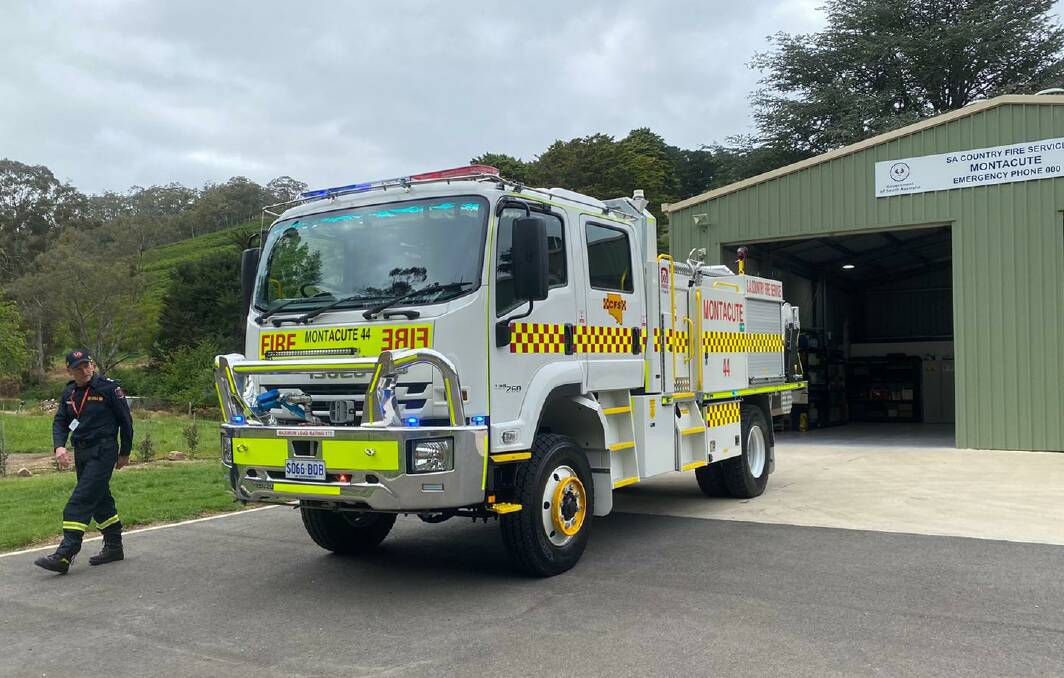 | |
| Medium Tanker |  | |
| Light Tanker |  | |
| Heavy Pumper |  | |
| Medium Pumper |  | |
| Heavy Urban Pumper |  | |
| Light Unit |  | |
| Rescue Truck | 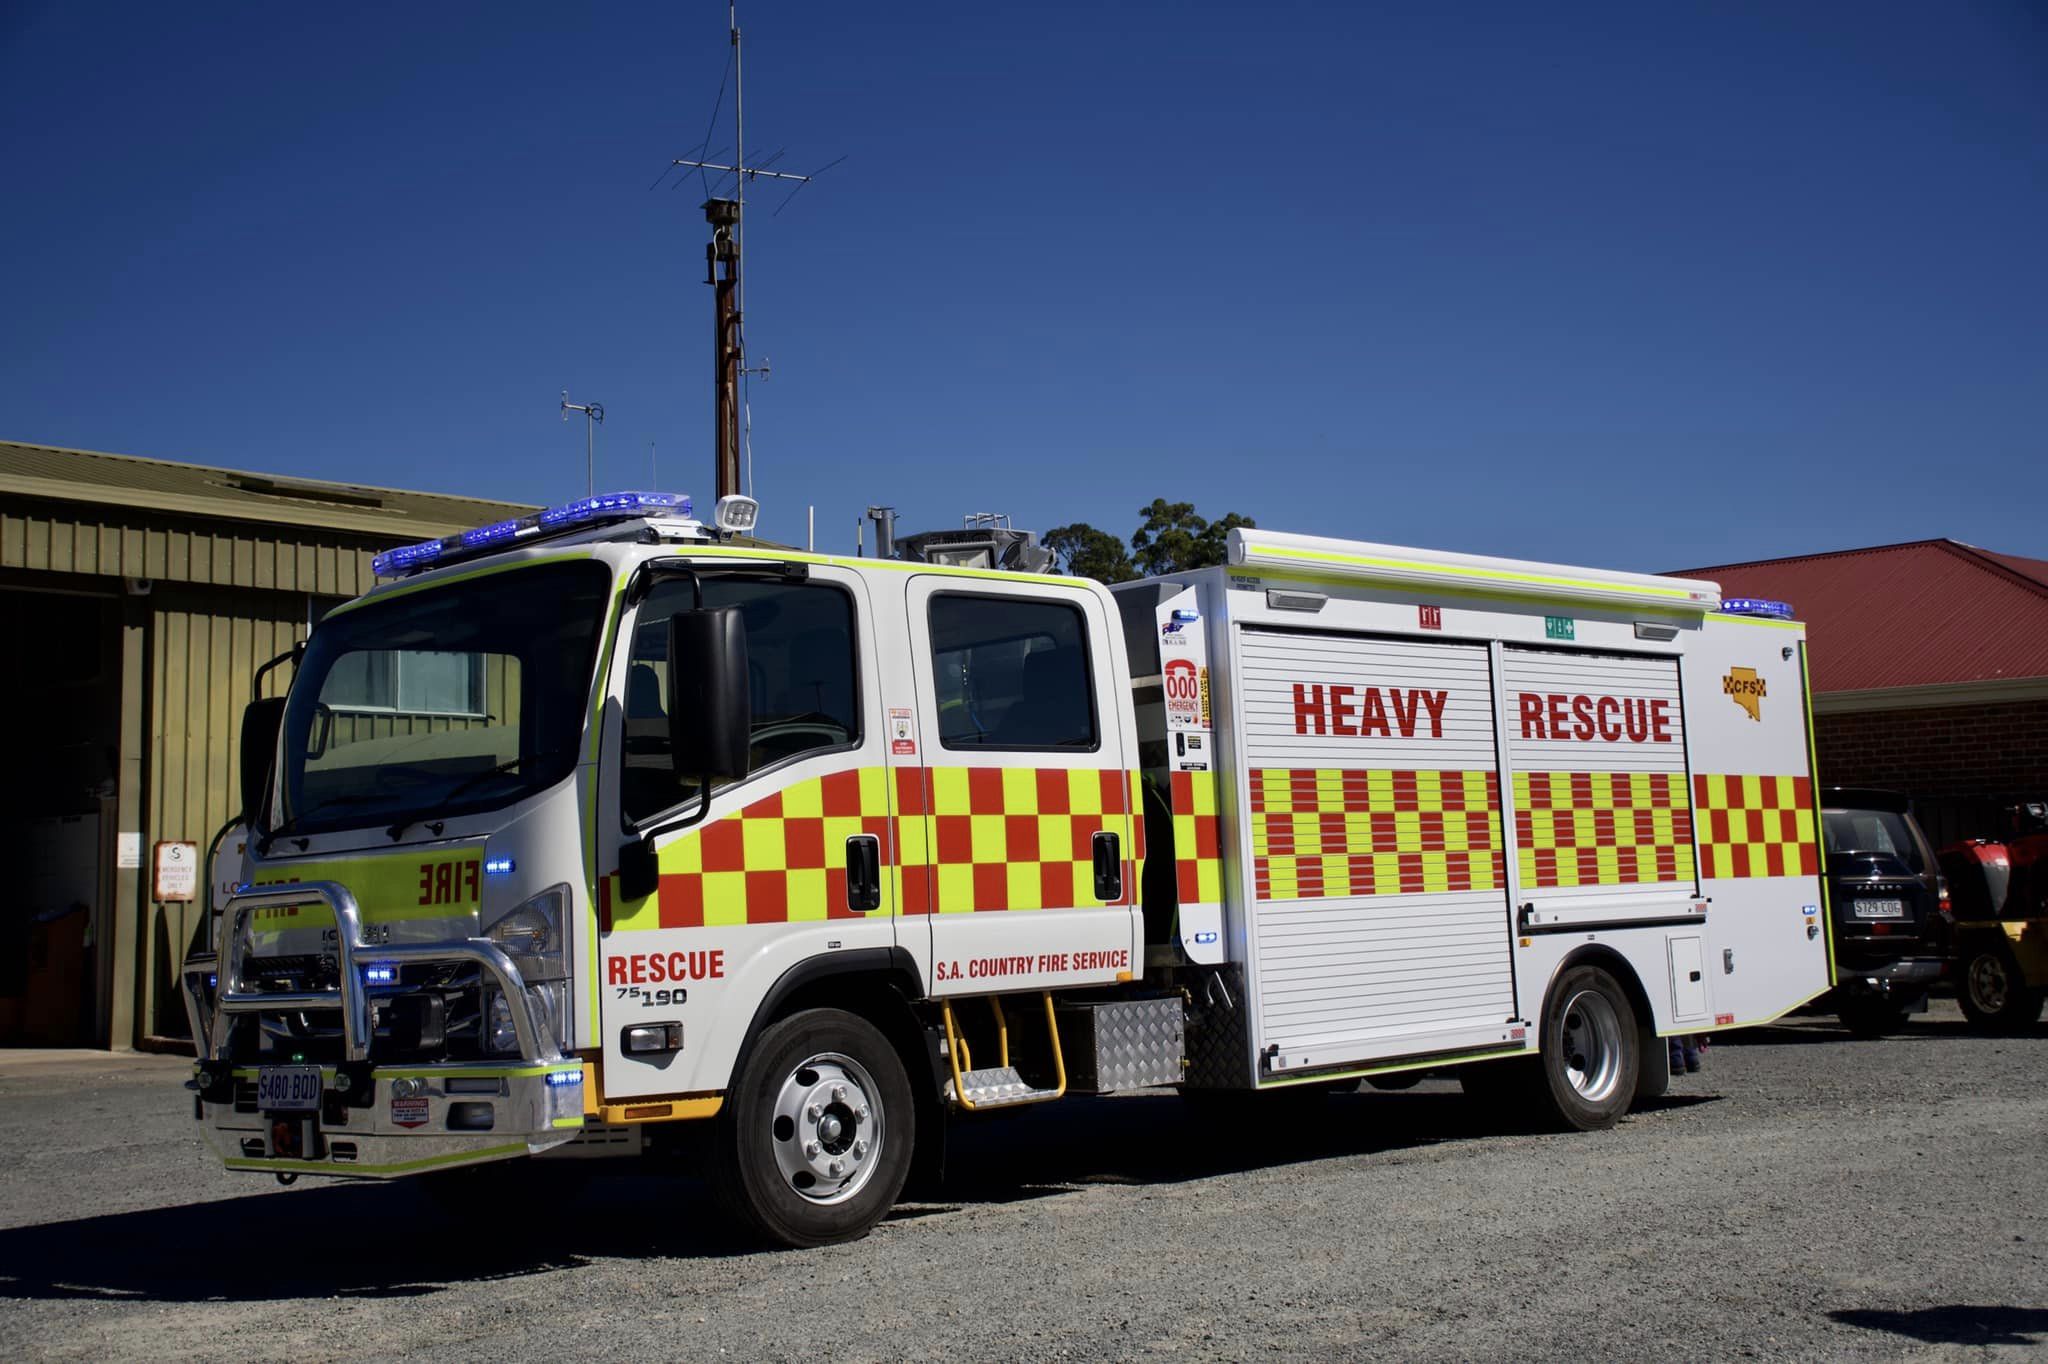 | |
| HAZMAT Response Vehicle | 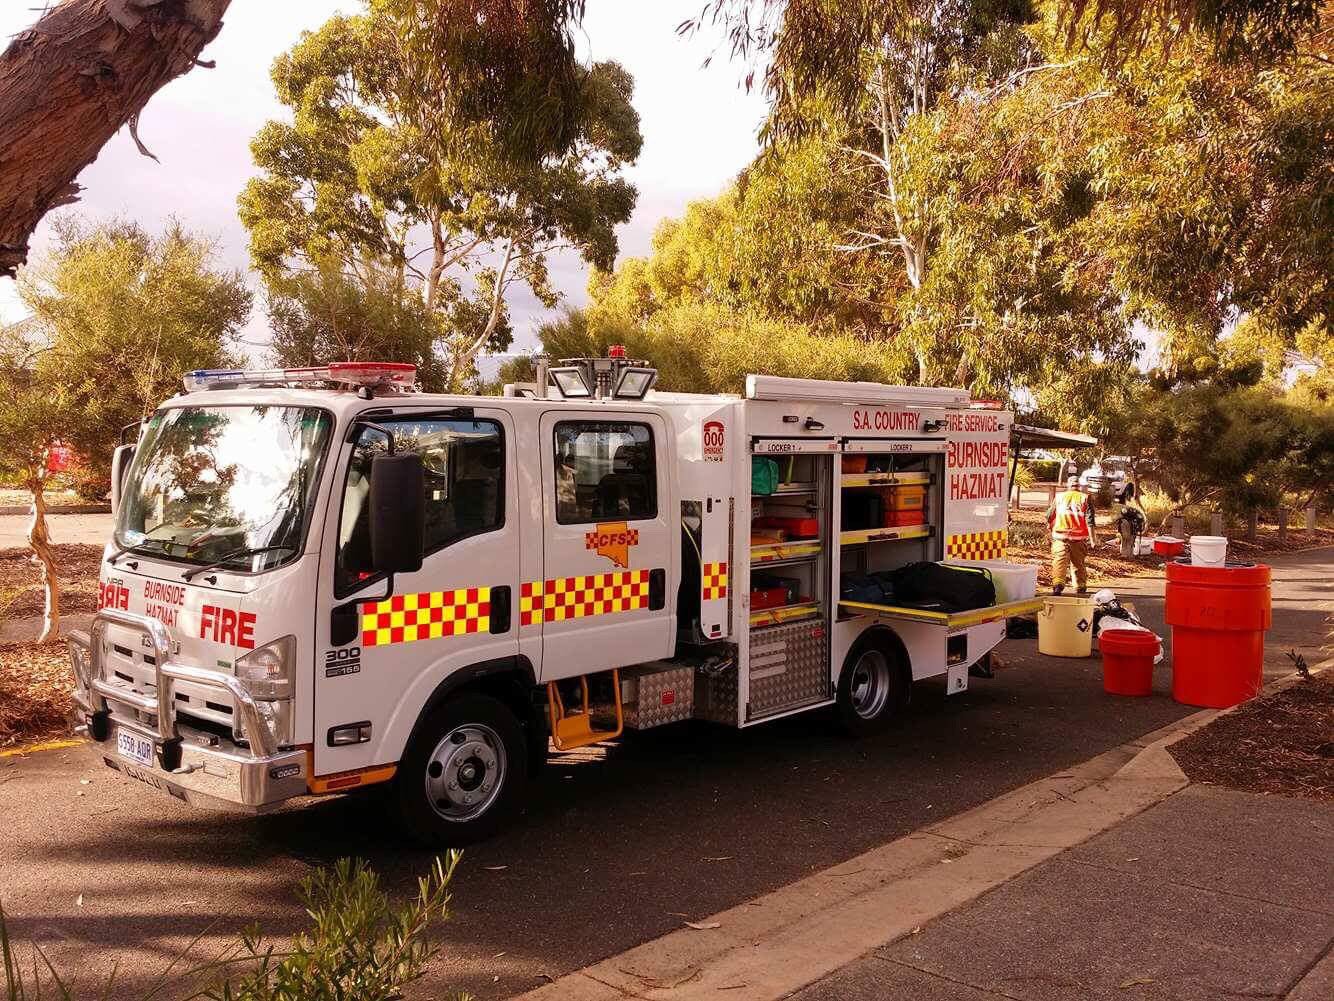 | |
| Command Vehicles |  | |
| Mobile Command Vehicles | 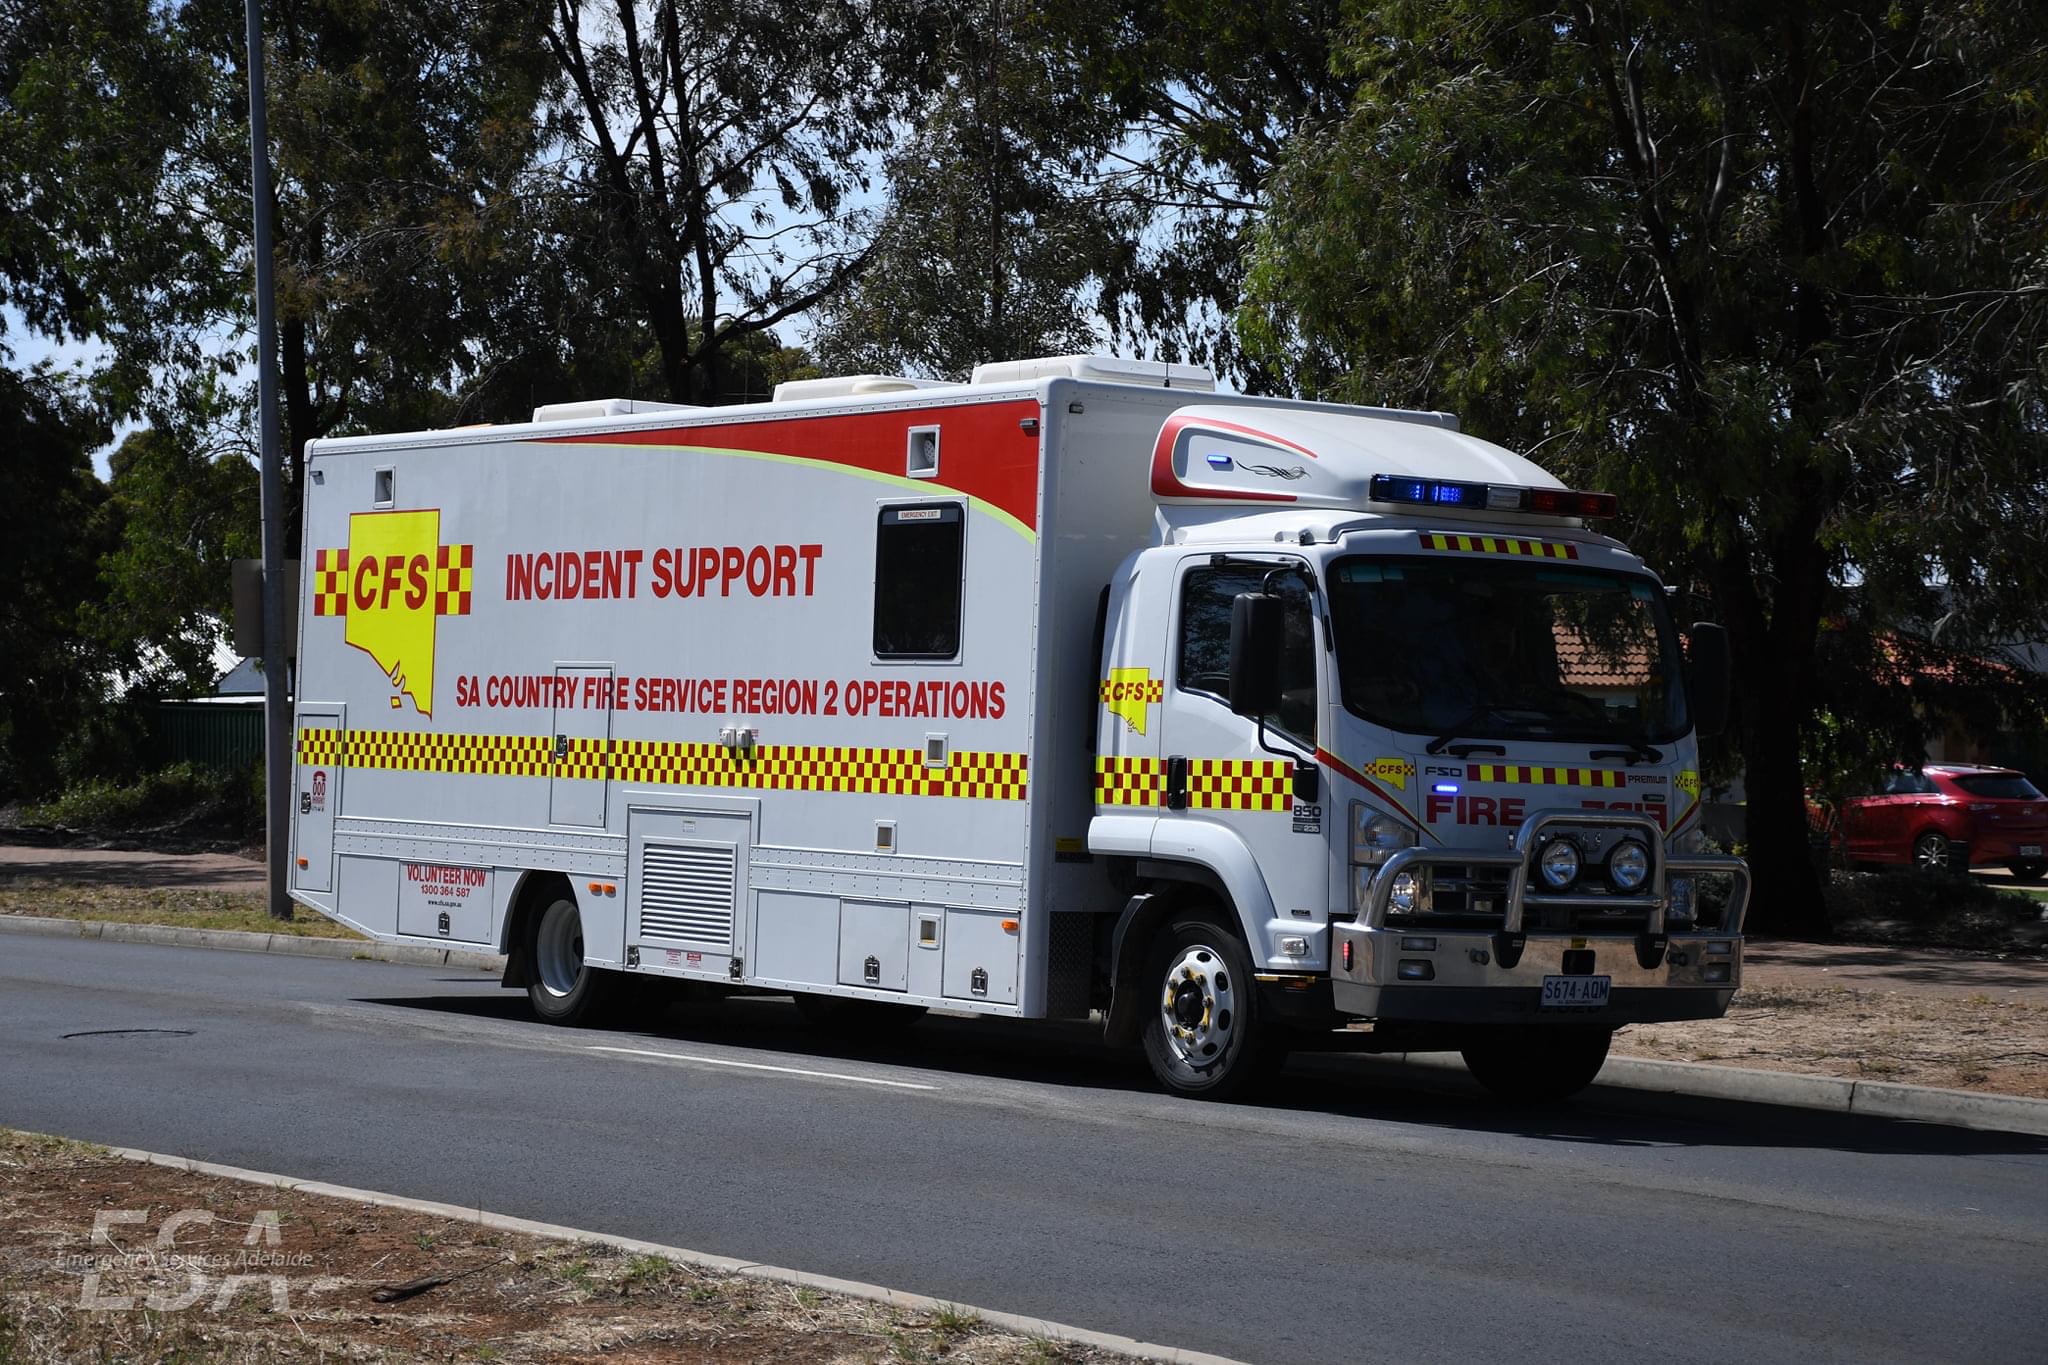 | |
| Incident Management Support Vehicles |  | |
| Logistics Support Vehicles |  | |
| Logistics Truck | 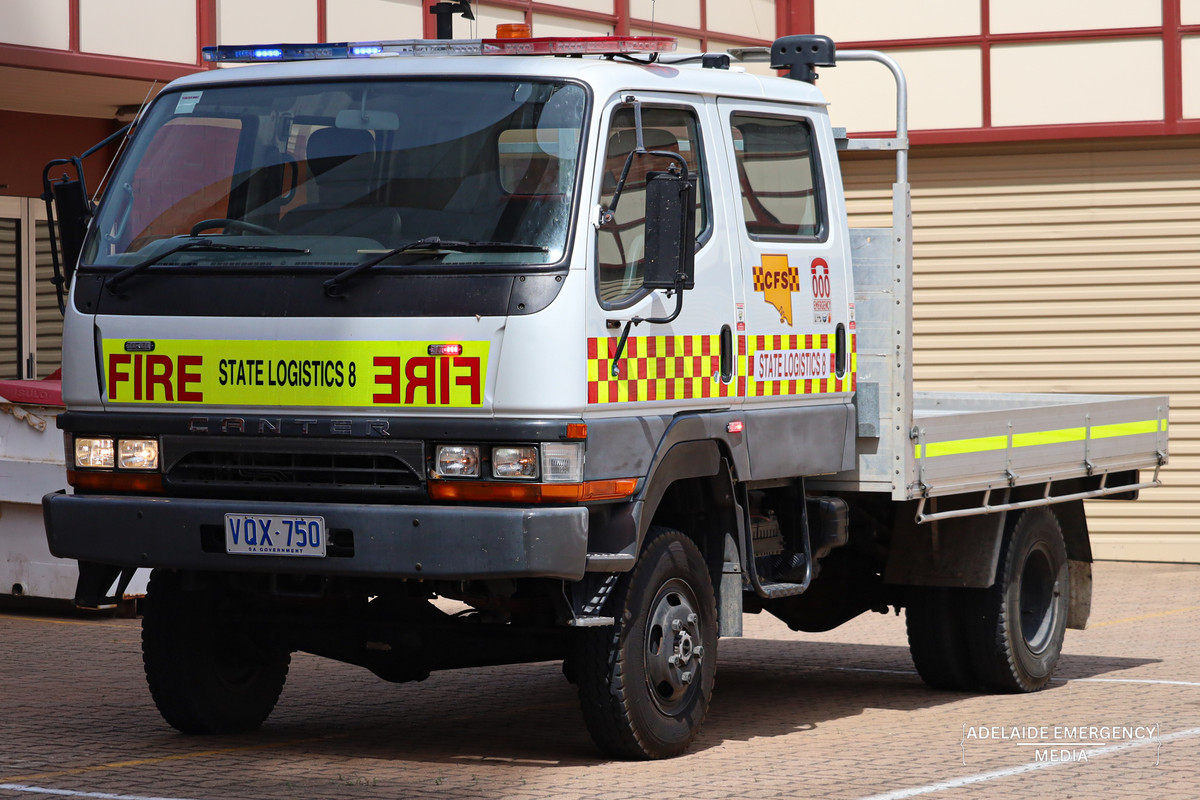 | |
| Bulk Water Carriers |  | |
| Heavy Bulk Water Carriers | ||
| 4WD Ambulances |  | |
| Air Tractor AT-802 | 19 |  |
| Sikorsky UH-60L Black Hawk | 6 | 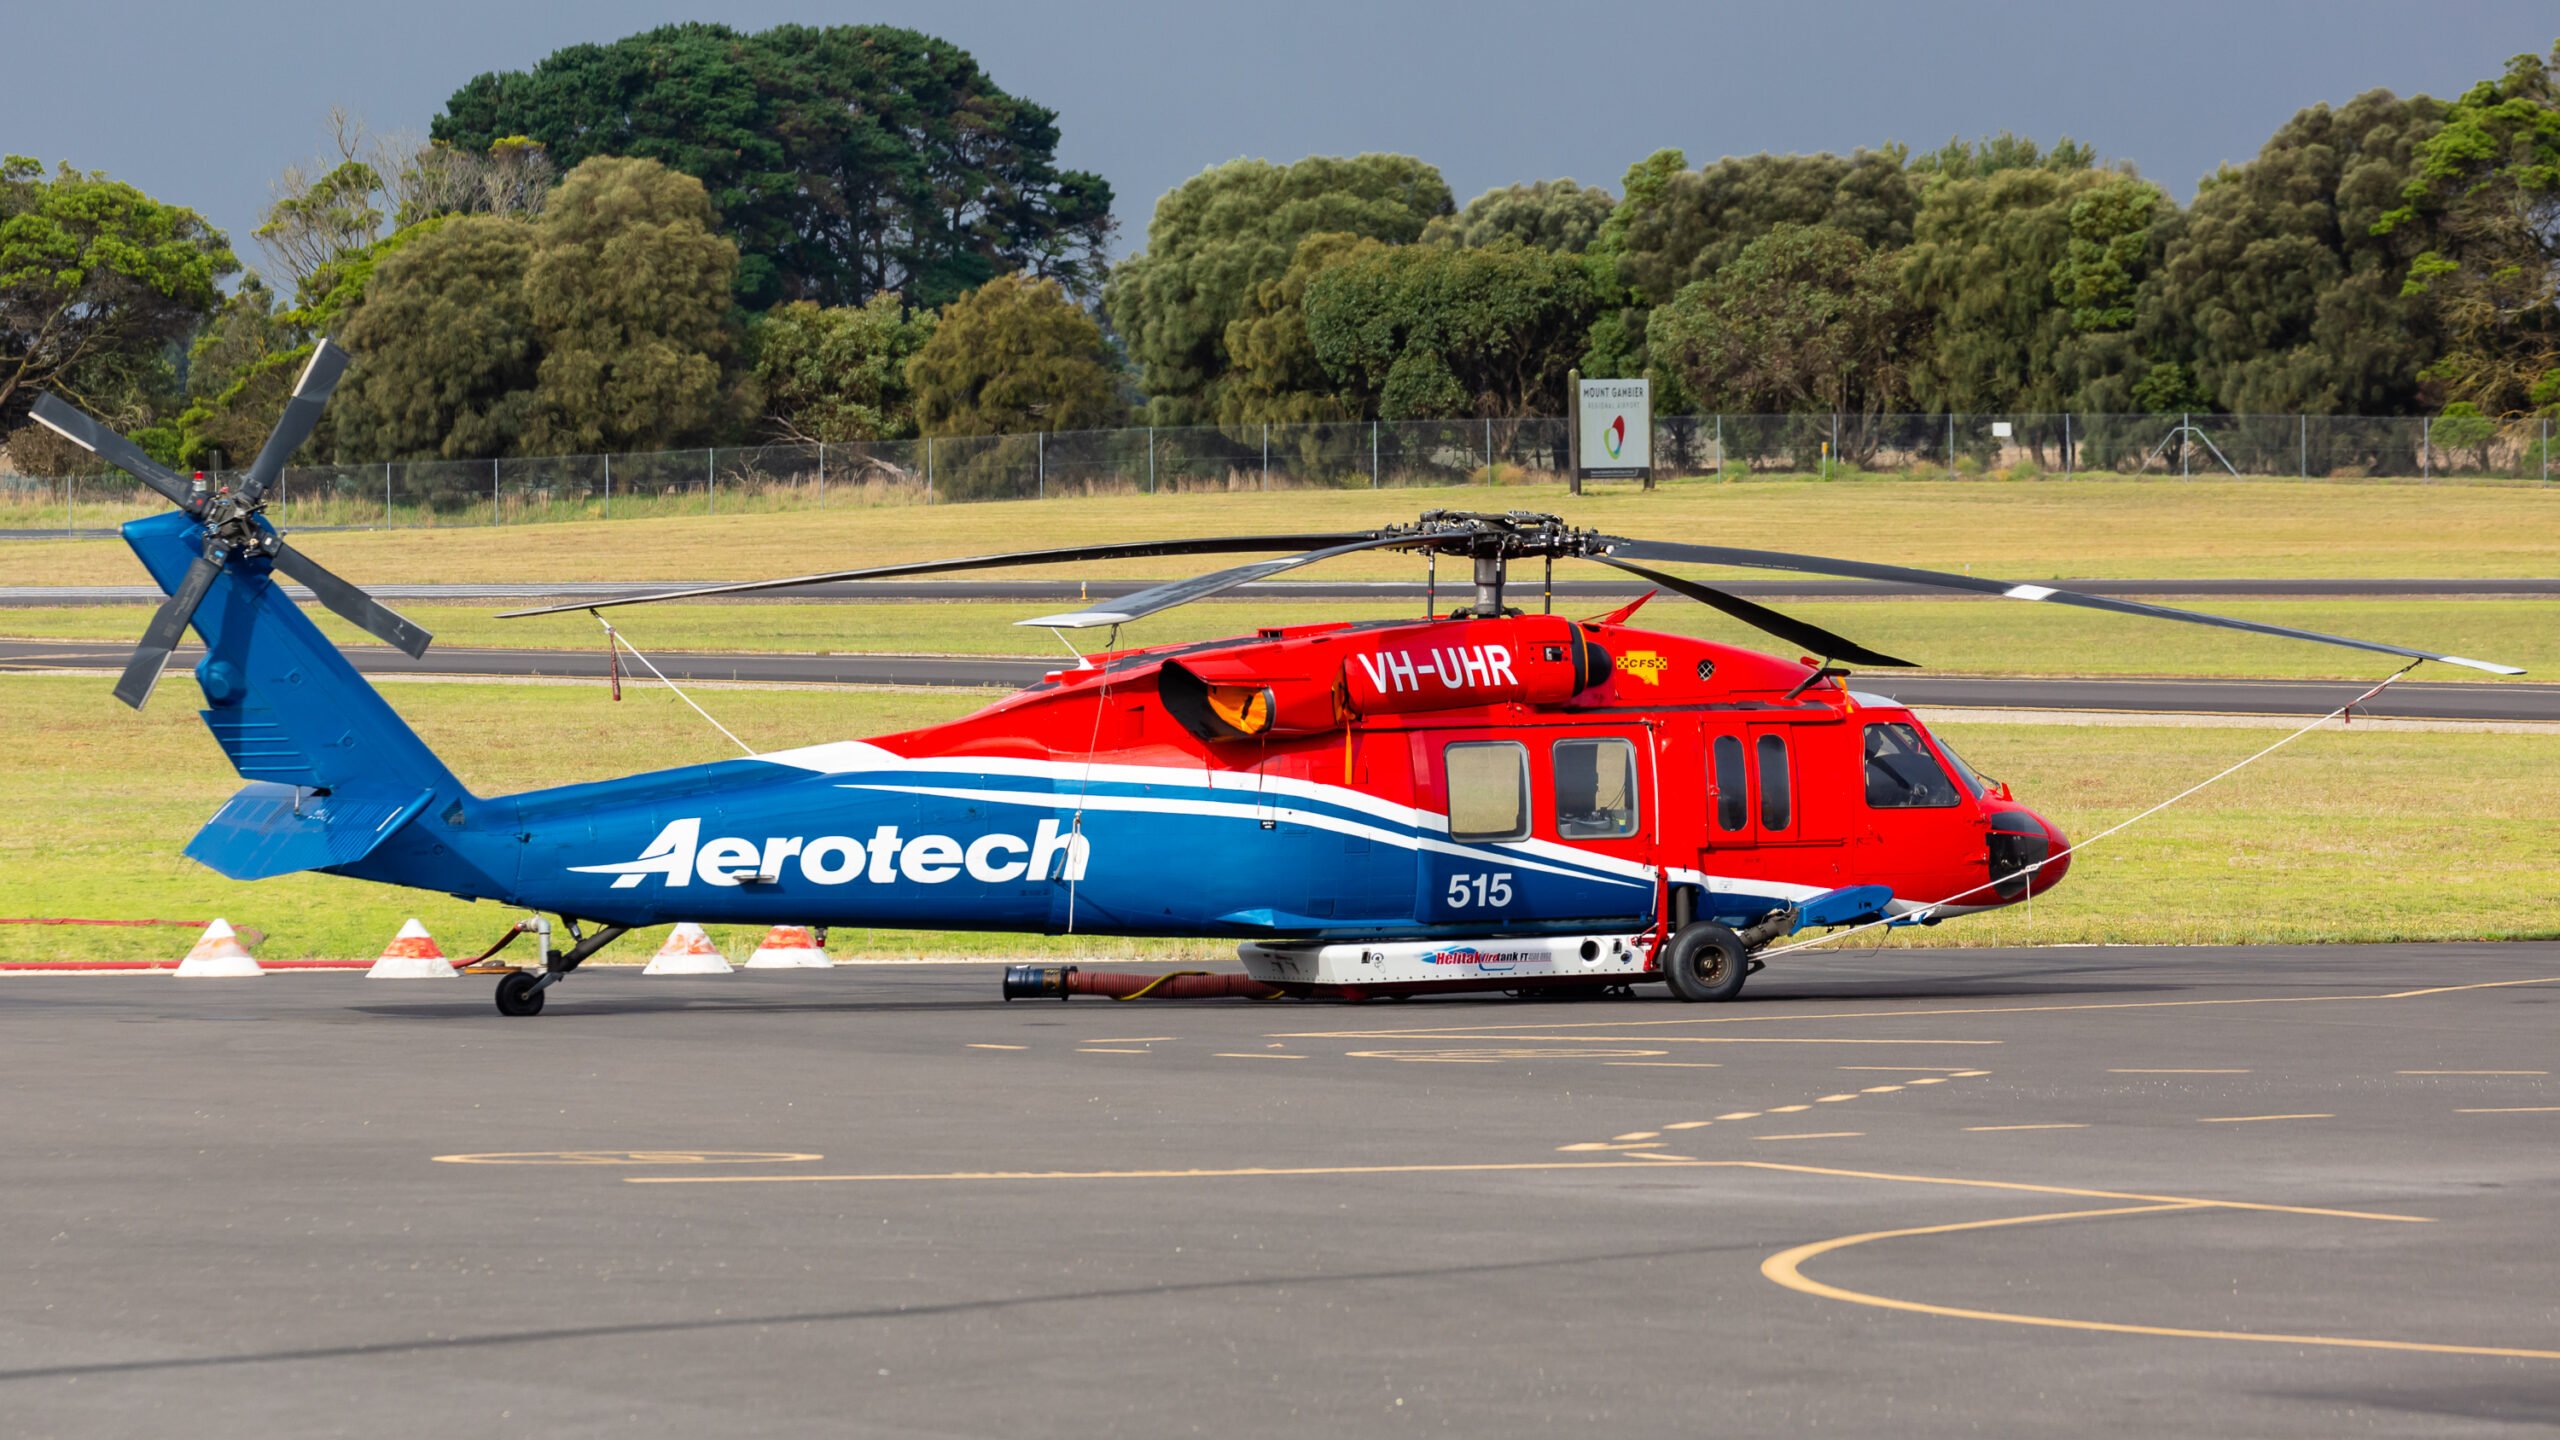 |
| Cessna 208B Caravan | 2 | 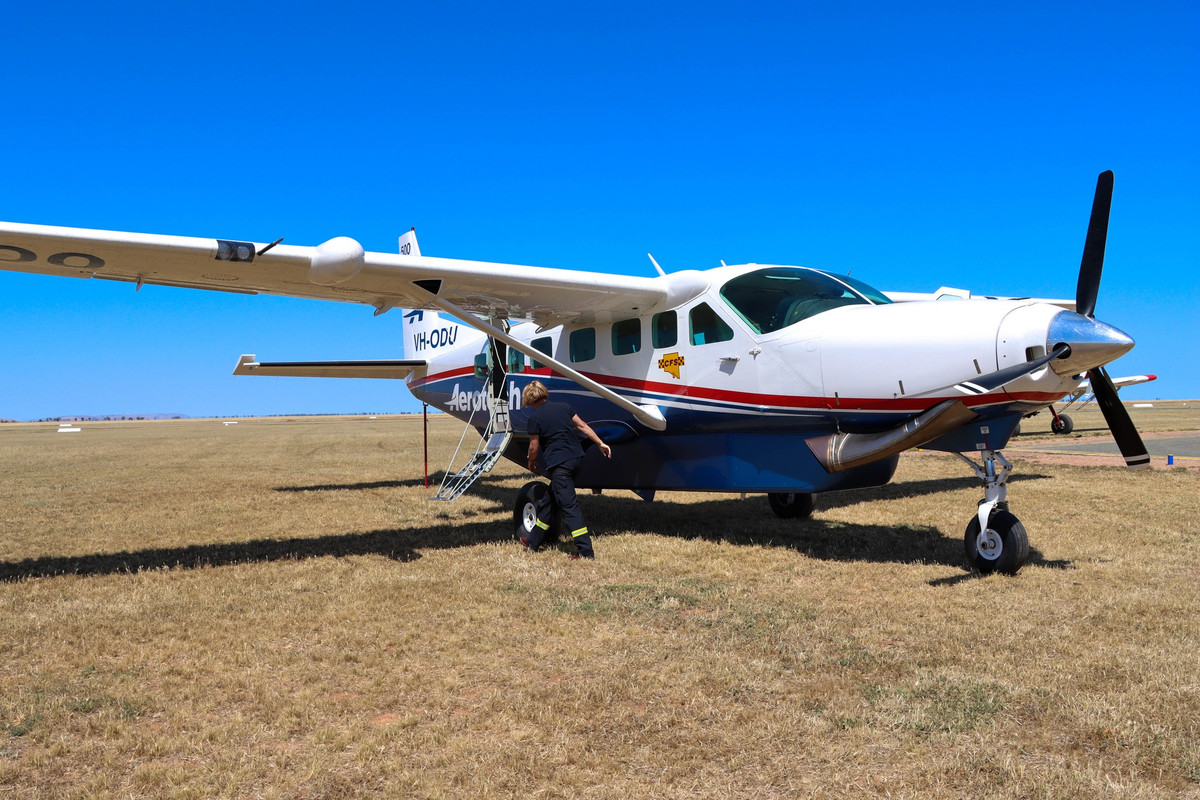 |
| Eurocopter EC135 | 2 |  |
| Eurocopter AS350 Squirrel | 9 |  |
 |
| Unit: | Size: | Base: |
|---|---|---|
| State Headquarters | Keswick Terminal | |
| State Operations and Support | 1x Incident Management Support Vehicles, 3x Logistics Support Vehicles, 1x Logistics Truck | Keswick Terminal |
| State Air Desk | Keswick Terminal | |
| State Training Centre | Brukunga |
| Unit: | Size: | Base: |
|---|---|---|
| Region 1 Headquarters and Operations | 2x Heavy Pumpers, 1x Medium Pumper, 1x Light Tanker, 10x Command Vehicles | Mount Barker |
| Region 1 Air Operations | 7x Air Tractor AT-802s, 3x Sikorsky UH-60L Black Hawks, 2x Cessna 208B Caravans, 2x Eurocopter EC135s, 1x Eurocopter AS350 Squirrel, 1x Logistics Support Vehicle | Claremont Airbase |
| Mount Lofty Fire Tower | Cleland |
| Brigade: | Size: | Location: |
|---|---|---|
| Mount Lofty Group Headquarters and Operations | 1x Bulk Water Carrier, 2x Command Vehicles, 1x Logistics Support Vehicle | Bridgewater |
| Aldgate Brigade | 1x Heavy Tanker, 1x Heavy Urban Pumper | Aldgate |
| Bradbury Brigade | 1x Heavy Tanker, 1x Light Tanker | Bradbury |
| Bridgewater Brigade | 1x Heavy Tanker, 1x Medium Pumper, 1x Light Tanker, 1x Logistics Support Vehicle | Bridgewater |
| Burnside Brigade | 1x Heavy Pumper, 1x Heavy Urban Pumper, 1x HAZMAT Response Vehicle, 1x Command Vehicle | Burnside |
| Ironbank Brigade | 2x Heavy Tankers | Ironbank |
| Mylor Brigade | 1x Heavy Tanker, 1x Heavy Pumper | Mylor |
| Stirling Brigade | 1x Heavy Tanker, 1x Heavy Pumper, 1x Heavy Urban Pumper | Stirling |
| Upper Sturt Brigade | 1x Heavy Pumper, 1x Light Tanker | Upper Sturt |
| Brigade: | Size: | Location: |
|---|---|---|
| Sturt Group Headquarters and Operations | 1x Bulk Water Carrier, 3x Command Vehicles, 1x Logistics Support Vehicle | Belair |
| Belair Brigade | 1x Heavy Pumper, 1x Heavy Urban Pumper, 1x Bulk Water Carrier | Belair |
| Blackwood Brigade | 1x Heavy Pumper, 1x Medium Pumper, 1x Rescue Truck | Hawthorndene |
| Cherry Gardens Brigade | 1x Heavy Tanker, 1x Heavy Pumper | Cherry Gardens |
| Coromandel Valley Brigade | 1x Heavy Tanker, 1x Heavy Pumper | Coromandel Valley |
| Eden Hills Brigade | 1x Heavy Pumper, 1x Heavy Urban Pumper, 1x Light Tanker | Eden Hills |
| Brigade: | Size: | Location: |
|---|---|---|
| Mawson Group Headquarters and Operations | 1x Bulk Water Carrier, 3x Command Vehicles, 1x Logistics Support Vehicle | Hackham |
| Blewitt Springs Brigade | 1x Heavy Tanker | Blewitt Springs |
| Clarendon Brigade | 1x Heavy Pumper, 1x Light Tanker | Clarendon |
| Happy Valley Brigade | 1x Heavy Pumper, 1x Heavy Urban Pumper, 1x Light Unit | Happy Valley |
| Kangarilla Brigade | 2x Heavy Tankers | Kangarilla |
| McLaren Flat Brigade | 1x Heavy Pumper, 1x Light Unit | McLaren Flat |
| Morphett Vale Brigade | 1x Heavy Pumper, 1x Heavy Urban Pumper, 1x Light Unit | Hackham |
| Seaford Brigade | 1x Heavy Pumper, 1x Heavy Tanker, 1x Logistics Support Vehicle | Seaford |
| Brigade: | Size: | Location: |
|---|---|---|
| East Torrens Group Headquarters and Operations | 2x Bulk Water Carriers, 3x Command Vehicles, 2x Logistics Support Vehicles | Uraidla |
| Athelstone Brigade | 1x Heavy Pumper, 1x Heavy Urban Pumper, 1x Light Unit, 1x Bulk Water Carrier, 1x Logistics Truck | Athelstone |
| Basket Range Brigade | 1x Medium Tanker, 1x Light Tanker | Basket Range |
| Carey Gully Brigade | 1x Heavy Tanker, 1x Light Tanker, 1x Light Unit | Carey Gully |
| Cherryville Brigade | 1x Light Tanker, 1x Light Unit | Cherryville |
| Greenhill Brigade | 1x Heavy Tanker, 1x Light Tanker | Greenhill |
| Montacute Brigade | 1x Heavy Tanker, 1x Light Unit | Montacute |
| Norton Summit-Ashton Brigade | 1x Heavy Pumper, 1x Light Unit | Norton Summit |
| Piccadilly Brigade | 1x Heavy Pumper, 1x Medium Tanker | Piccadilly |
| Summertown and District Brigade | 1x Heavy Pumper, 1x Light Tanker | Summertown |
| Brigade: | Size: | Location: |
|---|---|---|
| Heysen Group Headquarters and Operations | 1x Bulk Water Carrier, 2x Command Vehicles, 1x Logistics Support Vehicle | Mount Barker |
| Brukunga Brigade | 1x Heavy Tanker, 1x Light Unit | Brukunga |
| Echunga Brigade | 1x Heavy Tanker, 1x Light Tanker | Echunga |
| Hahndorf Brigade | 1x Heavy Urban Pumper, 1x Medium Tanker | Hahndorf |
| Littlehampton Brigade | 1x Heavy Tanker, 1x Heavy Pumper | Littlehampton |
| Macclesfield Brigade | 1x Heavy Tanker, 1x Light Tanker, 1x Bulk Water Carrier | Macclesfield |
| Meadows Brigade | 1x Heavy Tanker, 1x Medium Pumper | Meadows |
| Mount Barker Brigade | 1x Heavy Tanker, 1x Heavy Pumper | Mount Barker |
| Nairne Brigade | 1x Heavy Tanker, 1x Heavy Pumper | Nairne |
| Brigade: | Size: | Location: |
|---|---|---|
| Kyeema Group Headquarters and Operations | 1x Bulk Water Carrier, 3x Command Vehicles | Willunga |
| Aldinga Beach Brigade | 1x Heavy Tanker, 1x Heavy Pumper, 1x Heavy Urban Pumper | Aldinga Beach |
| McLaren Vale Brigade | 1x Heavy Tanker, 1x Heavy Pumper | McLaren Vale |
| Range/Hope Forest Brigade | 1x Heavy Tanker, 1x Light Tanker | The Range |
| Sellicks Brigade | 1x Heavy Pumper, 1x Light Unit | Sellicks Beach |
| Willunga Brigade | 1x Heavy Tanker, 1x Medium Pumper | Willunga |
| Yundi Brigade | 1x Heavy Tanker | Yundi |
| Brigade: | Size: | Location: |
|---|---|---|
| Mundoo Group Headquarters and Operations | 1x Bulk Water Carrier, 2x Command Vehicles, 1x Logistics Support Vehicle | Goolwa |
| Currency Creek Brigade | 1x Heavy Tanker | Currency Creek |
| Goolwa Brigade | 1x Heavy Tanker, 1x Heavy Pumper | Goolwa |
| Middleton Brigade | 1x Light Tanker, 1x Light Unit | Middleton |
| Mount Compass Brigade | 1x Heavy Tanker, 1x Heavy Pumper | Mount Compass |
| Port Elliot Brigade | 1x Heavy Tanker, 1x Heavy Pumper | Port Elliot |
| Brigade: | Size: | Location: |
|---|---|---|
| Onkaparinga Group Headquarters and Operations | 1x Bulk Water Carrier, 1x Command Vehicle, 1x Logistics Support Vehicle | Woodside |
| Lenswood and Forest Range Brigade | 1x Medium Tanker, 1x Light Tanker | Lenswood |
| Lobethal Brigade | 1x Heavy Tanker, 1x Medium Pumper, 1x Light Unit, 1x Rescue Truck | Lobethal |
| Oakbank-Balhannah Brigade | 1x Heavy Tanker, 1x Heavy Pumper, 1x Light Tanker | Balhannah |
| Woodside Brigade | 1x Heavy Tanker, 1x Medium Pumper | Woodside |
| Brigade: | Size: | Location: |
|---|---|---|
| Southern Fleurieu Headquarters and Operations | 1x Bulk Water Carrier, 2x Command Vehicles, 1x Logistics Support Vehicle | Yankalilla |
| Cape Jervis Brigade | 1x Heavy Pumper, 1x Light Tanker | Cape Jervis |
| Hay Flat Brigade | 1x Medium Tanker | Hay Flat |
| Inman Valley Brigade | 1x Heavy Tanker | Inman Valley |
| Myponga District Brigade | 1x Heavy Tanker, 1x Light Tanker | Myponga |
| Parawa Brigade | 2x Light Tankers | Parawa |
| Rapid Bay and District Brigade | 2x Heavy Tankers | Delamere |
| Yankalilla and District Brigade | 1x Heavy Tanker, 1x Heavy Pumper, 1x Rescue Truck | Yankalilla |
| Brigade: | Size: | Location: |
|---|---|---|
| Strathalbyn Group Headquarters and Operations | 1x Bulk Water Carrier, 2x Command Vehicles, 1x Logistics Support Vehicle | Strathalbyn |
| Ashbourne Brigade | 2x Light Tankers | Ashbourne |
| Blackfellows Creek Brigade | 1x Heavy Tanker | Blackfellows Creek |
| Clayton Brigade | 1x Heavy Tanker | Clayton Bay |
| Langhorne Creek Brigade | 1x Heavy Tanker, 1x Light Tanker | Langhorne Creek |
| Milang Brigade | 1x Heavy Tanker | Milang |
| Strathalbyn Brigade | 2x Heavy Pumpers | Strathalbyn |
| Woodchester Brigade | 1x Heavy Tanker, 1x Medium Tanker | Woodchester |
| Brigade: | Size: | Location: |
|---|---|---|
| Victor Harbor Group Headquarters and Operations | 1x Bulk Water Carrier, 1x Command Vehicle, 1x Logistics Support Vehicle | Lower Inman Valley |
| Hindmarsh Valley Brigade | 3x Heavy Tankers, 1x Light Unit | Lower Inman Valley |
| Lower Inman Valley Brigade | 2x Heavy Tankers | Back Valley |
| Waitpinga Brigade | 1x Heavy Tanker, 1x Light Tanker, 1x Light Unit | Waitpinga |
| Brigade: | Size: | Location: |
|---|---|---|
| Kangaroo Island Group Headquarters and Operations | 2x Bulk Water Carriers, 3x Command Vehicles, 1x Logistics Support Vehicle, 1x HAZMAT Response Vehicle | Kingscote |
| American River Brigade | 1x Heavy Tanker | American River |
| Haines/MacGillivray Brigade | 1x Heavy Tanker | Haines |
| Kingscote Brigade | 1x Heavy Tanker, 1x Medium Pumper | Kingscote |
| Parndana Brigade | 1x Heavy Tanker | Parndana |
| Penneshaw and District Brigade | 1x Heavy Tanker, 2x Medium Pumpers | Penneshaw |
| Western Districts Brigade | 2x Heavy Tankers, 1x Medium Pumper | Gosse |
| Wisanger Brigade | 1x Heavy Tanker | Menzies |
| Unit: | Size: | Base: |
|---|---|---|
| Region 2 Headquarters and Operations | 2x Heavy Tankers, 2x Heavy Pumpers, 1x Bulk Water Carrier, 1x Heavy Bulk Water Carrier, 6x Command Vehicles, 1x Mobile Command Vehicle, 1x Incident Management Support Vehicle, 1x Logistics Truck | Wasleys |
| Region 2 Air Operations | 3x Air Tractor AT-802s, 1x Sikorsky UH-60L Black Hawk, 1x Eurocopter AS350 Squirrel, 1x Command Vehicle, 1x Logistics Support Vehicle | Parafield Airport |
| Brigade: | Size: | Location: |
|---|---|---|
| Para Group Headquarters and Operations | 1x Bulk Water Carrier, 3x Command Vehicles, 2x Logistics Support Vehicles | One Tree Hill |
| Dalkeith Brigade | 2x Heavy Pumpers, 1x Light Tanker, 1x HAZMAT Response Vehicle | Munno Para Downs |
| One Tree Hill Brigade | 2x Heavy Tankers, 1x Heavy Pumper | One Tree Hill |
| Para Reserve Brigade | 2x Heavy Tankers | Salisbury North |
| Salisbury Brigade | 2x Heavy Pumpers, 1x Logistics Support Vehicle | Salisbury North |
| Tea Tree Gully Brigade | 2x Heavy Pumpers, 1x Light Tanker | Tea Tree Gully |
| Virginia Brigade | 1x Heavy Tanker, 1x Heavy Pumper | Virginia |
| Brigade: | Size: | Location: |
|---|---|---|
| Light Group Headquarters and Operations | 1x Bulk Water Carrier, 2x Command Vehicles, 1x Logistics Support Vehicle | Roseworthy |
| Dublin Brigade | 1x Heavy Tanker, 1x Heavy Pumper | Dublin |
| Freeling Brigade | 1x Heavy Tanker, 1x Heavy Pumper | Freeling |
| Gawler River District Brigade | 1x Heavy Tanker, 1x Light Unit | Gawler River |
| Greenock Brigade | 1x Heavy Tanker, 1x Light Tanker | Greenock |
| Kapunda Brigade | 1x Heavy Tanker, 1x Heavy Pumper | Kapunda |
| Mallala District Brigade | 2x Heavy Tankers | Mallala |
| Mudla Wirra Brigade | 1x Heavy Tanker | Wasleys |
| Roseworthy Brigade | 1x Heavy Tanker, 1x Heavy Pumper | Roseworthy |
| Shea-Oak Log Brigade | 1x Heavy Tanker | Shea-Oak Log |
| Two Wells District Brigade | 1x Heavy Tanker, 1x Heavy Pumper | Two Wells |
| Woolsheds/Wasleys Brigade | 1x Heavy Tanker | Woolsheds |
| Brigade: | Size: | Location: |
|---|---|---|
| Barossa Group Headquarters and Operations | 1x Bulk Water Carrier, 1x Command Vehicle, 1x Logistics Support Vehicle | Williamstown |
| Concordia Brigade | 1x Heavy Pumper, 1x Light Unit | Kalbeeba |
| Eden Valley Brigade | 1x Heavy Tanker | Eden Valley |
| Lyndoch Brigade | 1x Heavy Tanker, 1x Heavy Pumper | Lyndoch |
| Mount Pleasant Brigade | 1x Heavy Tanker, 1x Medium Pumper | Mount Pleasant |
| Springton Brigade | 1x Heavy Tanker | Springton |
| Williamstown Brigade | 1x Heavy Tanker, 1x Medium Pumper | Williamstown |
| Brigade: | Size: | Location: |
|---|---|---|
| Gumeracha Group Headquarters and Operations | 1x Bulk Water Carrier, 2x Command Vehicles, 1x Logistics Support Vehicle | Gumeracha |
| Birdwood Brigade | 1x Heavy Pumper, 1x Medium Tanker | Birdwood |
| Cudlee Creek Brigade | 1x Heavy Tanker | Cudlee Creek |
| Forreston Brigade | 1x Heavy Tanker | Forreston |
| Gumeracha Brigade | 1x Heavy Tanker, 1x Heavy Pumper | Gumeracha |
| Hermitage Brigade | 1x Heavy Tanker, 1x Light Tanker | Upper Hermitage |
| Kersbrook Brigade | 1x Heavy Tanker, 1x Light Tanker | Kersbrook |
| Mount Torrens Brigade | 1x Heavy Tanker | Mount Torrens |
| Paracombe Brigade | 1x Heavy Tanker, 1x Light Unit | Paracombe |
| Brigade: | Size: | Location: |
|---|---|---|
| Northern Barossa Group Headquarters and Operations | 1x Bulk Water Carrier, 1x Command Vehicle, 1x Logistics Support Vehicle | Angaston |
| Angaston Brigade | 1x Heavy Tanker, 1x Heavy Pumper | Angaston |
| Nuriootpa Brigade | 1x Heavy Tanker, 1x Heavy Pumper, 1x Heavy Urban Pumper, 1x HAZMAT Response Vehicle | Nuriootpa |
| Tanunda Brigade | 1x Heavy Tanker, 1x Heavy Pumper | Tanunda |
| Truro Brigade | 1x Heavy Tanker, 1x Light Unit | Truro |
| Brigade: | Size: | Location: |
|---|---|---|
| Gilbert Group Headquarters and Operations | 1x Bulk Water Carrier, 2x Command Vehicles, 1x Logistics Support Vehicle | Saddleworth |
| Auburn Brigade | 1x Heavy Tanker, 1x Light Unit | Auburn |
| Eudunda Brigade | 1x Heavy Tanker, 1x Medium Pumper | Eudunda |
| Manoora Brigade | 1x Heavy Tanker | Manoora |
| Marrabel Brigade | 1x Heavy Tanker | Marrabel |
| Neales Flat Brigade | 1x Light Tanker, 1x Light Unit | Neales Flat |
| Rhynie Brigade | 1x Light Tanker, 1x Light Unit | Rhynie |
| Riverton Brigade | 1x Heavy Tanker, 1x Heavy Pumper | Riverton |
| Robertstown Brigade | 1x Heavy Tanker | Robertstown |
| Saddleworth Brigade | 1x Heavy Tanker | Saddleworth |
| Tarlee Brigade | 1x Heavy Tanker | Tarlee |
| Tothill Brigade | 1x Heavy Tanker | Tothill Belt |
| Waterloo Brigade | 1x Heavy Tanker | Waterloo |
| Brigade: | Size: | Location: |
|---|---|---|
| Horrocks Group Headquarters and Operations | 1x Bulk Water Carrier, 1x Command Vehicle, 1x Logistics Support Vehicle | Clare |
| Clare Brigade | 1x Heavy Tanker, 1x Medium Pumper | Clare |
| Mintaro Brigade | 1x Heavy Tanker | Mintaro |
| Sevenhill/Penwortham Brigade | 1x Heavy Tanker | Sevenhill |
| Watervale Brigade | 1x Heavy Tanker, 1x Light Unit | Watervale |
| Brigade: | Size: | Location: |
|---|---|---|
| Northern Yorke Peninsula Group Headquarters and Operations | 1x Bulk Water Carrier, 1x Command Vehicle, 1x Logistics Support Vehicle | Kadina |
| Alford Brigade | 1x Heavy Tanker | Alford |
| Bute Brigade | 1x Heavy Pumper, 1x Light Unit | Bute |
| Cunliffe Brigade | 1x Heavy Tanker | Cunliffe |
| Kadina Brigade | 1x Heavy Tanker, 1x Medium Pumper, 1x Rescue Truck | Kadina |
| Paskeville Brigade | 1x Heavy Tanker | Paskeville |
| South Hummocks Brigade | 1x Heavy Tanker | South Hummocks |
| Brigade: | Size: | Location: |
|---|---|---|
| Southern Yorke Group Headquarters and Operations | 1x Bulk Water Carrier, 2x Command Vehicles, 1x Logistics Support Vehicle | Yorketown |
| Brentwood Brigade | 1x Heavy Pumper | Brentwood |
| Corny Point Brigade | 1x Heavy Tanker | Corny Point |
| Curramulka Brigade | 1x Heavy Tanker | Curramulka |
| Edithburgh Brigade | 1x Heavy Tanker | Edithburgh |
| Marion Bay Brigade | 1x Heavy Tanker, 1x Light Unit | Marion Bay |
| Minlaton Brigade | 1x Heavy Tanker, 1x Heavy Pumper | Minlaton |
| Port Vincent Brigade | 1x Heavy Pumper | Port Vincent |
| Stansbury Brigade | 1x Heavy Tanker | Stansbury |
| Warooka Brigade | 1x Heavy Tanker, 1x Heavy Pumper | Warooka |
| Yorketown Brigade | 1x Heavy Pumper, 1x Medium Pumper | Yorketown |
| Brigade: | Size: | Location: |
|---|---|---|
| Wakefield Plains Group Headquarters and Operations | 1x Bulk Water Carrier, 1x Command Vehicle, 1x Logistics Support Vehicle | Balaklava |
| Alma Brigade | 1x Heavy Tanker | Alma |
| Avon Brigade | 1x Heavy Tanker | Avon |
| Balaklava Brigade | 1x Heavy Tanker, 1x Medium Pumper | Balaklava |
| Hamley Bridge Brigade | 1x Heavy Tanker, 1x Heavy Pumper | Hamley Bridge |
| Mount Templeton Brigade | 1x Heavy Tanker | Mount Templeton |
| Nantawarra Brigade | 1x Heavy Tanker | Nantawarra |
| Owen Brigade | 1x Heavy Tanker | Owen |
| Port Wakefield Brigade | 2x Heavy Pumpers | Port Wakefield |
| Brigade: | Size: | Location: |
|---|---|---|
| Yorke Valley Group Headquarters and Operations | 1x Bulk Water Carrier, 1x Command Vehicle, 1x Logistics Support Vehicle | Maitland |
| Ardrossan Brigade | 1x Heavy Tanker, 1x Medium Pumper | Ardrossan |
| Balgowan Brigade | 1x Heavy Tanker | Balgowan |
| Maitland Brigade | 1x Heavy Tanker, 1x Heavy Pumper | Maitland |
| Port Clinton and District Brigade | 1x Heavy Tanker | Port Clinton |
| Port Victoria Brigade | 1x Heavy Tanker, 1x Light Unit | Port Victoria |
| Weetulta/Nalyappa Brigade | 1x Heavy Tanker | Nalyappa |
| Unit: | Size: | Base: |
|---|---|---|
| Region 3 Headquarters and Operations | 2x Heavy Tankers, 1x Heavy Pumper, 1x Medium Pumper, 1x Light Tanker, 1x Command Vehicle, 1x Logistics Truck | Murray Bridge |
| Brigade: | Size: | Location: |
|---|---|---|
| Chaffey Group Headquarters and Operations | 1x Bulk Water Carrier, 2x Command Vehicles, 1x Logistics Support Vehicle | Berri |
| Barmera Brigade | 1x Heavy Tanker, 1x Medium Pumper, 1x Light Unit | Barmera |
| Browns Well Brigade | 1x Heavy Tanker | Paruna |
| Glossop Brigade | 1x Heavy Pumper | Glossop |
| Lyrup Brigade | 1x Heavy Tanker | Lyrup |
| Monash Brigade | 1x Heavy Pumper, 1x Light Unit | Monash |
| Moorook Brigade | 1x Heavy Tanker | Moorook South |
| Paringa Brigade | 1x Heavy Pumper, 1x Light Tanker | Paringa |
| Taplan Brigade | 1x Heavy Tanker | Taplan |
| Wunkar Brigade | 1x Heavy Tanker | Wunkar |
| Brigade: | Size: | Location: |
|---|---|---|
| Mid Murray Group Headquarters and Operations | 1x Bulk Water Carrier, 1x Command Vehicle, 1x Logistics Support Vehicle | Waikerie |
| Blanchetown Brigade | 1x Heavy Tanker, 1x Light Tanker | Blanchetown |
| Cadell Brigade | 1x Heavy Tanker, 1x Heavy Pumper, 1x Light Unit | Cadell |
| Eastern Districts Brigade | 1x Light Unit | Warnes |
| Morgan Brigade | 1x Heavy Pumper, 1x Light Unit | Morgan |
| Waikerie Brigade | 1x Heavy Tanker, 1x Heavy Pumper, 1x Light Unit, 1x Rescue Truck | Waikerie |
| Brigade: | Size: | Location: |
|---|---|---|
| Ridley Group Headquarters and Operations | 1x Bulk Water Carrier, 2x Command Vehicles, 1x Logistics Support Vehicle | Cambrai |
| Cambrai Brigade | 1x Heavy Tanker | Cambrai |
| Keyneton Brigade | 1x Light Tanker, 1x Light Unit | Keyneton |
| Palmer Brigade | 1x Heavy Tanker | Palmer |
| Sedan Brigade | 1x Heavy Tanker, 1x Light Unit | Sedan |
| Swan Reach Brigade | 1x Heavy Tanker, 1x Light Tanker | Swan Reach |
| Walker Flat Brigade | 1x Heavy Tanker | Walker Flat |
| Brigade: | Size: | Location: |
|---|---|---|
| Swanport Group Headquarters and Operations | 1x Bulk Water Carrier, 2x Command Vehicles, 1x Logistics Support Vehicle | Murray Bridge |
| Callington Brigade | 1x Heavy Tanker | Callington |
| Ettrick Brigade | 1x Heavy Tanker | Ettrick |
| Jervois Brigade | 1x Heavy Tanker, 1x Logistics Support Vehicle | Jervois |
| Mannum Brigade | 1x Medium Tanker, 1x Medium Pumper | Mannum |
| Monarto Brigade | 1x Heavy Pumper | Monarto South |
| Murray Bridge Brigade | 1x Heavy Pumper, 1x Heavy Urban Pumper, 1x Light Unit, 1x HAZMAT Response Vehicle | Murray Bridge |
| Mypolonga Brigade | 1x Medium Tanker | Mypolonga |
| Rockleigh Brigade | 1x Medium Tanker | Rockleigh |
| Tailem Bend Brigade | 1x Heavy Tanker, 1x Heavy Pumper, 1x Rescue Truck | Tailem Bend |
| Brigade: | Size: | Location: |
|---|---|---|
| Mallee Group Headquarters and Operations | 2x Bulk Water Carriers, 2x Command Vehicles, 1x Logistics Support Vehicle | Lameroo |
| Bowhill and Districts Brigade | 1x Heavy Tanker | Bowhill |
| Galga and Districts Brigade | 1x Heavy Tanker | Galga |
| Geranium Brigade | 1x Heavy Tanker | Geranium |
| Halidon and District Brigade | 1x Heavy Tanker | Halidon |
| Karoonda Brigade | 1x Heavy Tanker, 1x Heavy Pumper | Karoonda |
| Kulkami/Marama Brigade | 1x Heavy Tanker | Lameroo (North) |
| Lameroo Brigade | 1x Heavy Tanker, 1x Heavy Pumper | Lameroo (South) |
| Parilla Brigade | 1x Medium Tanker | Parilla |
| Pinnaroo Brigade | 1x Heavy Pumper, 1x Light Tanker | Pinnaroo |
| Wynarka Brigade | 1x Heavy Tanker | Wynarka |
| Brigade: | Size: | Location: |
|---|---|---|
| Coorong Group Headquarters and Operations | 1x Bulk Water Carrier, 2x Command Vehicles, 1x Logistics Support Vehicle | Coonalpyn |
| Colebatch Brigade | 1x Heavy Tanker | Colebatch |
| Cooke Plains Brigade | 1x Heavy Tanker | Cooke Plains |
| Coomandook Brigade | 1x Heavy Tanker | Coomandook |
| Ki Ki Brigade | 1x Medium Tanker | Ki Ki |
| Coombe Brigade | 1x Heavy Tanker | Coombe |
| Coonalpyn Brigade | 1x Heavy Tanker, 1x Medium Pumper, 1x Light Unit | Coonalpyn |
| Field Brigade | 1x Heavy Tanker | Field |
| Jabuk Brigade | 1x Heavy Tanker | Jabuk |
| Meningie Brigade | 1x Heavy Tanker, 1x Heavy Pumper | Meningie |
| Narrung Brigade | 1x Heavy Tanker | Narrung |
| Netherton Brigade | 1x Heavy Tanker | Netherton |
| Peake Brigade | 1x Heavy Tanker | Peake |
| Salt Creek Brigade | 1x Heavy Tanker | Salt Creek |
| Sherlock/Moorlands Brigade | 1x Heavy Tanker | Sherlock |
| Tintinara Brigade | 1x Heavy Tanker, 1x Light Unit | Tintinara |
| Unit: | Size: | Base: |
|---|---|---|
| Region 4 Headquarters and Operations | 1x Heavy Tanker, 2x Heavy Pumpers, 2x Medium Pumpers, 5x Light Units, 1x Bulk Water Carrier, 5x Command Vehicles, 1x Logistics Support Vehicle, 2x Logistics Trucks | Port Augusta |
| Region 4 Air Operations | 3x Air Tractor AT-802s, 2x Eurocopter AS350 Squirrels, 1x Logistics Support Vehicle | Hoyleton Airbase |
| Brigade: | Size: | Location: |
|---|---|---|
| North-West Group Headquarters and Operations | 1x Bulk Water Carrier, 2x Command Vehicles, 1x Logistics Support Vehicle | Marla |
| Amata Brigade | 1x Heavy Tanker | Amata (Musgrave Park) |
| Fregon Brigade | 1x Light Tanker | Kaltjiti (Fregon) |
| Marla Brigade | 1x Heavy Tanker | Marla |
| Mimili Brigade | 1x Heavy Tanker | Mimili (Everard Park) |
| Pip-Kalka Brigade | 1x Light Tanker | Pipalyatjara (Mount Davies) |
| Ernabella Brigade | 1x Heavy Tanker | Pukatja (Ernabella) |
| Brigade: | Size: | Location: |
|---|---|---|
| Pastoral Group Headquarters and Operations | 1x Bulk Water Carrier, 2x Command Vehicles, 1x Logistics Support Vehicle | Coober Pedy |
| Andamooka Brigade | 1x Heavy Tanker | Andamooka |
| Beverley Industrial Brigade | 1x Heavy Tanker | Wooltana |
| Carrapateena Industrial Brigade | 1x Heavy Pumper, 1x Light Unit, 1x Rescue Truck, 2x 4WD Ambulances | Pernatty |
| Prominent Hill Industrial Brigade | 1x Heavy Pumper, 1x Heavy Urban Pumper, 1x Rescue Truck | Ingomar |
| Coober Pedy Brigade | 2x Heavy Pumpers | Coober Pedy |
| Glendambo Brigade | 1x Medium Tanker | Glendambo |
| Marree Brigade | 1x Medium Tanker | Marree |
| Nepabunna Brigade | 1x Medium Tanker | Nepabunna Community |
| Oodnadatta Brigade | 1x Heavy Tanker | Oodnadatta |
| Roxby Downs Brigade | 2x Heavy Pumpers, 1x Light Unit | Roxby Downs |
| Woomera Brigade | 1x Heavy Pumper, 1x Heavy Urban Pumper, 1x Light Unit | Woomera Village |
| Brigade: | Size: | Location: |
|---|---|---|
| Black Rock Group Headquarters and Operations | 1x Bulk Water Carrier, 1x Command Vehicle, 1x Logistics Support Vehicle | Orroroo |
| Carrieton Brigade | 1x Heavy Tanker | Carrieton |
| Orroroo Brigade | 1x Heavy Tanker, 1x Medium Pumper | Orroroo |
| Pekina Brigade | 1x Heavy Tanker | Pekina |
| Peterborough Brigade | 1x Heavy Pumper | Peterborough |
| Yongala and Districts Brigade | 1x Heavy Tanker, 1x Light Tanker | Yongala |
| Yunta Brigade | 1x Heavy Pumper, 1x Light Tanker | Yunta |
| Brigade: | Size: | Location: |
|---|---|---|
| Blyth/Snowtown Group Headquarters and Operations | 1x Bulk Water Carrier, 1x Command Vehicle, 1x Logistics Support Vehicle | Snowtown |
| Blyth Brigade | 1x Heavy Tanker | Blyth |
| Brinkworth Brigade | 1x Heavy Tanker | Brinkworth |
| Hoyleton Brigade | 1x Heavy Tanker | Hoyleton |
| Lochiel Brigade | 1x Heavy Tanker | Lochiel |
| Snowtown Brigade | 1x Heavy Tanker | Snowtown |
| Brigade: | Size: | Location: |
|---|---|---|
| Bundaleer Group Headquarters and Operations | 1x Bulk Water Carrier, 1x Command Vehicle, 1x Logistics Support Vehicle, 1x Light Unit | Jamestown |
| Caltowie Brigade | 1x Heavy Tanker | Caltowie |
| Georgetown Brigade | 1x Heavy Tanker | Georgetown |
| Gladstone Brigade | 1x Heavy Tanker | Gladstone |
| Gulnare Brigade | 1x Heavy Tanker | Gulnare |
| Jamestown Brigade | 2x Heavy Pumpers, 1x Medium Pumper | Jamestown |
| Laura Brigade | 1x Heavy Tanker | Laura |
| Narridy Brigade | 1x Heavy Tanker | Narridy |
| Yacka Brigade | 1x Heavy Tanker | Yacka |
| Brigade: | Size: | Location: |
|---|---|---|
| Burra Group Headquarters and Operations | 1x Bulk Water Carrier, 1x Command Vehicle, 1x Logistics Support Vehicle | Burra |
| Baldina Brigade | 1x Light Tanker | Burra (East) |
| Booborowie Brigade | 1x Heavy Tanker | Booborowie |
| Burra Brigade | 1x Heavy Tanker, 1x Heavy Pumper, 1x Light Unit | Burra |
| Farrell Flat Brigade | 1x Heavy Tanker | Farrell Flat |
| Mount Bryan Brigade | 1x Heavy Tanker | Mount Bryan |
| Brigade: | Size: | Location: |
|---|---|---|
| Flinders Group Headquarters and Operations | 1x Bulk Water Carrier, 1x Command Vehicle, 1x Logistics Support Vehicle | Stirling North |
| Hawker Brigade | 1x Heavy Tanker, 1x Light Tanker | Hawker |
| Leigh Creek/Copley Brigade | 1x Heavy Tanker | Leigh Creek |
| Iron Knob Brigade | 1x Heavy Tanker | Iron Knob |
| Quorn and District Brigade | 1x Heavy Pumper, 1x Light Tanker | Quorn |
| Stirling North Brigade | 1x Heavy Tanker, 1x Heavy Pumper, 1x Medium Pumper, 1x HAZMAT Response Vehicle | Stirling North |
| Wilpena Brigade | 1x Heavy Tanker | Blinman |
| Brigade: | Size: | Location: |
|---|---|---|
| Hallett Group Headquarters and Operations | 1x Bulk Water Carrier, 1x Command Vehicle, 1x Logistics Support Vehicle | Hallett |
| Hallett Brigade | 1x Heavy Tanker | Hallett |
| Spalding Brigade | 2x Heavy Tankers | Spalding |
| Terowie Brigade | 1x Heavy Tanker, 1x Light Unit | Terowie |
| Whyte Yarcowie Brigade | 1x Heavy Tanker | Whyte Yarcowie |
| Brigade: | Size: | Location: |
|---|---|---|
| Mount Remarkable Group Headquarters and Operations | 1x Bulk Water Carrier, 1x Command Vehicle, 1x Logistics Support Vehicle, 1x Light Unit | Melrose |
| Appila Brigade | 1x Heavy Tanker | Appila |
| Booleroo Centre Brigade | 1x Heavy Pumper, 1x Light Tanker | Booleroo Centre |
| Melrose Brigade | 1x Heavy Tanker, 1x Logistics Support Vehicle | Melrose |
| Port Germein Brigade | 1x Heavy Tanker | Port Germein |
| Wilmington Brigade | 1x Heavy Pumper, 1x Light Tanker | Wilmington |
| Wirrabara Brigade | 1x Heavy Tanker | Wirrabara |
| Brigade: | Size: | Location: |
|---|---|---|
| Spencer Group Headquarters and Operations | 1x Bulk Water Carrier, 1x Command Vehicle, 1x Logistics Support Vehicle, 1x Light Unit | Crystal Brook |
| Crystal Brook Brigade | 1x Heavy Tanker, 1x Heavy Pumper | Crystal Brook |
| Koolunga Brigade | 1x Medium Tanker | Koolunga |
| Mundoora Brigade | 1x Heavy Tanker | Mundoora |
| Napperby Brigade | 1x Heavy Pumper | Napperby |
| Port Broughton Brigade | 1x Heavy Tanker, 1x Heavy Pumper | Port Broughton |
| Redhill Brigade | 1x Heavy Tanker | Redhill |
| Wandearah Brigade | 1x Heavy Tanker | Wandearah |
| Wards Hill Brigade | 1x Heavy Tanker | Ward Hill |
| Warnertown Brigade | 1x Heavy Tanker | Warnertown |
| Unit: | Size: | Base: |
|---|---|---|
| Region 5 Headquarters and Operations | 1x Heavy Tanker, 2x Heavy Pumpers, 1x Medium Pumper, 1x Logistics Support Vehicle | Naracoorte |
| Region 5 Air Operations | 3x Air Tractor AT-802s, 1x Sikorsky UH-60L Black Hawk, 3x Eurocopter AS350 Squirrels, 1x Logistics Truck | Mount Gambier Airport |
| Region 5 Training Centre | Wild Dog Valley |
| Brigade: | Size: | Location: |
|---|---|---|
| Mount Gambier District Group Headquarters and Operations | 1x Bulk Water Carrier, 1x Command Vehicle, 1x Logistics Support Vehicle | Mount Gambier |
| Compton Brigade | 1x Heavy Pumper | Suttontown |
| Mil Lel Brigade | 1x Heavy Pumper | Mil-Lel |
| Moorak Brigade | 1x Heavy Pumper | Moorak |
| Pleasant Park Brigade | 1x Heavy Tanker | Pleasant Park |
| Tarpeena Brigade | 1x Heavy Tanker | Tarpeena |
| Wandilo Brigade | 1x Heavy Pumper | Wandilo |
| Yahl Brigade | 1x Heavy Tanker | Yahl |
| Brigade: | Size: | Location: |
|---|---|---|
| Naracoorte Group Headquarters and Operations | 1x Bulk Water Carrier, 2x Command Vehicles, 1x Logistics Support Vehicle | Naracoorte |
| Naracoorte Brigade | 1x Heavy Pumper, 1x Heavy Urban Pumper, 1x Rescue Truck, 1x HAZMAT Response Vehicle | Naracoorte |
| Bool Lagoon Brigade | 1x Heavy Tanker | Bool Lagoon |
| Cadgee Brigade | 1x Heavy Tanker | Cadgee |
| Frances Brigade | 1x Heavy Tanker | Frances |
| Hynam Brigade | 1x Heavy Tanker, 1x Light Tanker | Hynam |
| Wrattonbully-Joanna Brigade | 1x Heavy Tanker | Joanna |
| Kybybolite Brigade | 1x Heavy Tanker | Kybybolite |
| Lochaber Brigade | 1x Heavy Tanker | Lochaber |
| Brigade: | Size: | Location: |
|---|---|---|
| Wattle Range Group Headquarters and Operations | 1x Bulk Water Carrier, 2x Command Vehicles, 1x Logistics Support Vehicle | Millicent |
| Argyle Brigade | 1x Heavy Tanker | Sebastopol |
| Beachport Town Brigade | 1x Heavy Tanker, 1x Light Unit | Beachport |
| Furner Brigade | 1x Heavy Tanker | Furner |
| Glencoe Brigade | 1x Heavy Tanker | Glencoe |
| Millicent Brigade | 1x Heavy Tanker, 1x Heavy Pumper, 1x Rescue Truck | Millicent |
| Mount Burr Brigade | 1x Heavy Tanker | Mount Burr |
| Rendelsham Brigade | 1x Heavy Tanker | Rendelsham |
| Southend Brigade | 1x Heavy Tanker | Southend |
| Tantanoola Brigade | 1x Heavy Pumper | Tantanoola |
| Thornlea Brigade | 1x Heavy Tanker | Thornlea |
| Brigade: | Size: | Location: |
|---|---|---|
| Tatiara Group Headquarters and Operations | 1x Heavy Tanker, 1x Medium Tanker, 1x Bulk Water Carrier, 2x Command Vehicles, 1x Logistics Support Vehicle | Bordertown |
| Bangham Brigade | 1x Heavy Tanker | Bangham |
| Bordertown Brigade | 1x Heavy Tanker, 1x Heavy Urban Pumper, 1x Light Unit | Bordertown |
| Keith Brigade | 1x Heavy Tanker, 1x Heavy Pumper | Keith |
| Kongal Brigade | 1x Heavy Tanker | Buckingham |
| Laffer Brigade | 1x Heavy Tanker | Laffer |
| McCallum Brigade | 1x Medium Tanker | Shaugh |
| Mundulla Brigade | 1x Heavy Tanker | Mundulla |
| Padthaway Brigade | 1x Heavy Pumper, 1x Medium Tanker | Padthaway |
| Senior Brigade | 1x Heavy Tanker | Senior |
| Sherwood Brigade | 1x Heavy Tanker | Sherwood |
| Western Flat Brigade | 1x Heavy Tanker | Western Flat |
| Willalooka Brigade | 1x Heavy Tanker | Willalooka |
| Wolseley Brigade | 1x Heavy Tanker | Wolseley |
| Brigade: | Size: | Location: |
|---|---|---|
| Lacepede Group Headquarters and Operations | 1x Bulk Water Carrier, 1x Command Vehicle, 1x Logistics Support Vehicle | Kingston SE |
| Keilira and District Brigade | 1x Heavy Tanker | Keilira |
| Kingston Brigade | 1x Heavy Tanker, 1x Heavy Pumper | Kingston SE |
| Marcollat Brigade | 1x Heavy Tanker | Marcollat |
| Reedy Creek Brigade | 1x Heavy Tanker | Reedy Creek |
| Taratap Brigade | 1x Heavy Tanker | Taratap |
| Tilley Swamp Brigade | 1x Heavy Tanker | Tilley Swamp |
| Brigade: | Size: | Location: |
|---|---|---|
| MacKillop Group Headquarters and Operations | 1x Bulk Water Carrier, 1x Command Vehicle, 1x Logistics Support Vehicle | Penola |
| Comaum Brigade | 1x Heavy Tanker | Comaum |
| Coonawarra Brigade | 1x Heavy Tanker | Coonawarra |
| Kalangadoo Brigade | 1x Heavy Tanker | Kalangadoo |
| Maaoupe Brigade | 1x Heavy Tanker | Maaoupe |
| Monbulla Brigade | 1x Heavy Tanker | Wattle Range East |
| Mount Graham Brigade | 1x Heavy Tanker | Wattle Range |
| Mount McIntyre Brigade | 1x Heavy Tanker | Mount McIntyre |
| Nangwarry Brigade | 1x Heavy Tanker | Nangwarry |
| Penola Brigade | 1x Heavy Tanker, 2x Heavy Pumpers | Penola |
| Brigade: | Size: | Location: |
|---|---|---|
| Lucindale Group Headquarters and Operations | 1x Bulk Water Carrier, 1x Command Vehicle, 1x Logistics Support Vehicle | Lucindale |
| Avenue Range Brigade | 1x Heavy Tanker | Avenue Range |
| Biscuit Flat Brigade | 1x Heavy Tanker | Conmurra |
| Callendale Brigade | 1x Heavy Tanker | Fox |
| Greenways Brigade | 1x Heavy Tanker | Greenways |
| Lucindale Brigade | 1x Heavy Tanker, 1x Medium Pumper | Lucindale |
| Spence Brigade | 1x Heavy Tanker | Spence |
| Stewarts Range Brigade | 1x Heavy Tanker | Stewarts Range |
| Woolumbool Brigade | 1x Heavy Tanker | Woolumbool |
| Brigade: | Size: | Location: |
|---|---|---|
| Robe Group Headquarters and Operations | 1x Bulk Water Carrier, 1x Command Vehicle, 1x Logistics Support Vehicle | Robe |
| Robe Town Brigade | 1x Heavy Pumper, 1x Medium Pumper, 1x Light Unit | Robe |
| Bray Brigade | 1x Heavy Tanker | Bray |
| Mount Benson Brigade | 1x Heavy Tanker | Mount Benson |
| Brigade: | Size: | Location: |
|---|---|---|
| Kingsley Group Headquarters and Operations | 1x Bulk Water Carrier, 1x Command Vehicle, 1x Logistics Support Vehicle | Port MacDonnell |
| Allendale East Brigade | 1x Heavy Tanker | Allendale East |
| Blackfellows Caves Brigade | 1x Heavy Tanker | Blackfellows Caves |
| Donovans Brigade | 1x Heavy Tanker | Donovans |
| Kongorong Brigade | 1x Heavy Tanker | Kongorong |
| Mount Schank Brigade | 1x Heavy Tanker | Mount Schank |
| Port MacDonnell Brigade | 1x Heavy Pumper, 1x Light Tanker | Port MacDonnell |
| Unit: | Size: | Base: |
|---|---|---|
| Region 6 Headquarters and Operations | 1x Heavy Tanker, 2x Heavy Pumpers, 2x Medium Pumpers, 1x Light Tanker, 1x Bulk Water Carrier, 3x Command Vehicles, 1x Logistics Truck, 1x Logistics Support Vehicle | Port Lincoln |
| Region 6 Air Operations | 3x Air Tractor AT-802s, 1x Sikorsky UH-60L Black Hawk, 2x Eurocopter AS350 Squirrels, 1x Logistics Truck | Port Lincoln Airport |
| Brigade: | Size: | Location: |
|---|---|---|
| Lower Eyre Peninsula Group Headquarters and Operations | 1x Bulk Water Carrier, 2x Command Vehicles, 2x Logistics Support Vehicles | Port Lincoln |
| Coffin Bay Brigade | 1x Heavy Pumper, 1x Light Tanker | Coffin Bay |
| Coulta Brigade | 1x Heavy Tanker | Coulta |
| Cummins Brigade | 1x Heavy Tanker, 1x Medium Pumper | Cummins |
| Edillilie Brigade | 1x Heavy Tanker | Edillilie |
| Greenpatch Brigade | 1x Heavy Tanker | Greenpatch |
| Kapinnie Brigade | 1x Heavy Tanker | Kapinnie |
| Karkoo Brigade | 1x Heavy Tanker | Karkoo |
| Lincoln Brigade | 2x Heavy Pumpers, 1x HAZMAT Response Vehicle | Port Lincoln |
| Mount Hope Brigade | 1x Heavy Tanker | Mount Hope |
| North Shields Brigade | 1x Heavy Pumper | North Shields |
| Wangary Brigade | 1x Heavy Tanker | Wangary |
| Wanilla Brigade | 1x Heavy Tanker | Wanilla |
| White Flat Brigade | 1x Heavy Tanker | White Flat |
| Yeelanna Brigade | 1x Heavy Tanker | Yeelanna |
| Brigade: | Size: | Location: |
|---|---|---|
| Caralue Group Headquarters and Operations | 1x Bulk Water Carrier, 1x Command Vehicle, 1x Logistics Support Vehicle | Kimba |
| Buckleboo Brigade | 1x Heavy Tanker | Buckleboo |
| Cootra Brigade | 1x Heavy Tanker | Cootra |
| Kimba Brigade | 1x Heavy Tanker, 1x Heavy Pumper | Kimba |
| Minnipa Brigade | 1x Heavy Tanker | Minnipa |
| Mount Damper and District Brigade | 1x Heavy Tanker | Mount Damper |
| Waddikee Brigade | 1x Heavy Tanker | Waddikee |
| Warramboo Brigade | 1x Heavy Tanker | Warramboo |
| Wudinna Brigade | 1x Heavy Tanker, 1x Medium Pumper, 1x Light Unit, 1x Logistics Support Vehicle | Wudinna |
| Yalanda James Brigade | 2x Light Tankers | Yalanda |
| Brigade: | Size: | Location: |
|---|---|---|
| Eastern Eyre Group Headquarters and Operations | 1x Bulk Water Carrier, 1x Command Vehicle, 1x Logistics Support Vehicle | Cleve |
| Arno Bay Brigade | 1x Heavy Tanker | Arno Bay |
| Cleve Brigade | 2x Heavy Tankers | Cleve |
| Cowell Brigade | 1x Medium Pumper, 1x Light Tanker | Cowell |
| Darke Peak Brigade | 1x Heavy Tanker | Darke Peak |
| Gum Flat Brigade | 1x Light Tanker | Campoona |
| Mangalo Brigade | 1x Heavy Tanker | Mangalo |
| Pondooma Brigade | 1x Heavy Tanker | Minbrie |
| Rudall Brigade | 1x Heavy Tanker | Rudall |
| Tuckey Brigade | 1x Heavy Tanker | Tuckey |
| Wharminda Brigade | 1x Heavy Tanker | Wharminda |
| Brigade: | Size: | Location: |
|---|---|---|
| Tumby Bay and District Group Headquarters and Operations | 1x Bulk Water Carrier, 1x Command Vehicle, 1x Logistics Support Vehicle | Tumby Bay |
| Brooker Brigade | 1x Heavy Tanker | Brooker |
| Butler Brigade | 1x Heavy Tanker | Butler |
| Cockaleechie Brigade | 1x Heavy Tanker | Coackaleechie |
| Koppio Brigade | 1x Heavy Tanker | Koppio |
| Lipson and District Brigade | 1x Heavy Tanker | Lipson |
| Port Neill Brigade | 1x Heavy Tanker | Port Neill |
| Tumby Bay Brigade | 1x Heavy Tanker, 1x Heavy Pumper, 1x Light Unit | Tumby Bay |
| Ungarra Brigade | 1x Heavy Tanker | Ungarra |
| Yallunda Flat Brigade | 1x Heavy Tanker | Yallunda Flat |
| Brigade: | Size: | Location: |
|---|---|---|
| Elliston Group Headquarters and Operations | 1x Bulk Water Carrier, 1x Command Vehicle, 1x Logistics Support Vehicle | Elliston |
| Elliston Brigade | 1x Heavy Tanker, 1x Light Tanker | Elliston |
| Lock and Districts Brigade | 1x Heavy Tanker, 1x Light Tanker | Lock |
| Mount Wedge Brigade | 1x Heavy Tanker | Mount Wedge |
| Murdinga Brigade | 1x Heavy Tanker | Murdinga |
| Port Kenny Brigade | 1x Heavy Tanker | Port Kenny |
| Sheringa Brigade | 1x Heavy Tanker, 1x Light Unit | Sheringa |
| Tooligie Hill Brigade | 1x Heavy Tanker | Tooligie Hill |
| Brigade: | Size: | Location: |
|---|---|---|
| Western Eyre and Far West Group Headquarters and Operations | 1x Bulk Water Carrier, 2x Command Vehicles, 1x Logistics Support Vehicle | Ceduna |
| Calca Brigade | 1x Heavy Tanker | Calca |
| Ceduna Brigade | 1x Heavy Tanker, 1x Heavy Pumper, 1x Light Tanker | Ceduna |
| Far West Brigade | 1x Heavy Tanker, 1x Bulk Water Carrier | Coorabie |
| Penong Brigade | 1x Heavy Tanker | Penong |
| Poochera and District Brigade | 1x Heavy Tanker | Poochera |
| Sceale Bay Brigade | 1x Heavy Tanker | Sceale Bay |
| Smoky Bay Brigade | 1x Heavy Tanker | Smoky Bay |
| Streaky Bay Brigade | 1x Heavy Pumper, 1x Medium Tanker | Streaky Bay |
| Wirrulla and District Brigade | 1x Heavy Pumper, 1x Light Tanker | Wirrulla |
 |  |
| Type: | Amount: | Image: |
|---|---|---|
| Paramedics | 2,600 | 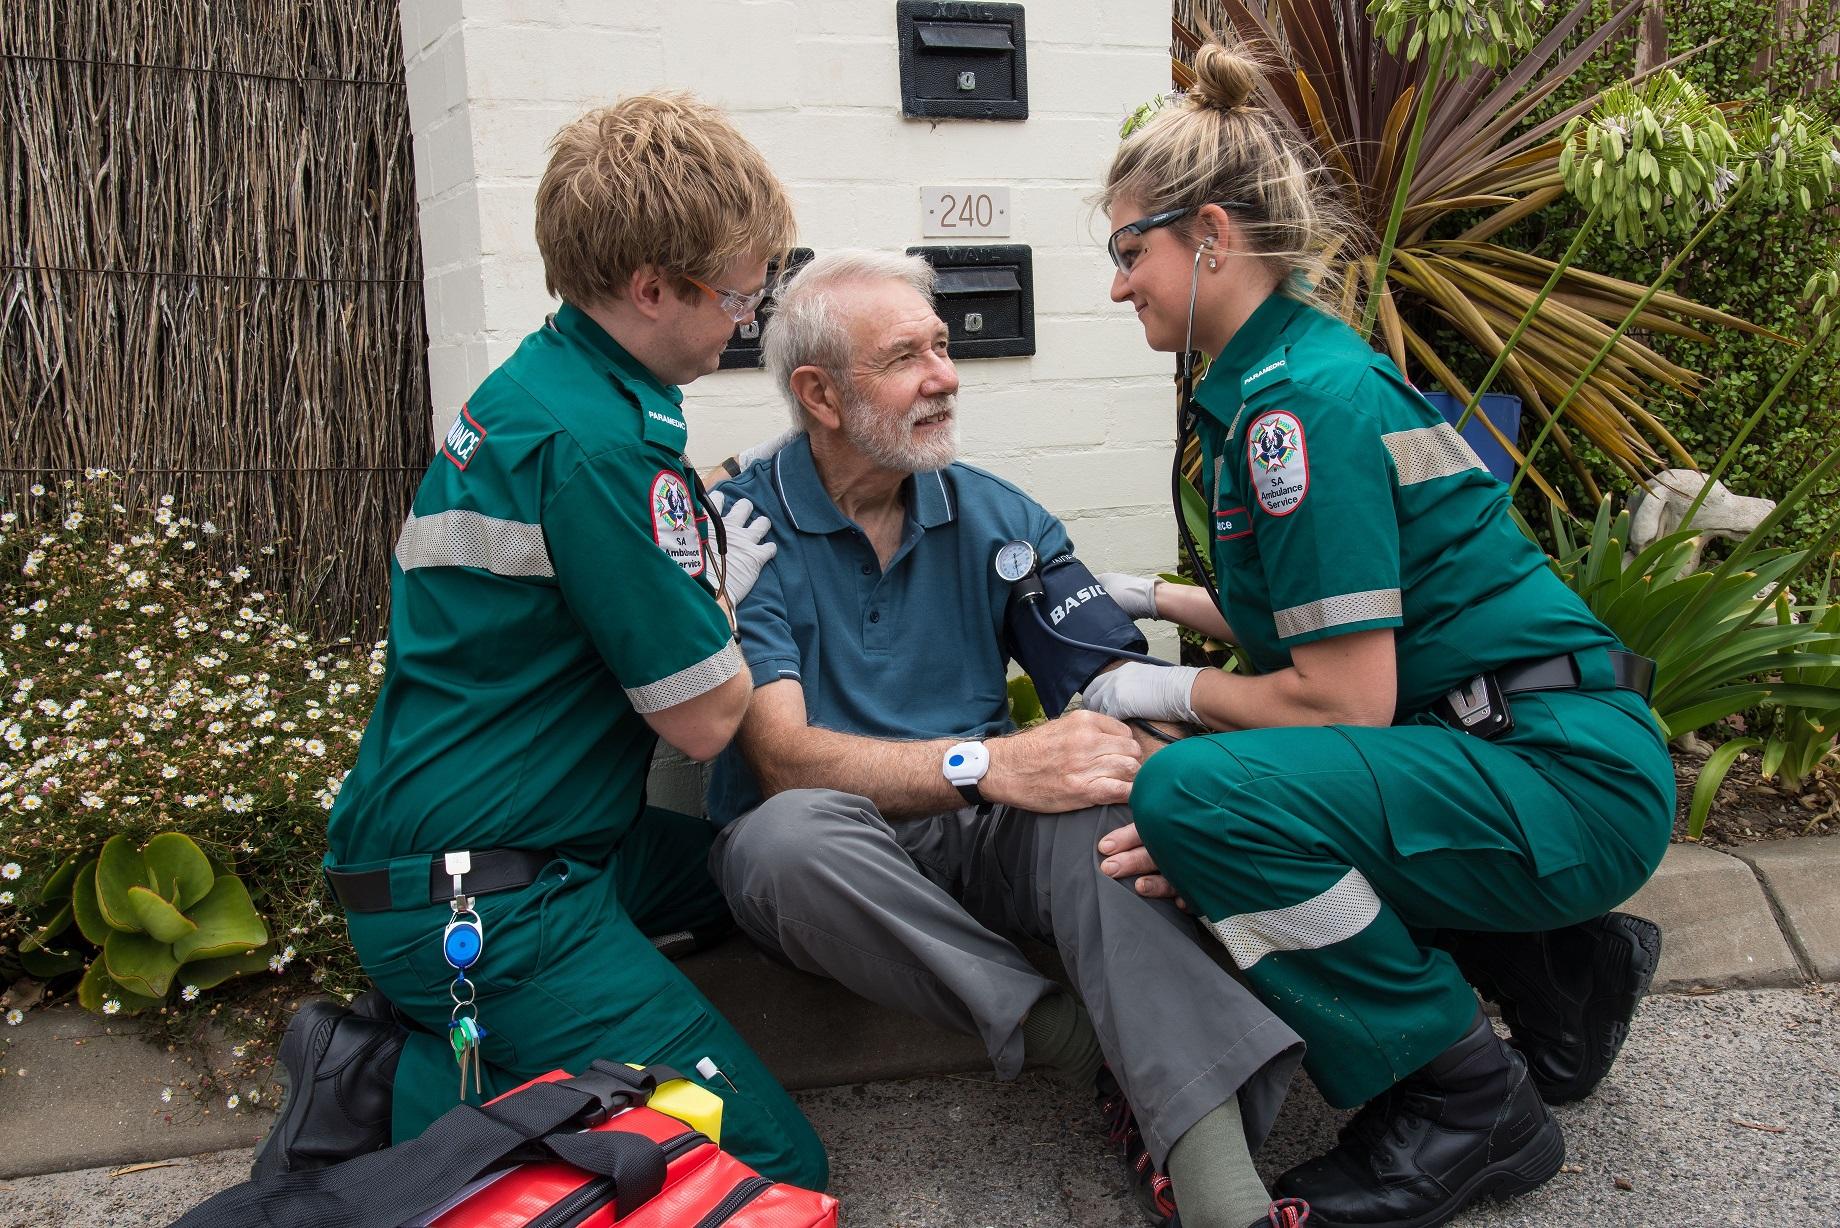 |
| Special Operations Paramedics | 50 | 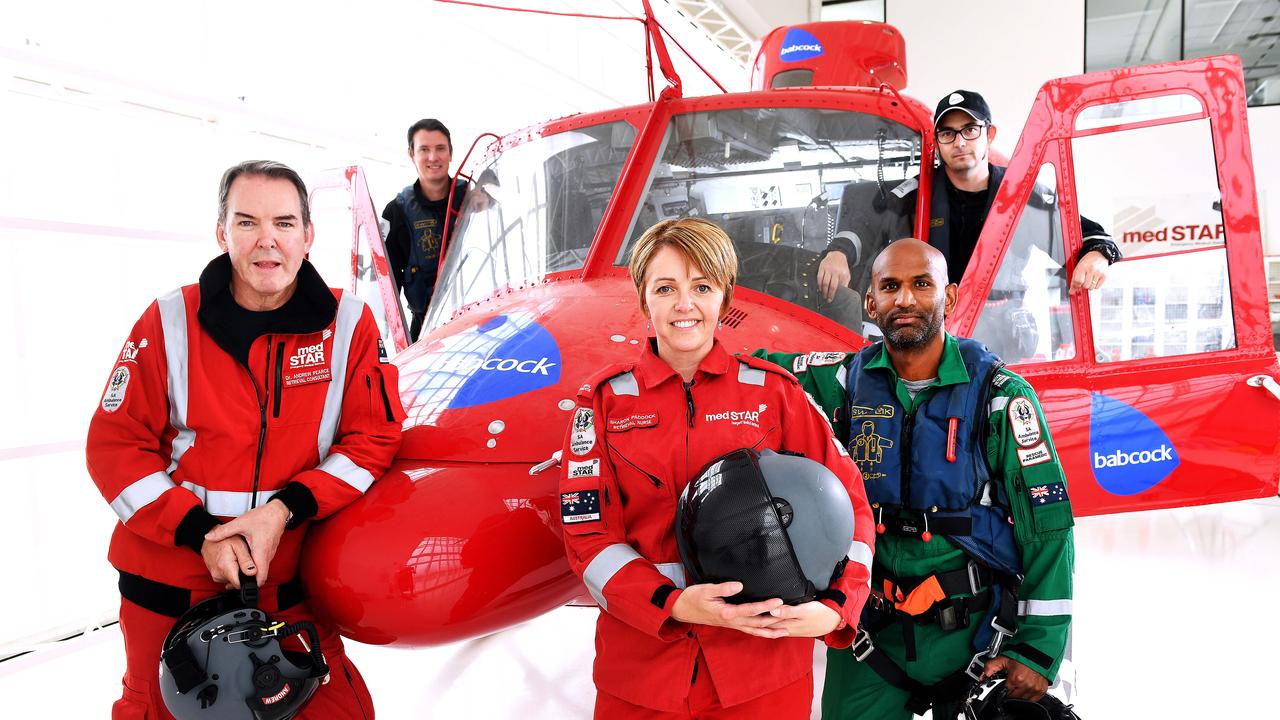 |
| Volunteer Paramedics | 1,330 | 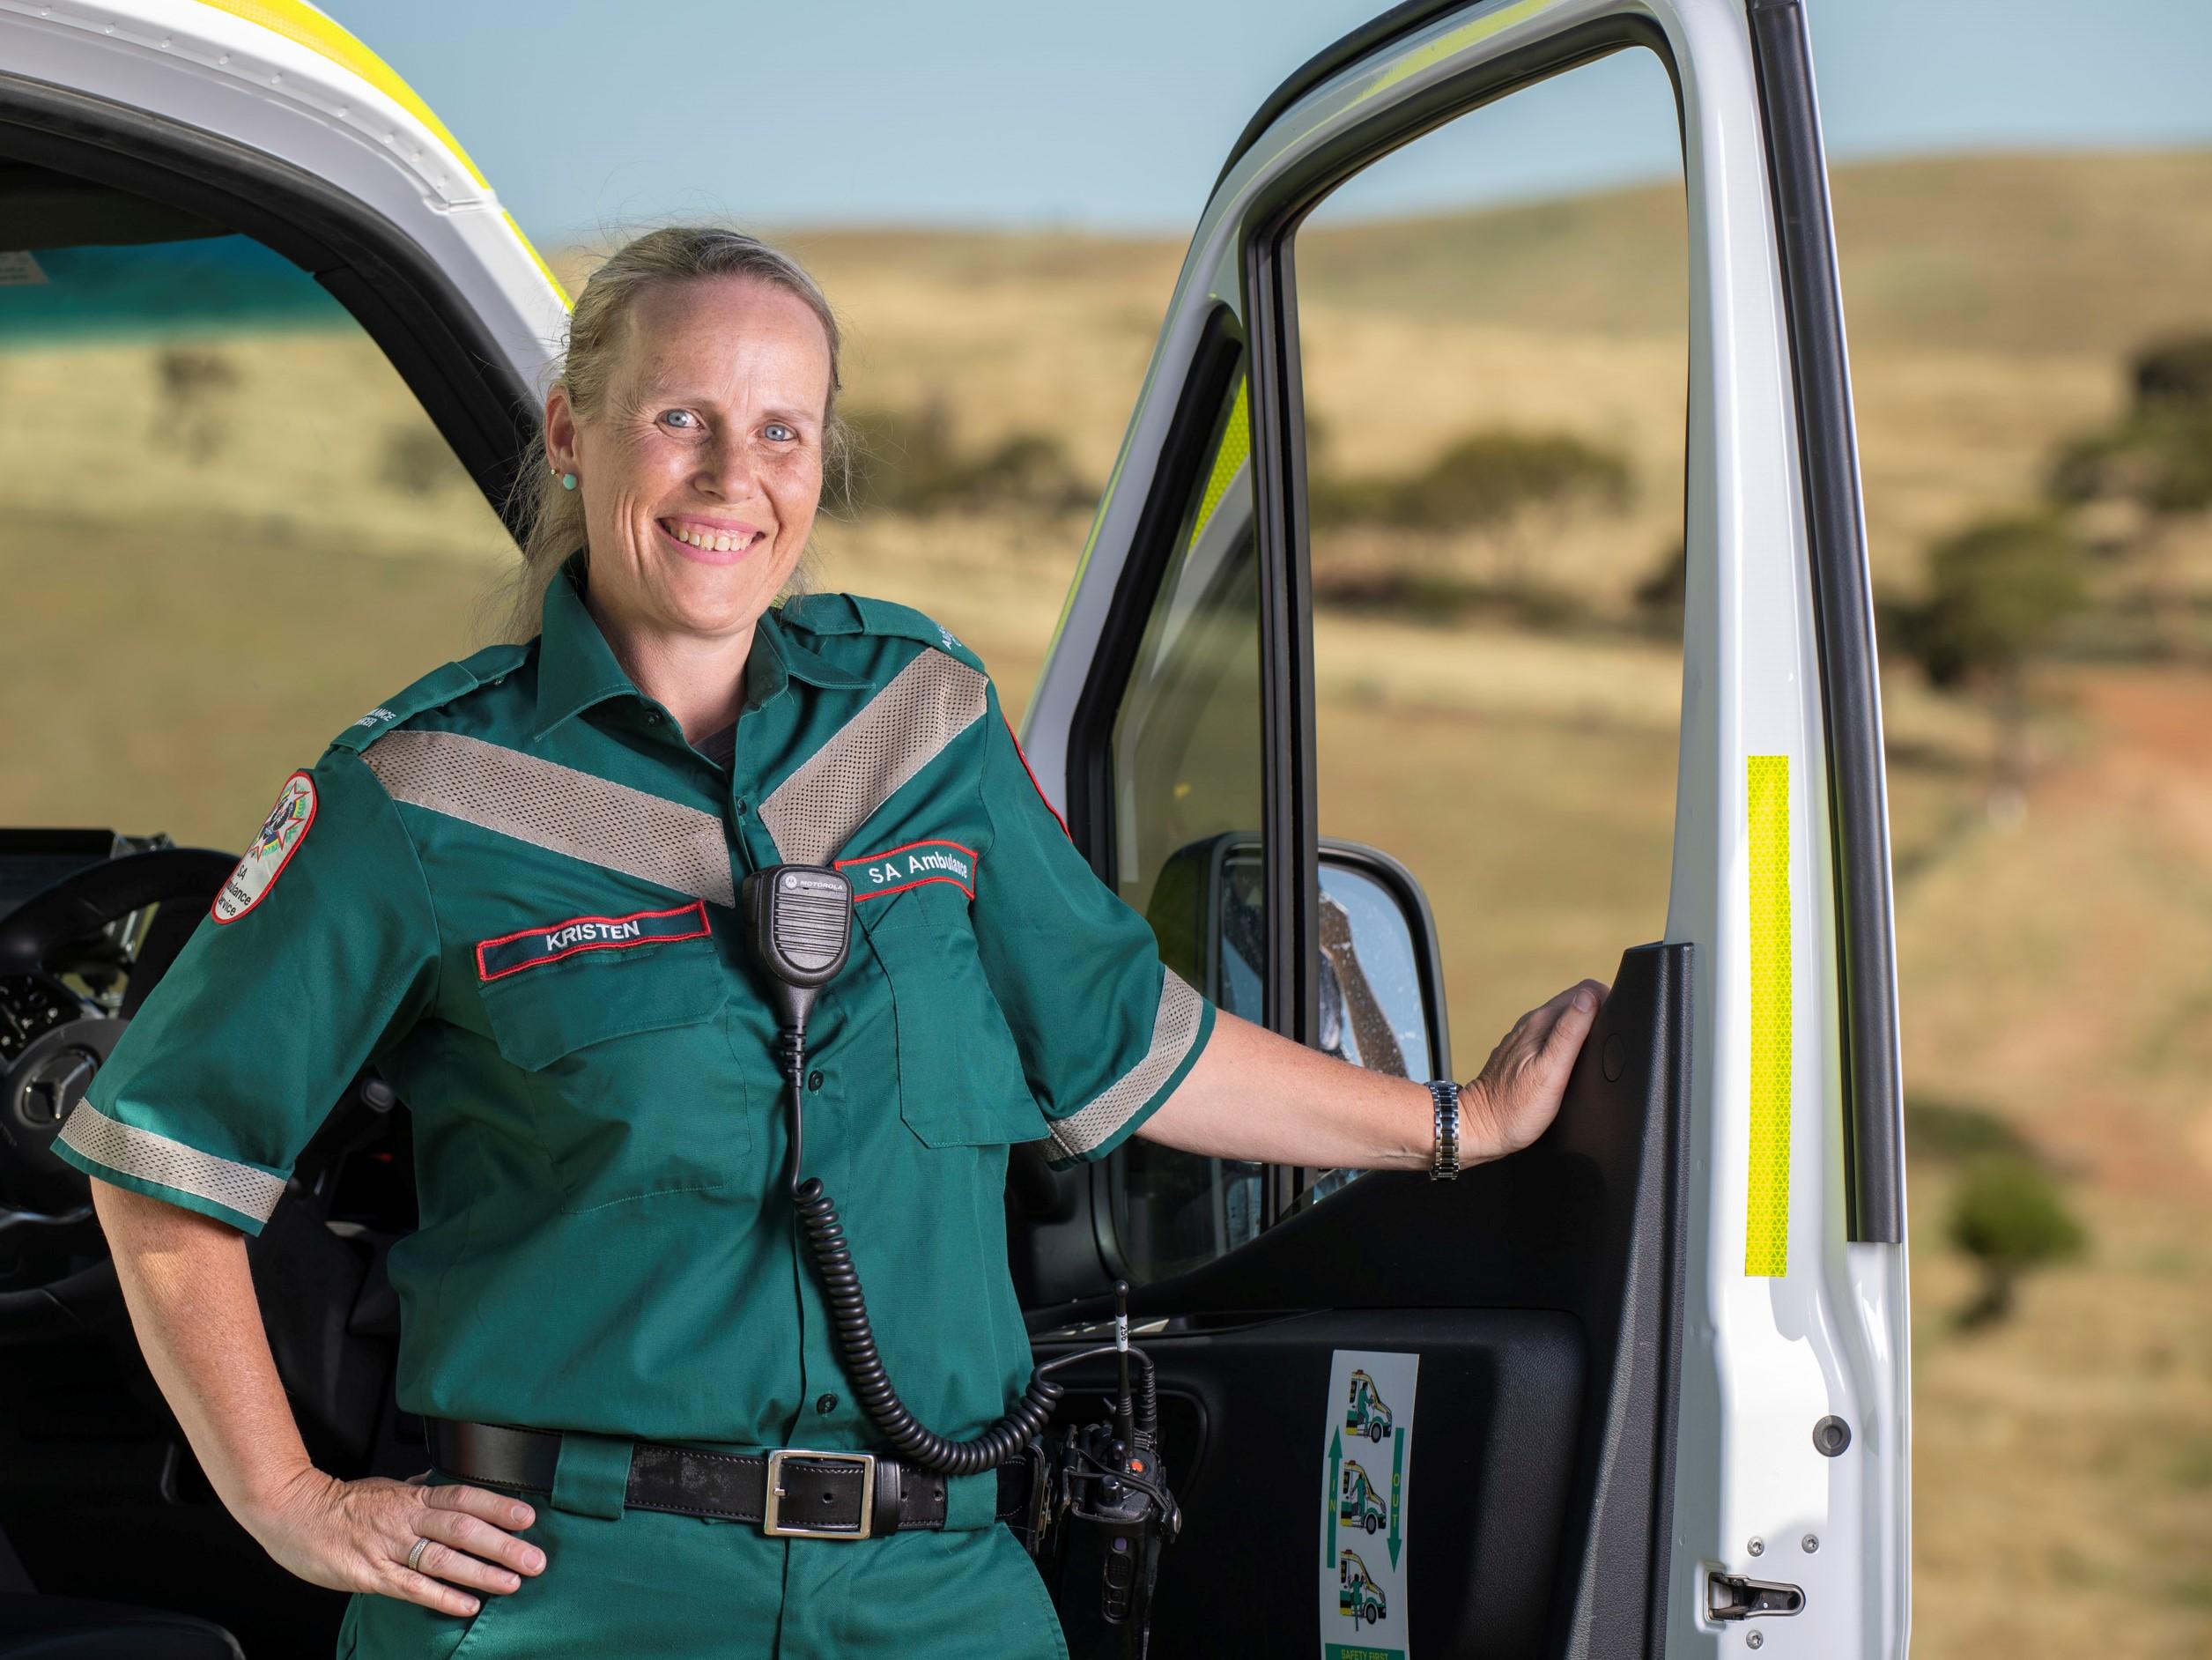 |
| Type: | Amount: | Image: |
|---|---|---|
| Ambulances | 270 | 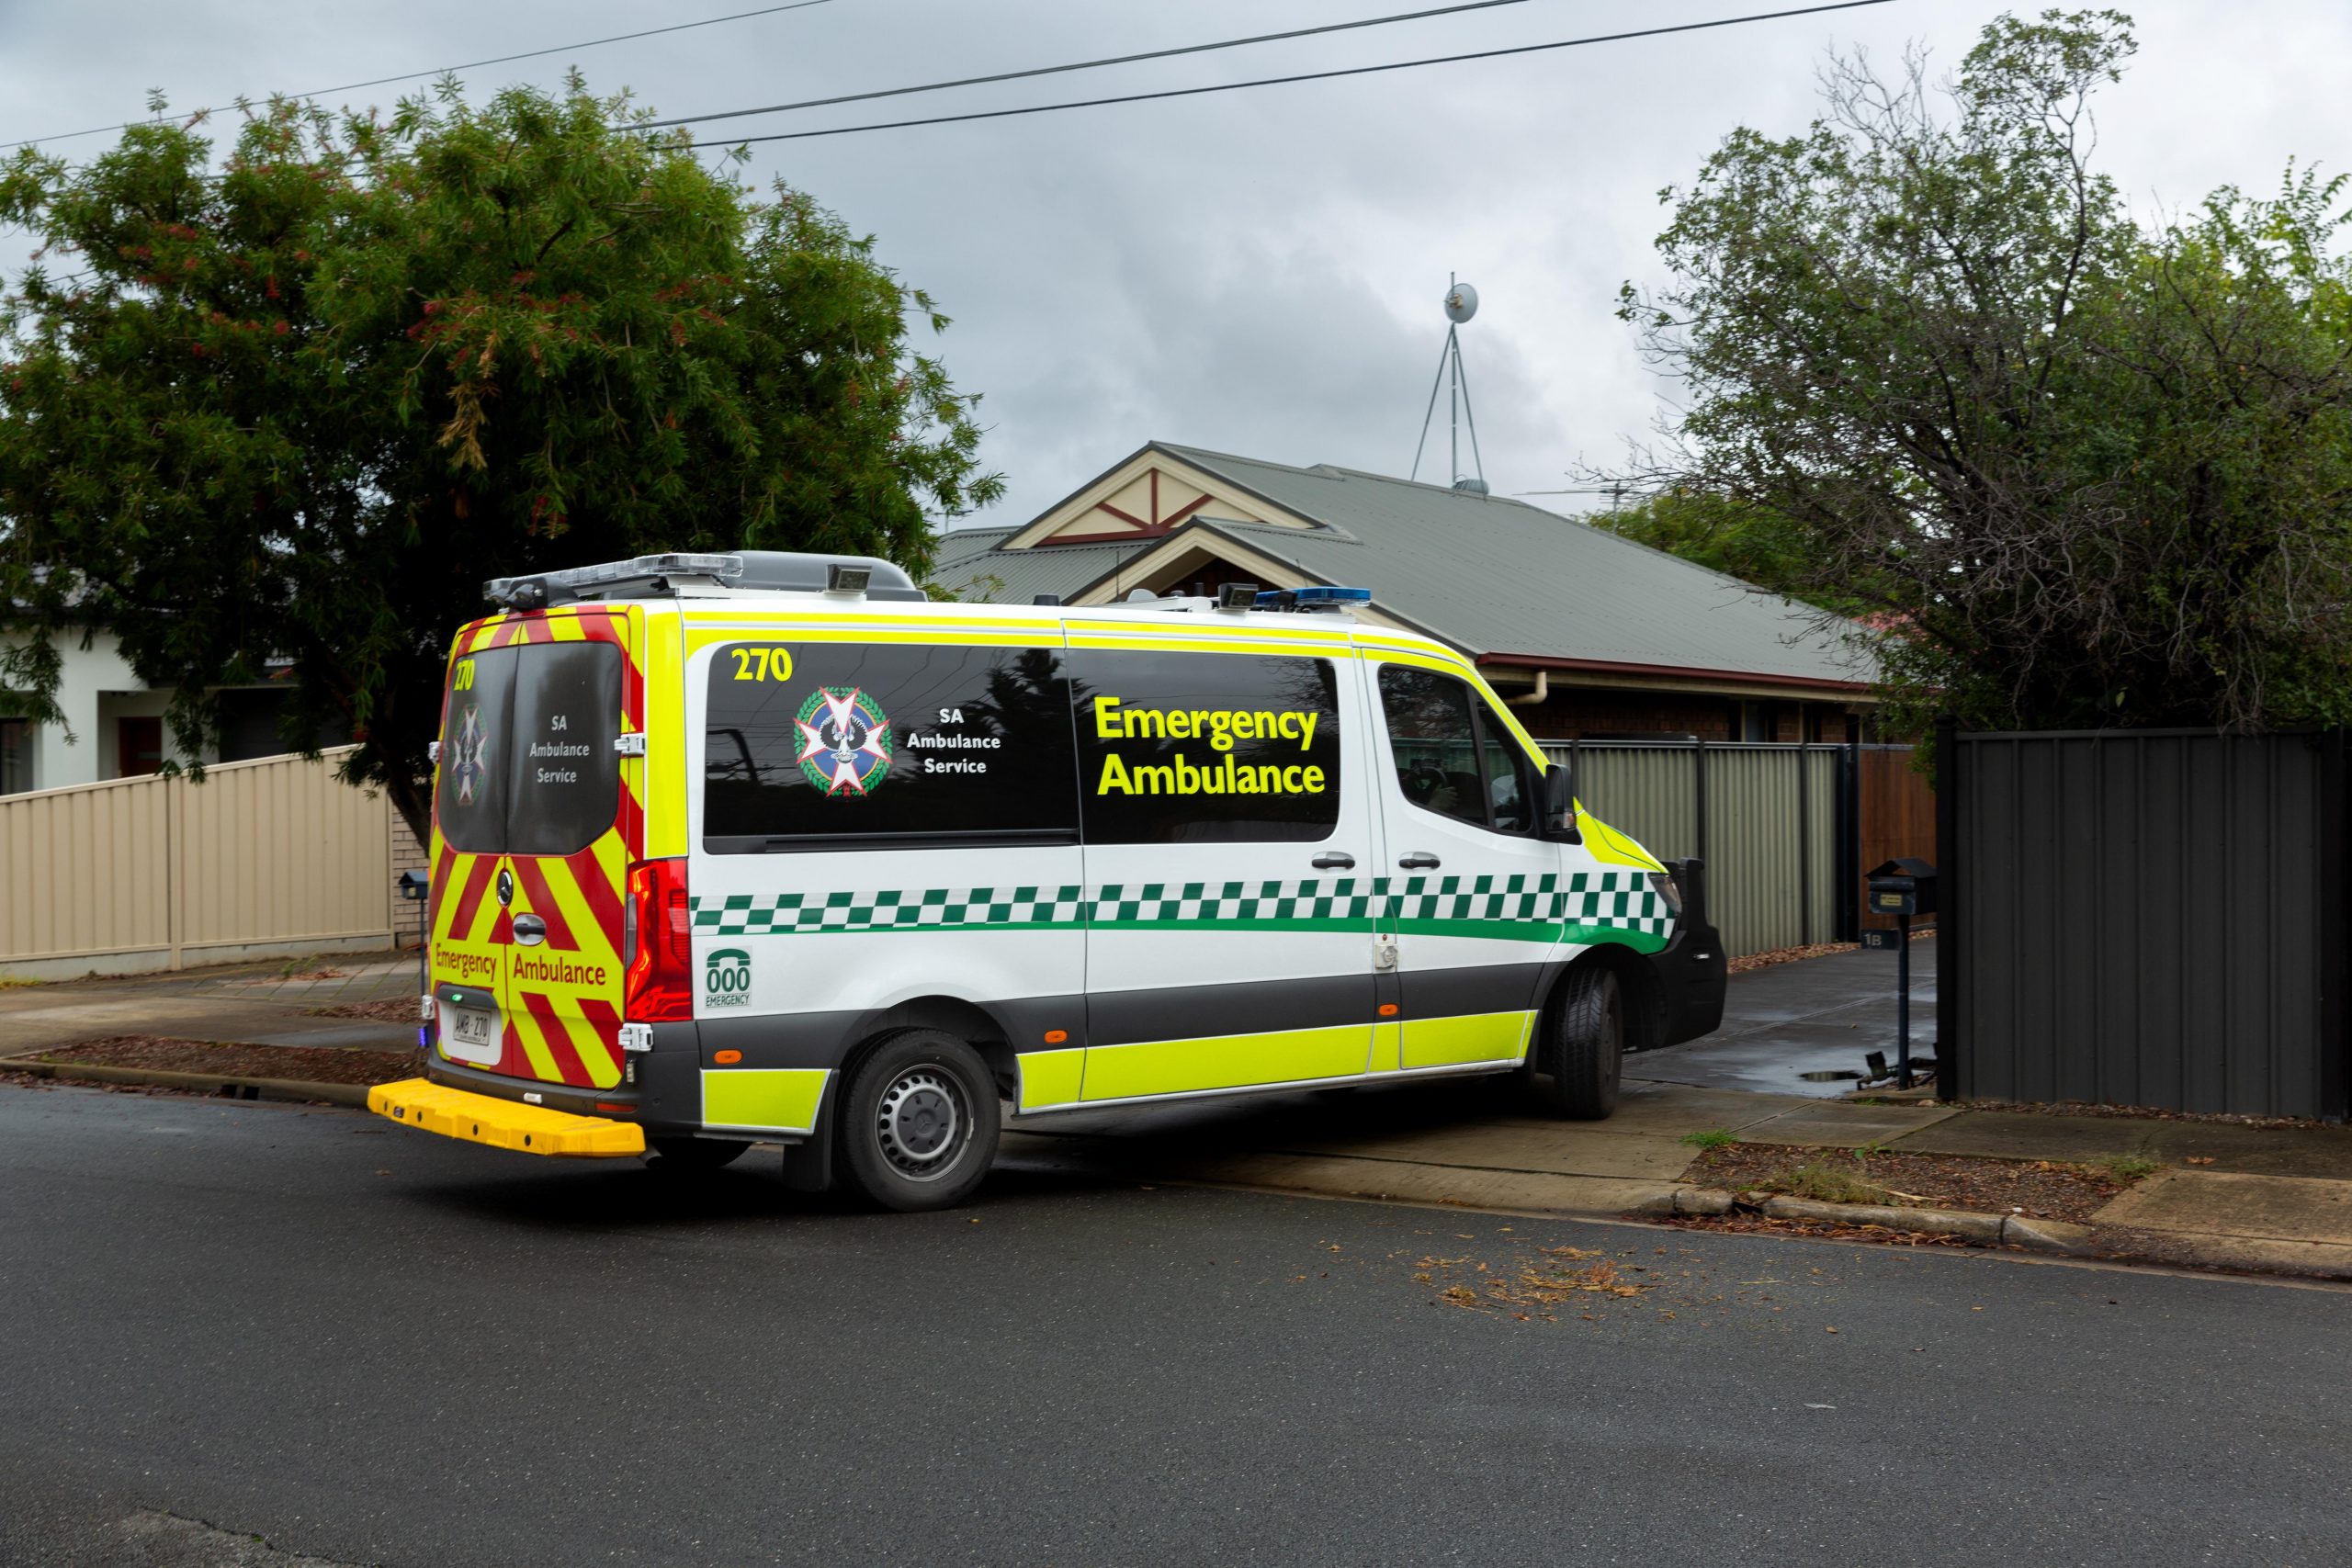 |
| Rapid Response Ambulances | 75 |  |
| 4WD Ambulances | 10 |  |
| Extended Care Ambulances | 30 |  |
| Community Response Vehicles | 50 |  |
| Special Operations Vehicles | 4 | 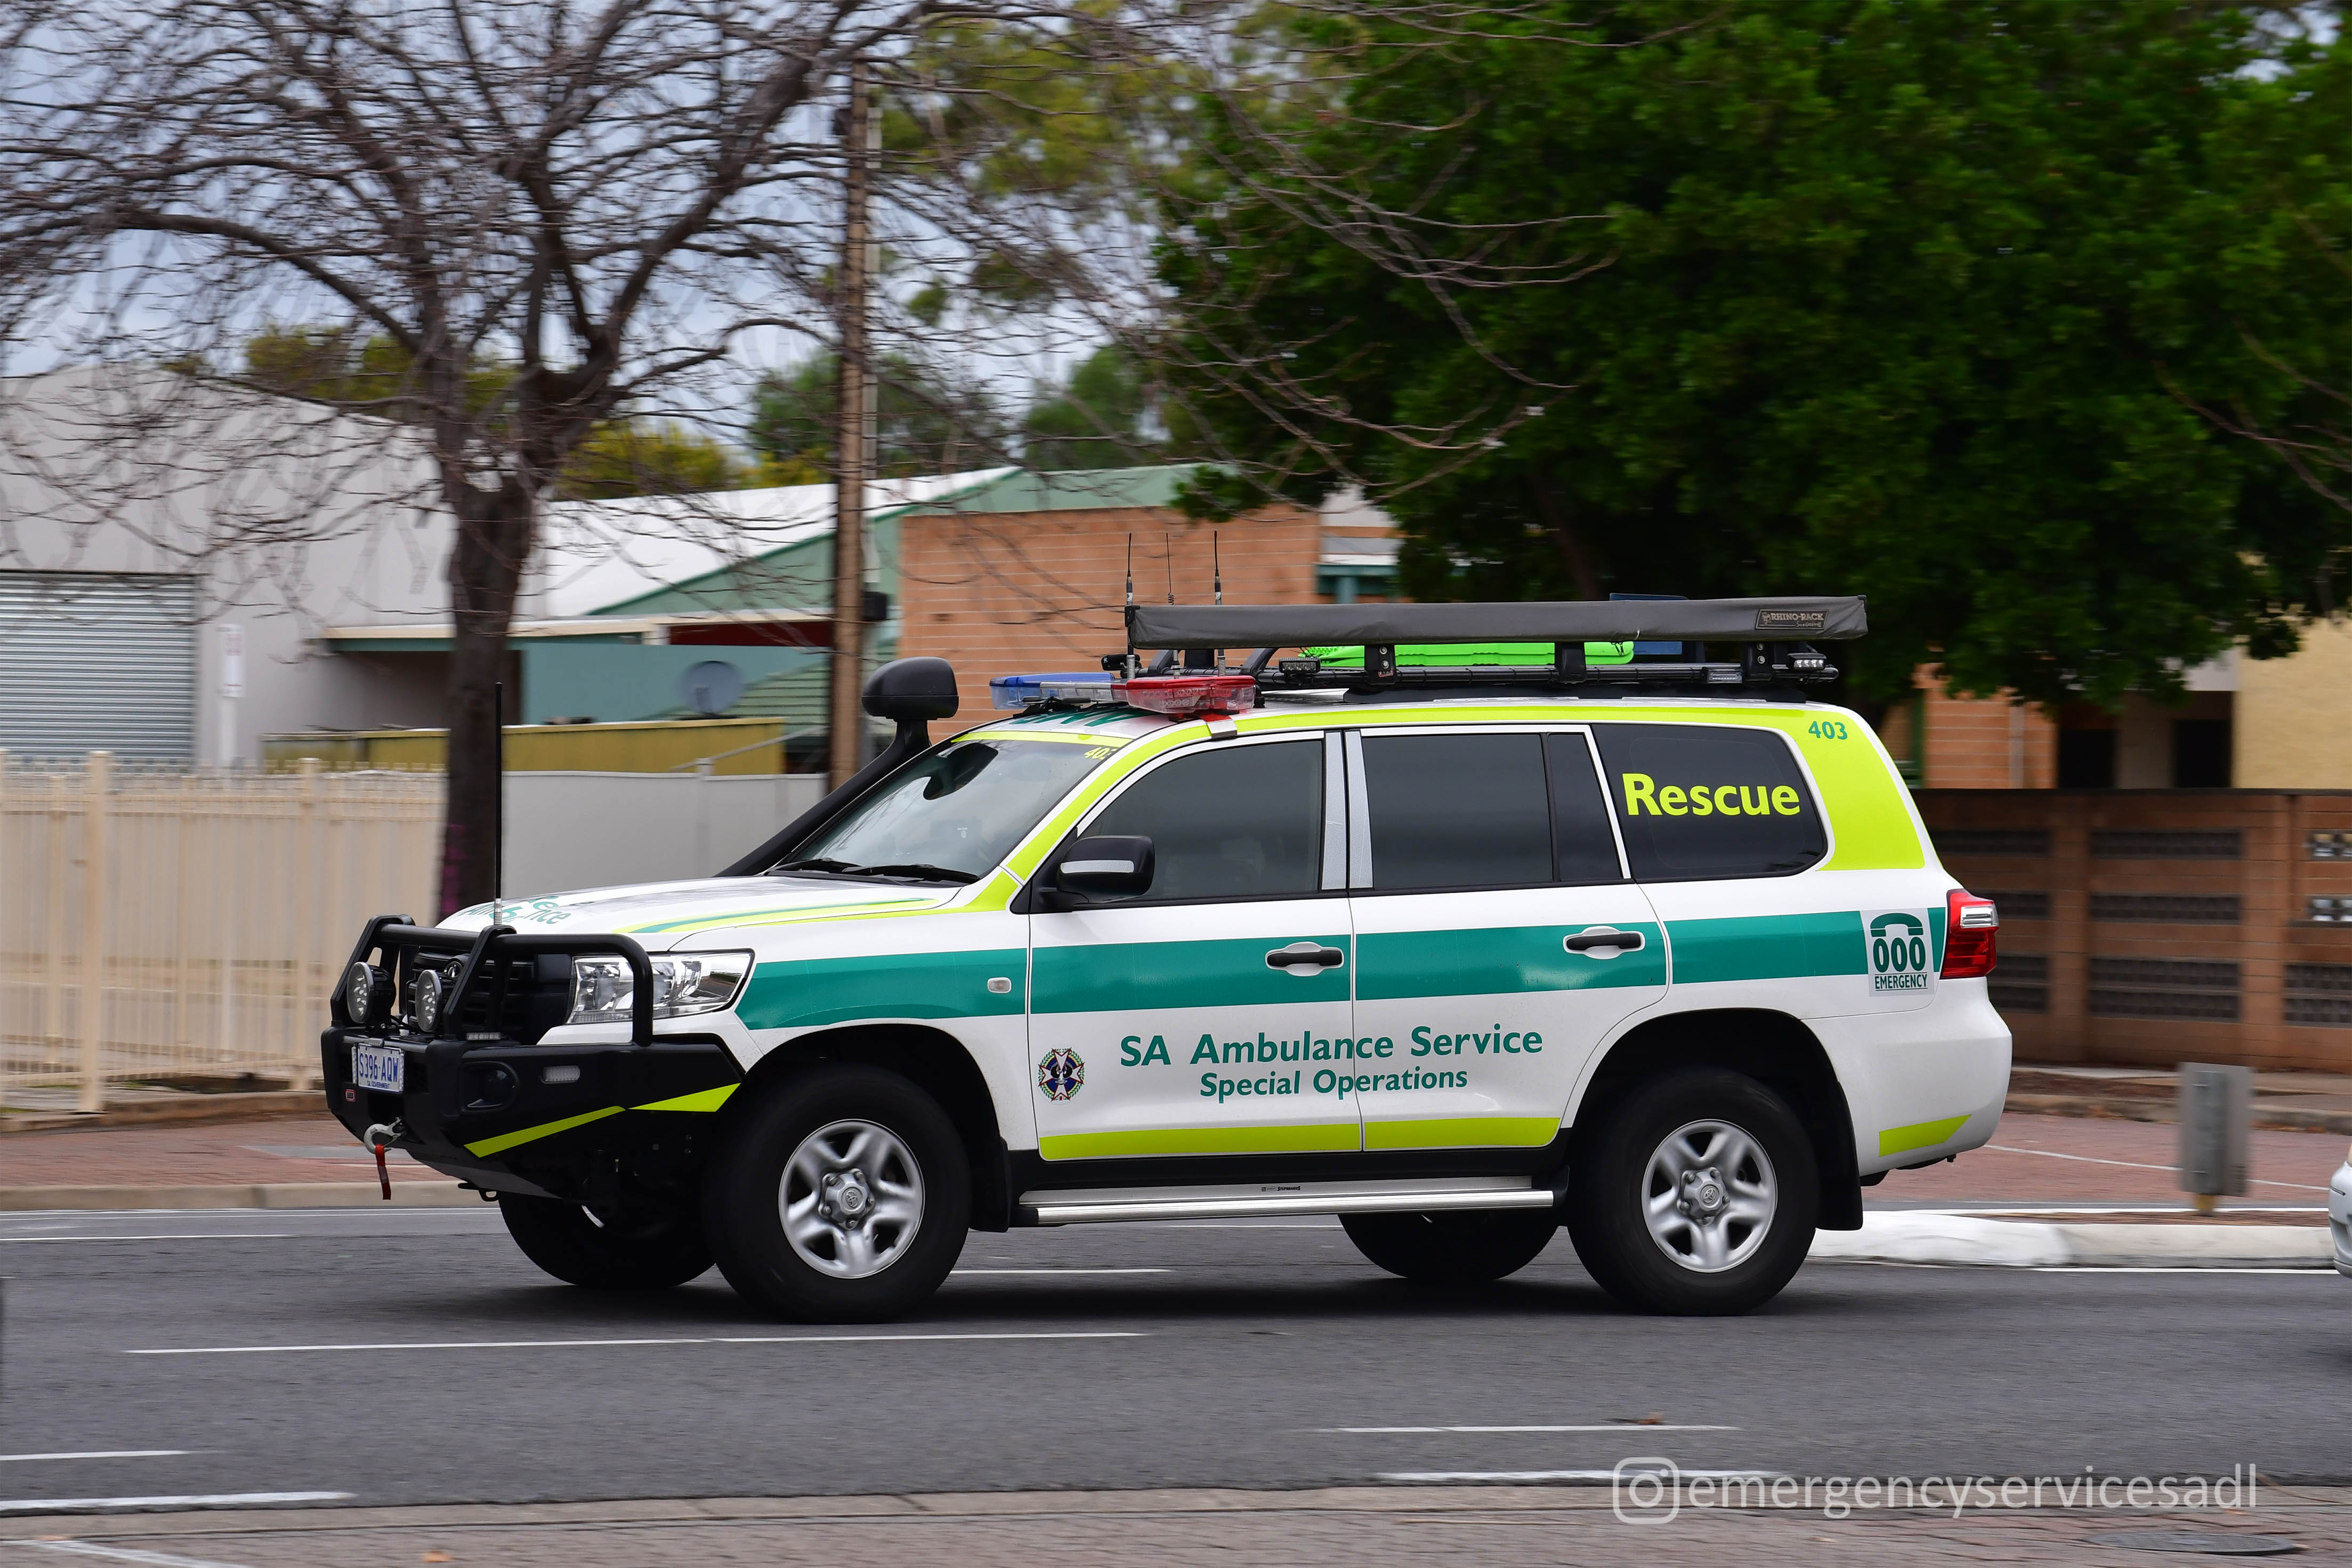 |
| Rescue Trucks | 2 |  |
| Metropolitan Command Vehicles | 30 |  |
| Regional Command Vehicles | 30 | 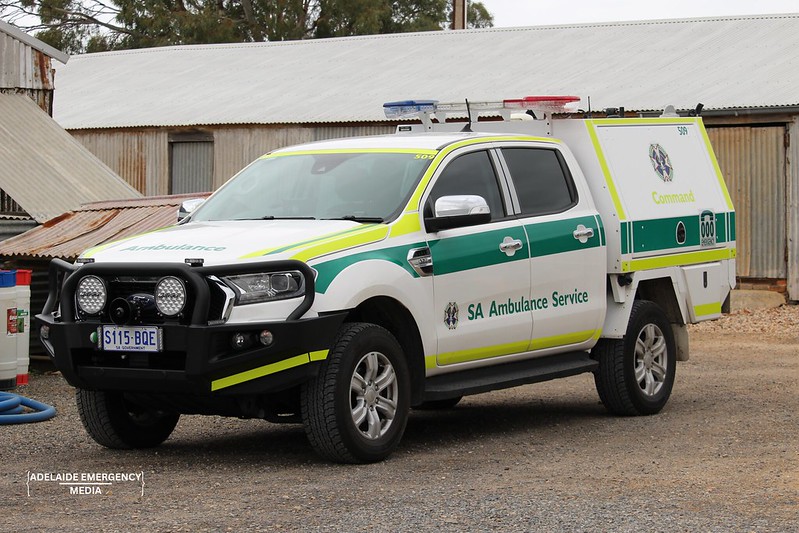 |
| Tactical Support Trucks | 1 | 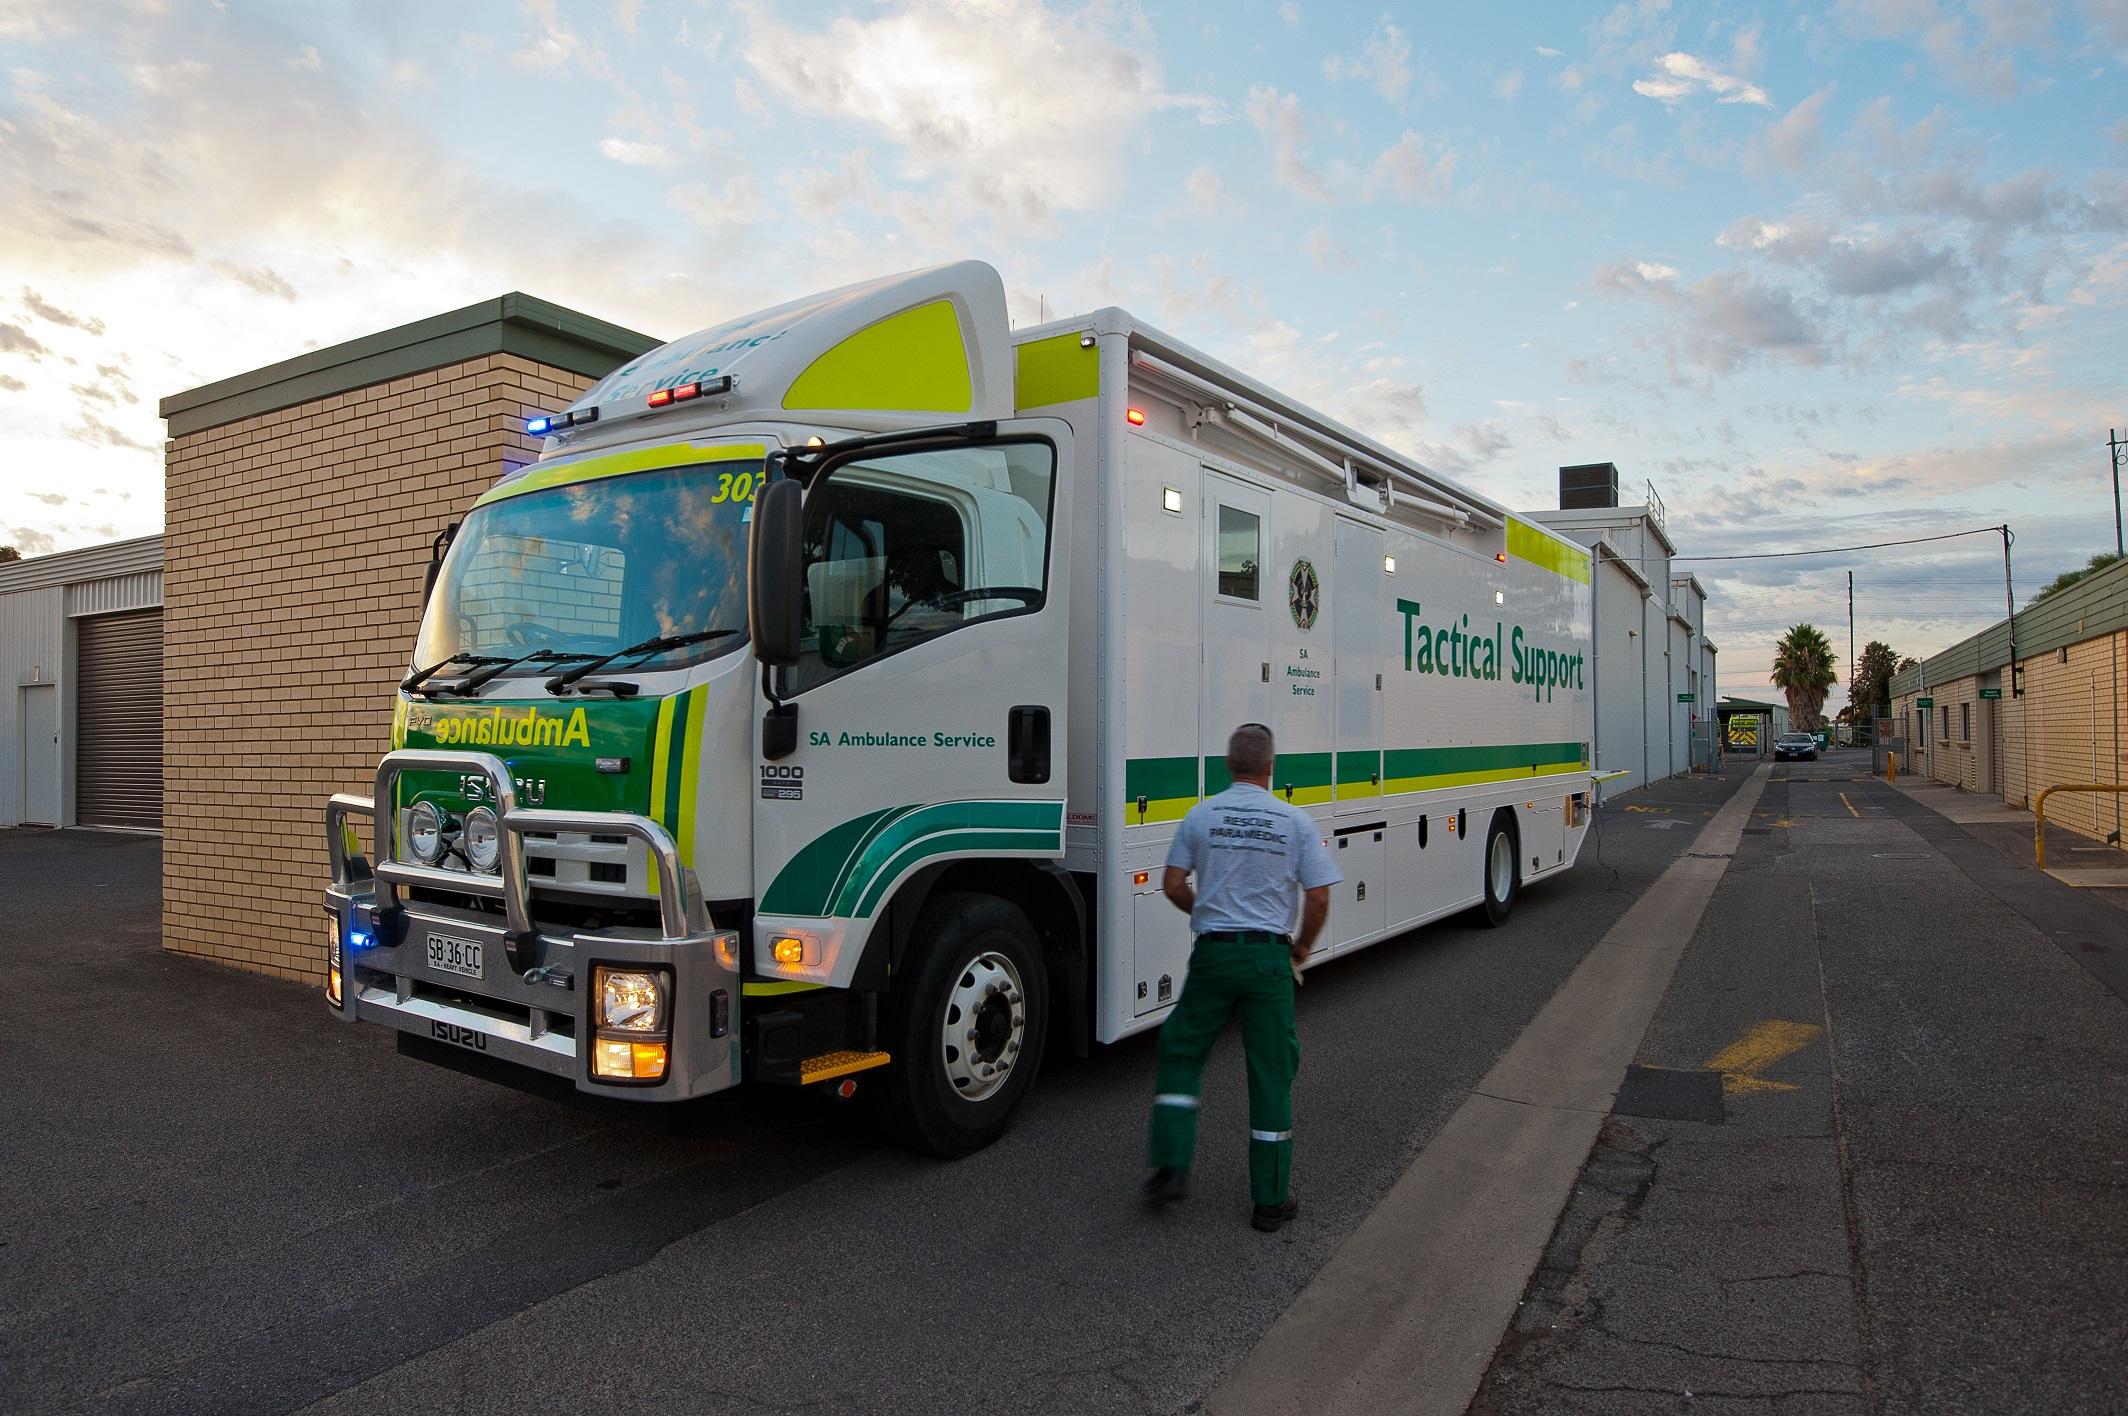 |
| Ambulance Bus | 1 |  |
| Bell 412 | 4 |  |
| Unit: | Size: | Base: | Logo: |
|---|---|---|---|
| Rescue, Retrieval and Aviation Services (MedSTAR) | 20x Special Operations Paramedics, 4x Bell 412s | Adelaide International Airport |  |
| Unit: | Size: | Base: |
|---|---|---|
| Statewide Emergency Operations Centre | 65x Paramedics | Mile End South |
| Special Operations Team | 30x Special Operations Paramedics, 1x Ambulance Bus, 1x Tactical Support Truck, 4x Special Operations Vehicles, 2x Rescue Trucks | Adelaide International Airport |
| Mid North Regional Response Team | 10x Volunteer Paramedics, 2x Regional Command Vehicles | Port Pirie South |
| Northern Adelaide Regional Response Team | 10x Volunteer Paramedics, 2x Regional Command Vehicles | Gawler |
| Lower Murray Mallee Regional Response Team | 10x Volunteer Paramedics, 2x Regional Command Vehicles | Tailem Bend |
| Upper Murray Mallee Regional Response Team | 10x Volunteer Paramedics, 2x Regional Command Vehicles | Berri |
| Station: | Size: | Location: |
|---|---|---|
| Port Adelaide Ambulance Station | 60x Paramedics, 4x Ambulances, 2x Rapid Response Ambulances, 1x Extended Care Ambulance, 1x Metropolitan Command Vehicle | Port Adelaide |
| Prospect Ambulance Station | 60x Paramedics, 4x Ambulances, 2x Rapid Response Ambulances, 1x Extended Care Ambulance, 1x Metropolitan Command Vehicle | Prospect |
| Brooklyn Park Ambulance Station | 60x Paramedics, 4x Ambulances, 2x Rapid Response Ambulances, 1x Extended Care Ambulance, 1x Metropolitan Command Vehicle | Brooklyn Park |
| Fulham Ambulance Station | 60x Paramedics, 4x Ambulances, 2x Rapid Response Ambulances, 1x Extended Care Ambulance, 1x Metropolitan Command Vehicle | Fulham Gardens |
| Woodville Ambulance Station | 60x Paramedics, 4x Ambulances, 2x Rapid Response Ambulances, 1x Extended Care Ambulance, 1x Metropolitan Command Vehicle | Woodville North |
| Gepps Cross Ambulance Station | 60x Paramedics, 4x Ambulances, 2x Rapid Response Ambulances, 1x Extended Care Ambulance, 1x Metropolitan Command Vehicle | Gepps Cross |
| Oakden Ambulance Station | 60x Paramedics, 4x Ambulances, 2x Rapid Response Ambulances, 1x Extended Care Ambulance, 1x Metropolitan Command Vehicle | Oakden |
| Redwood Park Ambulance Station | 60x Paramedics, 4x Ambulances, 2x Rapid Response Ambulances, 1x Extended Care Ambulance, 1x Metropolitan Command Vehicle | Redwood Park |
| Salisbury Ambulance Station | 60x Paramedics, 4x Ambulances, 2x Rapid Response Ambulances, 1x Extended Care Ambulance, 1x Metropolitan Command Vehicle | Salisbury South |
| Parafield Ambulance Station | 60x Paramedics, 4x Ambulances, 2x Rapid Response Ambulances, 1x Extended Care Ambulance, 1x Metropolitan Command Vehicle | Parafield |
| Elizabeth Ambulance Station | 60x Paramedics, 4x Ambulances, 2x Rapid Response Ambulances, 1x Extended Care Ambulance, 1x Metropolitan Command Vehicle | Elizabeth Park |
| Golden Grove Ambulance Station | 60x Paramedics, 4x Ambulances, 2x Rapid Response Ambulances, 1x Extended Care Ambulance, 1x Metropolitan Command Vehicle | Golden Grove |
| Station: | Size: | Location: |
|---|---|---|
| Noarlunga Ambulance Station | 60x Paramedics, 4x Ambulances, 2x Rapid Response Ambulances, 1x Extended Care Ambulance, 1x Metropolitan Command Vehicle | Noarlunga Centre |
| Parkside Ambulance Station | 60x Paramedics, 4x Ambulances, 2x Rapid Response Ambulances, 1x Extended Care Ambulance, 1x Metropolitan Command Vehicle | Parkside |
| Norwood Ambulance Station | 60x Paramedics, 4x Ambulances, 2x Rapid Response Ambulances, 1x Extended Care Ambulance, 1x Metropolitan Command Vehicle | Maylands |
| Ashford Ambulance Station | 60x Paramedics, 4x Ambulances, 2x Rapid Response Ambulances, 1x Extended Care Ambulance, 1x Metropolitan Command Vehicle | Ashford |
| Glengowrie Ambulance Station | 60x Paramedics, 4x Ambulances, 2x Rapid Response Ambulances, 1x Extended Care Ambulance, 1x Metropolitan Command Vehicle | Glengowrie |
| Mitcham Ambulance Station | 60x Paramedics, 4x Ambulances, 2x Rapid Response Ambulances, 1x Extended Care Ambulance, 1x Metropolitan Command Vehicle | Torrens Park |
| Edwardstown Ambulance Station | 60x Paramedics, 4x Ambulances, 2x Rapid Response Ambulances, 1x Extended Care Ambulance, 1x Metropolitan Command Vehicle | Daw Park |
| Marion Ambulance Station | 60x Paramedics, 4x Ambulances, 2x Rapid Response Ambulances, 1x Extended Care Ambulance, 1x Metropolitan Command Vehicle | Mitchell Park |
| Campbelltown Ambulance Station | 60x Paramedics, 4x Ambulances, 2x Rapid Response Ambulances, 1x Extended Care Ambulance, 1x Metropolitan Command Vehicle | Campbelltown |
| O'Halloran Hill Ambulance Station | 60x Paramedics, 4x Ambulances, 2x Rapid Response Ambulances, 1x Extended Care Ambulance, 1x Metropolitan Command Vehicle | O'Halloran Hill |
| Seaford Ambulance Station | 60x Paramedics, 4x Ambulances, 2x Rapid Response Ambulances, 1x Extended Care Ambulance, 1x Metropolitan Command Vehicle | Seaford |
| Aldinga Ambulance Station | 60x Paramedics, 4x Ambulances, 2x Rapid Response Ambulances, 1x Extended Care Ambulance, 1x Metropolitan Command Vehicle | Aldinga |
| McLaren Vale Ambulance Station | 60x Paramedics, 4x Ambulances, 2x Rapid Response Ambulances, 1x Extended Care Ambulance, 1x Metropolitan Command Vehicle | McLaren Vale |
Full-Time Stations |
| Station: | Size: | Location: |
|---|---|---|
| Mount Barker Ambulance Station | 60x Paramedics, 4x Ambulances, 2x Rapid Response Ambulances, 1x Extended Care Ambulance, 1x Metropolitan Command Vehicle | Mount Barker |
| Gawler Ambulance Station | 60x Paramedics, 4x Ambulances, 2x Rapid Response Ambulances, 1x Extended Care Ambulance, 1x Metropolitan Command Vehicle | Gawler |
| Stirling Ambulance Station | 50x Paramedics, 4x Ambulances, 1x Rapid Response Ambulance, 1x Regional Command Vehicle | Aldgate |
| Barossa Valley Ambulance Station | 50x Paramedics, 4x Ambulances, 1x Rapid Response Ambulance, 1x Regional Command Vehicle | Angaston |
| Woodside Ambulance Station | 40x Paramedics, 3x Ambulances, 1x Rapid Response Ambulance, 1x Regional Command Vehicle | Woodside |
Volunteer Stations |
| Station: | Size: | Location: |
|---|---|---|
| Clare Ambulance Station | 25x Volunteer Paramedics, 2x Ambulances, 1x Regional Command Vehicle | Clare |
| Birdwood Ambulance Station | 20x Volunteer Paramedics, 2x Ambulances | Birdwood |
| Kapunda Ambulance Station | 20x Volunteer Paramedics, 2x Ambulances | Kapunda |
| Balaklava Ambulance Station | 20x Volunteer Paramedics, 2x Ambulances | Balaklava |
| Hamley Bridge Ambulance Station | 15x Volunteer Paramedics, 1x Ambulance, 1x Community Response Vehicle | Hamley Bridge |
| Mallala Ambulance Station | 15x Volunteer Paramedics, 1x Ambulance, 1x Community Response Vehicle | Mallala |
| Eudunda Ambulance Station | 15x Volunteer Paramedics, 1x Ambulance, 1x Community Response Vehicle | Eudunda |
| Riverton Ambulance Station | 15x Volunteer Paramedics, 1x Ambulance, 1x Community Response Vehicle | Riverton |
| Burra Ambulance Station | 15x Volunteer Paramedics, 1x Ambulance, 1x Community Response Vehicle | Burra |
| Snowtown Ambulance Station | 15x Volunteer Paramedics, 1x Ambulance, 1x Community Response Vehicle | Snowtown |
| Port Wakefield Ambulance Station | 15x Volunteer Paramedics, 1x Ambulance, 1x Community Response Vehicle | Port Wakefield |
Full-Time Stations |
| Station: | Size: | Location: |
|---|---|---|
| Whyalla Ambulance Station | 60x Paramedics, 4x Ambulances, 2x Rapid Response Ambulances, 1x Extended Care Ambulance, 1x Metropolitan Command Vehicle | Whyalla Playford |
| Port Augusta Ambulance Station | 50x Paramedics, 4x Ambulances, 1x Rapid Response Ambulance, 1x Regional Command Vehicle | Port Augusta |
| Port Lincoln Ambulance Station | 50x Paramedics, 4x Ambulances, 1x Rapid Response Ambulance, 1x Regional Command Vehicle | Port Lincoln |
| Coober Pedy Ambulance Station | 50x Paramedics, 2x Ambulances, 2x 4WD Ambulances, 1x Rapid Response Ambulance, 1x Regional Command Vehicle | Coober Pedy |
| Woomera Ambulance Station | 15x Paramedics, 1x Ambulance, 1x 4WD Ambulance | Woomera Village |
Volunteer Stations |
| Station: | Size: | Location: |
|---|---|---|
| Roxby Downs Ambulance Station | 25x Volunteer Paramedics, 2x Ambulances, 1x 4WD Ambulance, 1x Regional Command Vehicle | Roxby Downs |
| Ceduna Ambulance Station | 25x Volunteer Paramedics, 2x Ambulances, 1x 4WD Ambulance, 1x Regional Command Vehicle | Ceduna |
| Tumby Bay Ambulance Station | 20x Volunteer Paramedics, 2x Ambulances | Tumby Bay |
| Hawker Ambulance Station | 15x Volunteer Paramedics, 1x Ambulance, 1x 4WD Ambulance | Hawker |
| Yunta Ambulance Station | 15x Volunteer Paramedics, 1x Ambulance, 1x 4WD Ambulance | Yunta |
| Leigh Creek Ambulance Station | 15x Volunteer Paramedics, 1x Ambulance, 1x 4WD Ambulance | Leigh Creek |
| Marla Ambulance Station | 15x Volunteer Paramedics, 1x Ambulance, 1x 4WD Ambulance | Marla |
| Quorn Ambulance Station | 15x Volunteer Paramedics, 1x Ambulance, 1x Community Response Vehicle | Quorn |
| Streaky Bay Ambulance Station | 15x Volunteer Paramedics, 1x Ambulance, 1x Community Response Vehicle | Streaky Bay |
| Wudinna Ambulance Station | 15x Volunteer Paramedics, 1x Ambulance, 1x Community Response Vehicle | Wudinna |
| Port Kenny Ambulance Station | 15x Volunteer Paramedics, 1x Ambulance, 1x Community Response Vehicle | Port Kenny |
| Elliston Ambulance Station | 15x Volunteer Paramedics, 1x Ambulance, 1x Community Response Vehicle | Elliston |
| Kimba Ambulance Station | 15x Volunteer Paramedics, 1x Ambulance, 1x Community Response Vehicle | Kimba |
| Lock Ambulance Station | 15x Volunteer Paramedics, 1x Ambulance, 1x Community Response Vehicle | Lock |
| Cleve Ambulance Station | 15x Volunteer Paramedics, 1x Ambulance, 1x Community Response Vehicle | Cleve |
| Cowell Ambulance Station | 15x Volunteer Paramedics, 1x Ambulance, 1x Community Response Vehicle | Cowell |
| Cummins Ambulance Station | 15x Volunteer Paramedics, 1x Ambulance, 1x Community Response Vehicle | Cummins |
| Coffin Bay Ambulance Station | 15x Volunteer Paramedics, 1x Ambulance, 1x Community Response Vehicle | Coffin Bay |
| Port Neill Ambulance Station | 15x Volunteer Paramedics, 1x Ambulance, 1x Community Response Vehicle | Port Neill |
Full-Time Stations |
| Station: | Size: | Location: |
|---|---|---|
| Port Pirie Ambulance Station | 50x Paramedics, 4x Ambulances, 1x Rapid Response Ambulance, 1x Regional Command Vehicle | Port Pirie South |
Volunteer Stations |
| Station: | Size: | Location: |
|---|---|---|
| Kadina Ambulance Station | 25x Volunteer Paramedics, 2x Ambulances, 1x Community Response Vehicle | Kadina |
| Wallaroo Ambulance Station | 25x Volunteer Paramedics, 2x Ambulances, 1x Community Response Vehicle | Wallaroo |
| Moonta Ambulance Station | 25x Volunteer Paramedics, 2x Ambulances, 1x Community Response Vehicle | Moonta |
| Peterborough Ambulance Station | 20x Volunteer Paramedics, 2x Ambulances | Peterborough |
| Jamestown Ambulance Station | 20x Volunteer Paramedics, 2x Ambulances | Jamestown |
| Crystal Brook Ambulance Station | 20x Volunteer Paramedics, 2x Ambulances | Crystal Brook |
| Marion Bay Ambulance Station | 15x Volunteer Paramedics, 1x Ambulance, 1x 4WD Ambulance | Marion Bay |
| Maitland Ambulance Station | 15x Volunteer Paramedics, 1x Ambulance, 1x Community Response Vehicle | Maitland |
| Ardrossan Ambulance Station | 15x Volunteer Paramedics, 1x Ambulance, 1x Community Response Vehicle | Ardrossan |
| Minlaton Ambulance Station | 15x Volunteer Paramedics, 1x Ambulance, 1x Community Response Vehicle | Minlaton |
| Yorketown Ambulance Station | 15x Volunteer Paramedics, 1x Ambulance, 1x Community Response Vehicle | Yorketown |
| Warooka Ambulance Station | 15x Volunteer Paramedics, 1x Ambulance, 1x Community Response Vehicle | Warooka |
| Gladstone Ambulance Station | 15x Volunteer Paramedics, 1x Ambulance, 1x Community Response Vehicle | Gladstone |
| Booleroo Centre Ambulance Station | 15x Volunteer Paramedics, 1x Ambulance, 1x Community Response Vehicle | Booleroo Centre |
| Orroroo Ambulance Station | 15x Volunteer Paramedics, 1x Ambulance, 1x Community Response Vehicle | Orroroo |
Full-Time Stations |
| Station: | Size: | Location: |
|---|---|---|
| Mount Gambier Ambulance Station | 70x Paramedics, 5x Ambulances, 2x Rapid Response Ambulances, 1x Extended Care Ambulance, 1x Metropolitan Command Vehicle | Mount Gambier |
| Millicent Ambulance Station | 40x Paramedics, 3x Ambulances, 1x Rapid Response Ambulance, 1x Regional Command Vehicle | Millicent |
| Naracoorte Ambulance Station | 40x Paramedics, 3x Ambulances, 1x Rapid Response Ambulance, 1x Regional Command Vehicle | Naracoorte |
Volunteer Stations |
| Station: | Size: | Location: |
|---|---|---|
| Bordertown Ambulance Station | 25x Volunteer Paramedics, 2x Ambulances, 1x Regional Command Vehicle | Bordertown |
| Kingston Ambulance Station | 20x Volunteer Paramedics, 2x Ambulances | Kingston SE |
| Penola Ambulance Station | 20x Volunteer Paramedics, 2x Ambulances | Penola |
| Keith Ambulance Station | 15x Volunteer Paramedics, 1x Ambulance, 1x Community Response Vehicle | Keith |
| Robe Ambulance Station | 15x Volunteer Paramedics, 1x Ambulance, 1x Community Response Vehicle | Robe |
| Port MacDonnell Ambulance Station | 15x Volunteer Paramedics, 1x Ambulance, 1x Community Response Vehicle | Port MacDonnell |
| Beachport Ambulance Station | 15x Volunteer Paramedics, 1x Ambulance, 1x Community Response Vehicle | Beachport |
| Lucindale Ambulance Station | 15x Volunteer Paramedics, 1x Ambulance, 1x Community Response Vehicle | Lucindale |
| Padthaway Ambulance Station | 15x Volunteer Paramedics, 1x Ambulance, 1x Community Response Vehicle | Padthaway |
Full-Time Stations |
| Station: | Size: | Location: |
|---|---|---|
| Murray Bridge Ambulance Station | 55x Paramedics, 4x Ambulances, 1x Rapid Response Ambulance, 1x Extended Care Ambulance, 1x Metropolitan Command Vehicle | Murray Bridge |
| Victor Harbor Ambulance Station | 55x Paramedics, 4x Ambulances, 2x Rapid Response Ambulances, 1x Regional Command Vehicle | Victor Harbor |
Volunteer Stations |
| Station: | Size: | Location: |
|---|---|---|
| Strathalbyn Ambulance Station | 35x Volunteer Paramedics, 3x Ambulances, 1x Regional Command Vehicle | Strathalbyn |
| Goolwa Ambulance Station | 35x Volunteer Paramedics, 3x Ambulances, 1x Regional Command Vehicle | Goolwa |
| Kingscote Ambulance Station | 25x Volunteer Paramedics, 2x Ambulances, 1x Regional Command Vehicle | Kingscote |
| Tailem Bend Ambulance Station | 20x Volunteer Paramedics, 2x Ambulances | Tailem Bend |
| Yankalilla Ambulance Station | 20x Volunteer Paramedics, 2x Ambulances | Yankalilla |
| Meadows Ambulance Station | 15x Volunteer Paramedics, 1x Ambulance, 1x Community Response Vehicle | Meadows |
| Coonalpyn Ambulance Station | 15x Volunteer Paramedics, 1x Ambulance, 1x Community Response Vehicle | Coonalpyn |
| Tintinara Ambulance Station | 15x Volunteer Paramedics, 1x Ambulance, 1x Community Response Vehicle | Tintinara |
| Meningie Ambulance Station | 15x Volunteer Paramedics, 1x Ambulance, 1x Community Response Vehicle | Meningie |
| Salt Creek Ambulance Station | 15x Volunteer Paramedics, 1x Ambulance, 1x Community Response Vehicle | Salt Creek |
| Coomandook Ambulance Station | 15x Volunteer Paramedics, 1x Ambulance, 1x Community Response Vehicle | Coomandook |
| Penneshaw Ambulance Station | 15x Volunteer Paramedics, 1x Ambulance, 1x Community Response Vehicle | Penneshaw |
| American River Ambulance Station | 15x Volunteer Paramedics, 1x Ambulance, 1x Community Response Vehicle | American River |
| Western Districts Ambulance Station | 15x Volunteer Paramedics, 1x Ambulance, 1x Community Response Vehicle | Parndana |
Full-Time Stations |
| Station: | Size: | Location: |
|---|---|---|
| Renmark Ambulance Station | 40x Paramedics, 3x Ambulances, 1x Rapid Response Ambulance, 1x Regional Command Vehicle | Renmark |
| Loxton Ambulance Station | 40x Paramedics, 3x Ambulances, 1x Rapid Response Ambulance, 1x Regional Command Vehicle | Loxton |
| Berri Ambulance Station | 40x Paramedics, 3x Ambulances, 1x Rapid Response Ambulance, 1x Regional Command Vehicle | Berri |
| Barmera Ambulance Station | 40x Paramedics, 3x Ambulances, 1x Rapid Response Ambulance, 1x Regional Command Vehicle | Barmera |
| Waikerie Ambulance Station | 40x Paramedics, 3x Ambulances, 1x Rapid Response Ambulance, 1x Regional Command Vehicle | Waikerie |
Volunteer Stations |
| Station: | Size: | Location: |
|---|---|---|
| Mannum Ambulance Station | 20x Volunteer Paramedics, 2x Ambulances | Mannum |
| Morgan Ambulance Station | 15x Volunteer Paramedics, 1x Ambulance, 1x Community Response Vehicle | Morgan |
| Swan Reach Ambulance Station | 15x Volunteer Paramedics, 1x Ambulance, 1x Community Response Vehicle | Swan Reach |
| Pinnaroo Ambulance Station | 15x Volunteer Paramedics, 1x Ambulance, 1x Community Response Vehicle | Pinnaroo |
| Lameroo Ambulance Station | 15x Volunteer Paramedics, 1x Ambulance, 1x Community Response Vehicle | Lameroo |
| Karoonda Ambulance Station | 15x Volunteer Paramedics, 1x Ambulance, 1x Community Response Vehicle | Karoonda |
 |  |
| Type: | Amount: | Image: |
|---|---|---|
| Rescue Volunteers | 1,750 |  |
| Marine Rescue Volunteers |  |
| Type: | Amount: | Image: |
|---|---|---|
| Rescue Trucks | 75 | 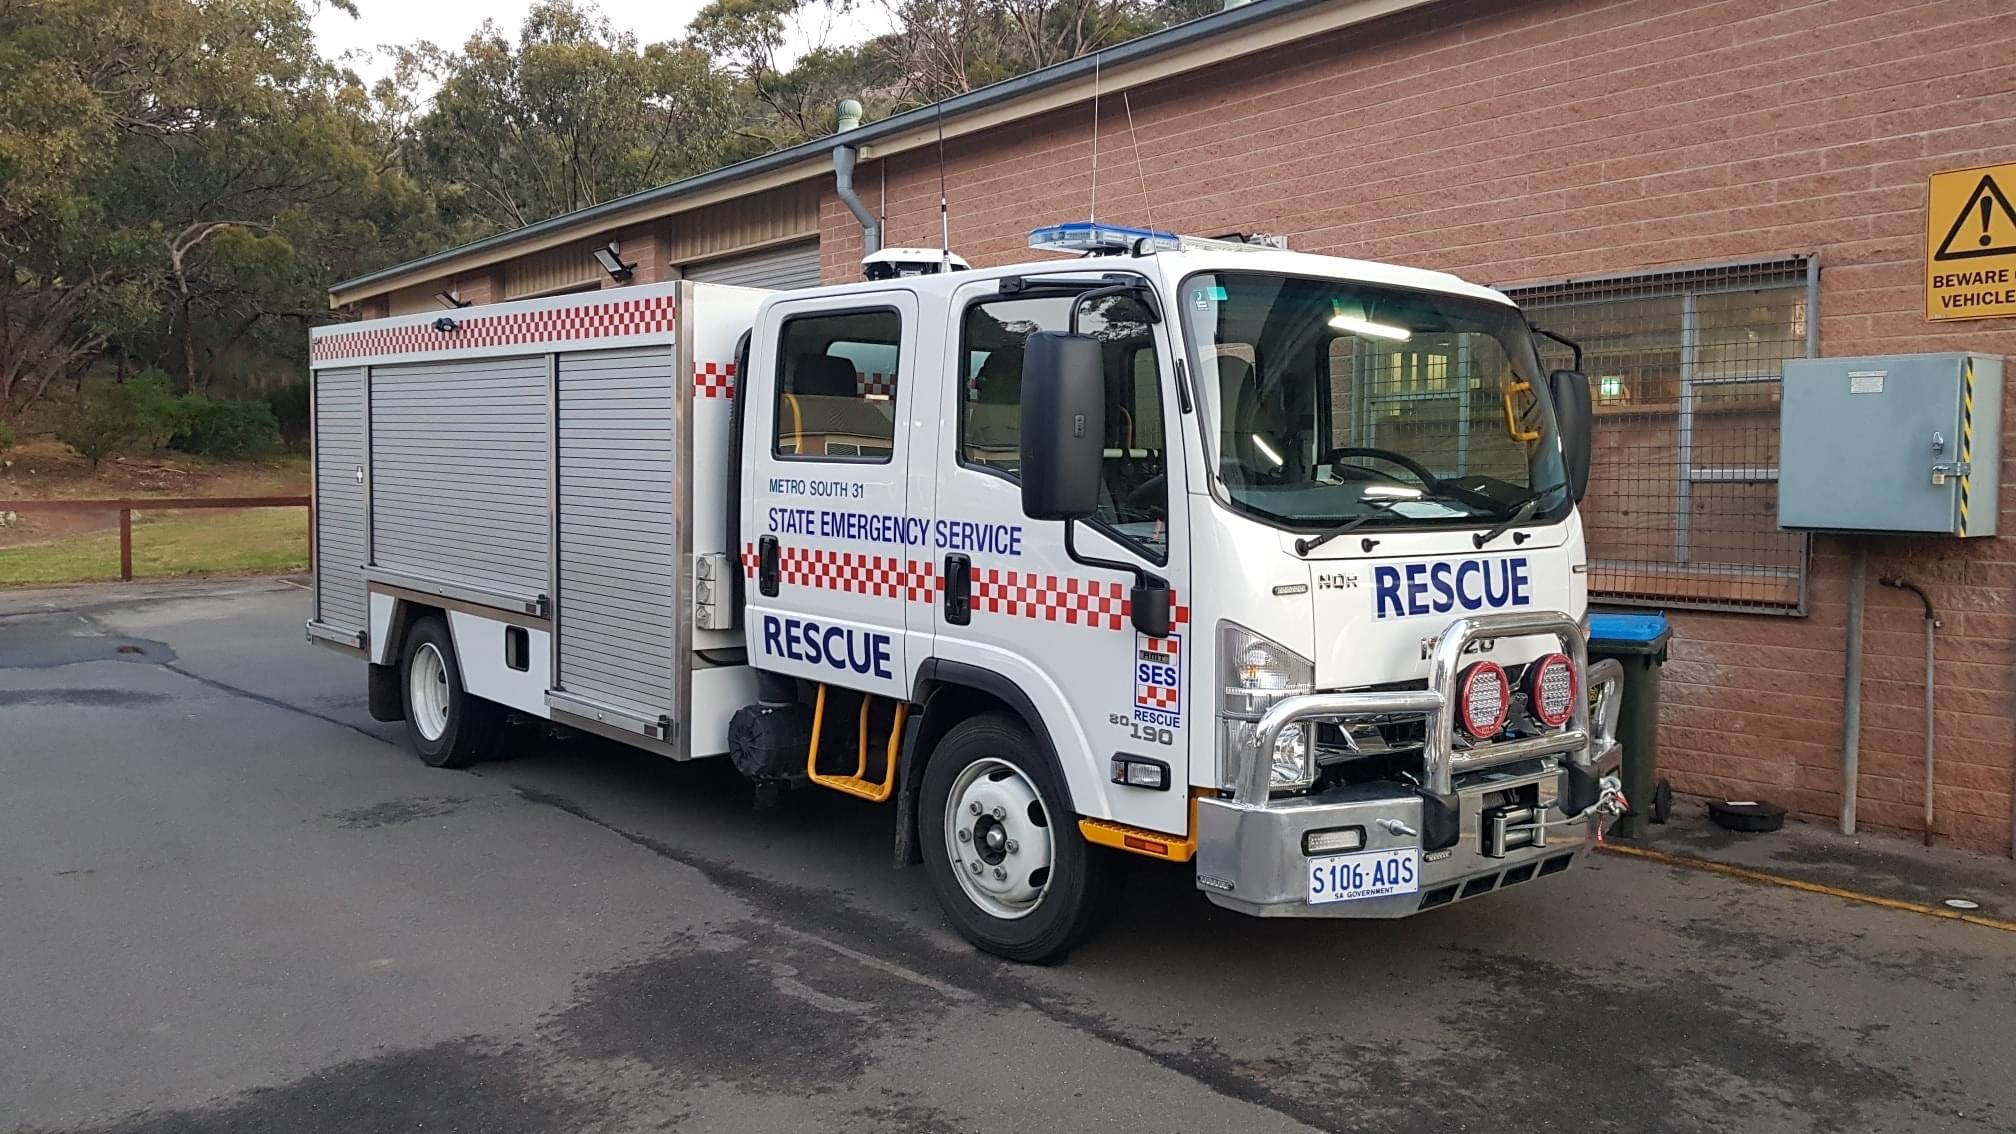 |
| Rescue Vehicle | 28 | 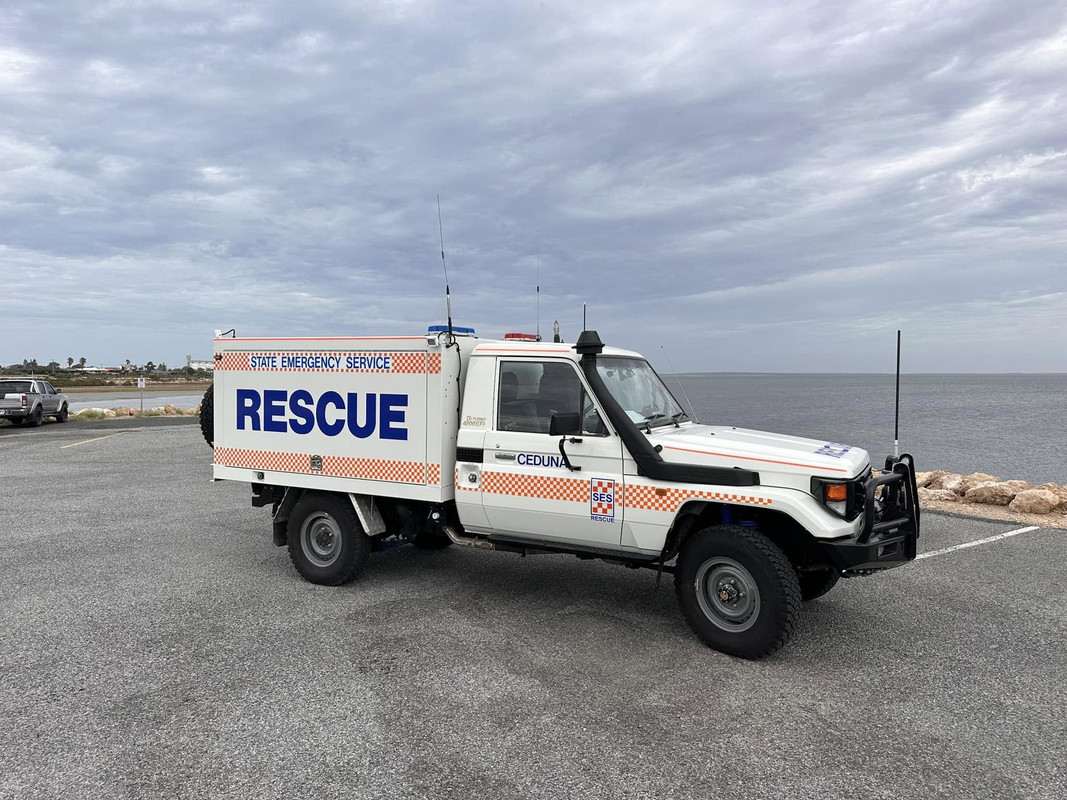 |
| General Purpose Vehicle | 88 | 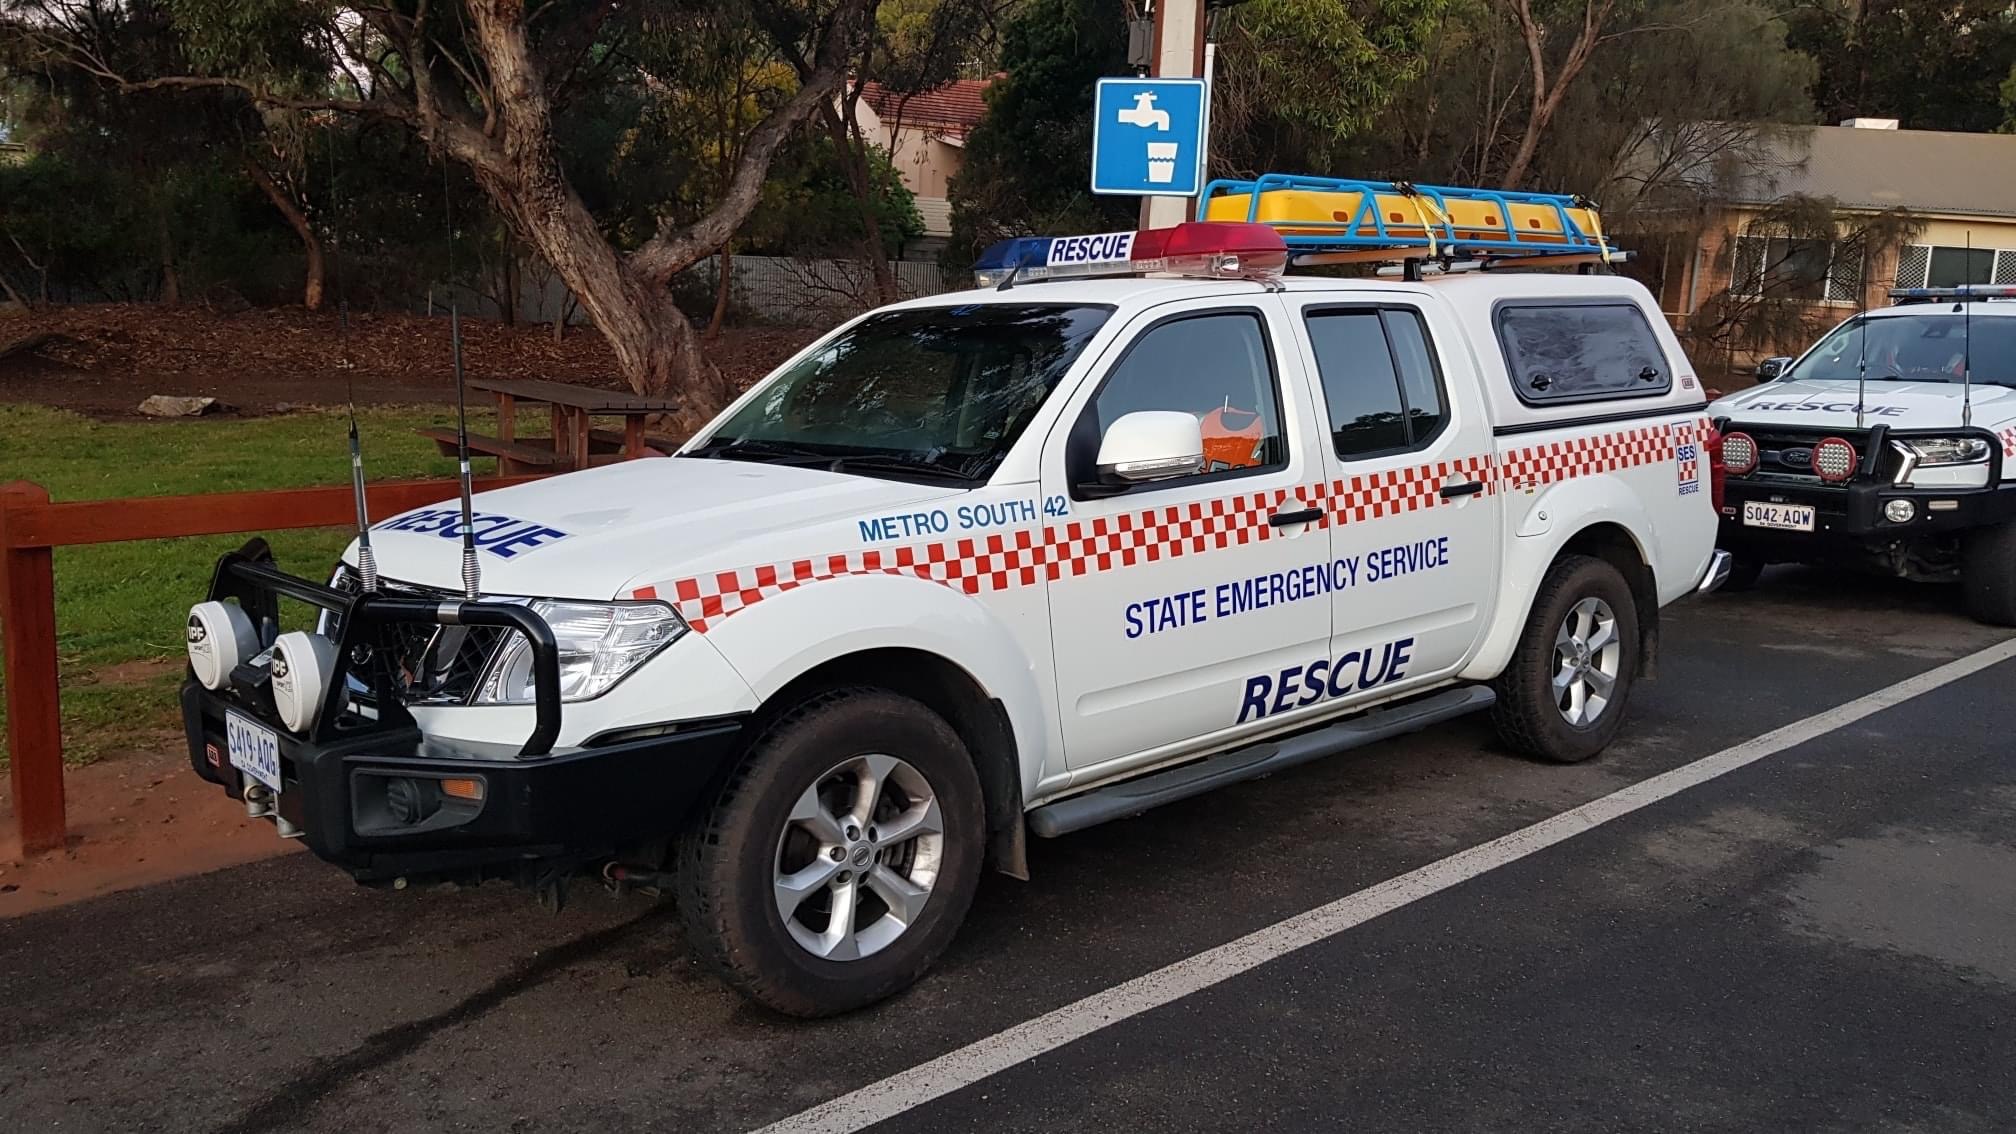 |
| Storm Response Vehicle | 1 | 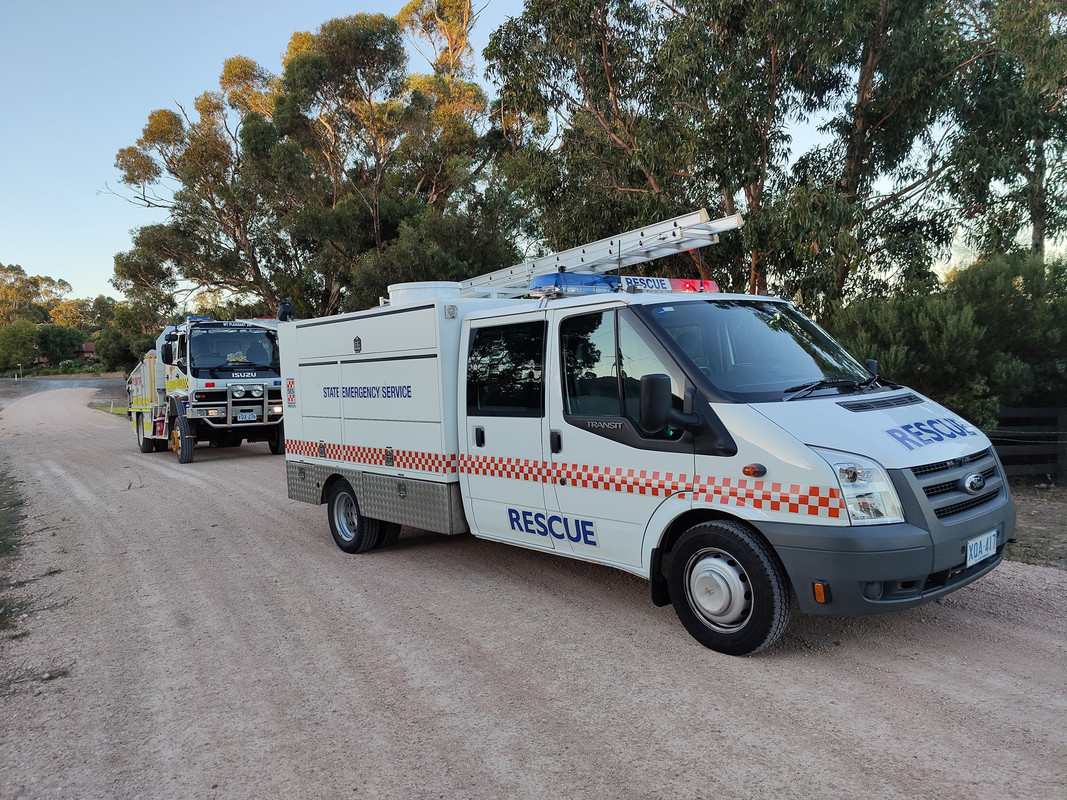 |
| Command Vehicle | 8 | 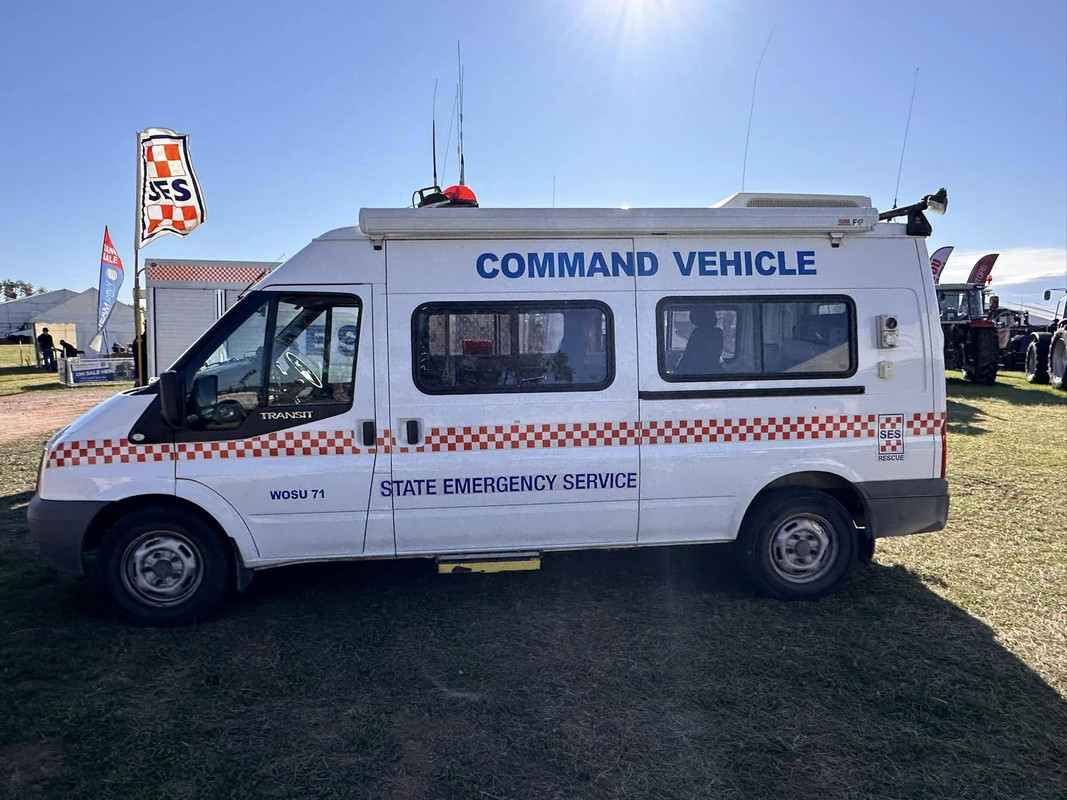 |
| Logistics Truck | 5 | 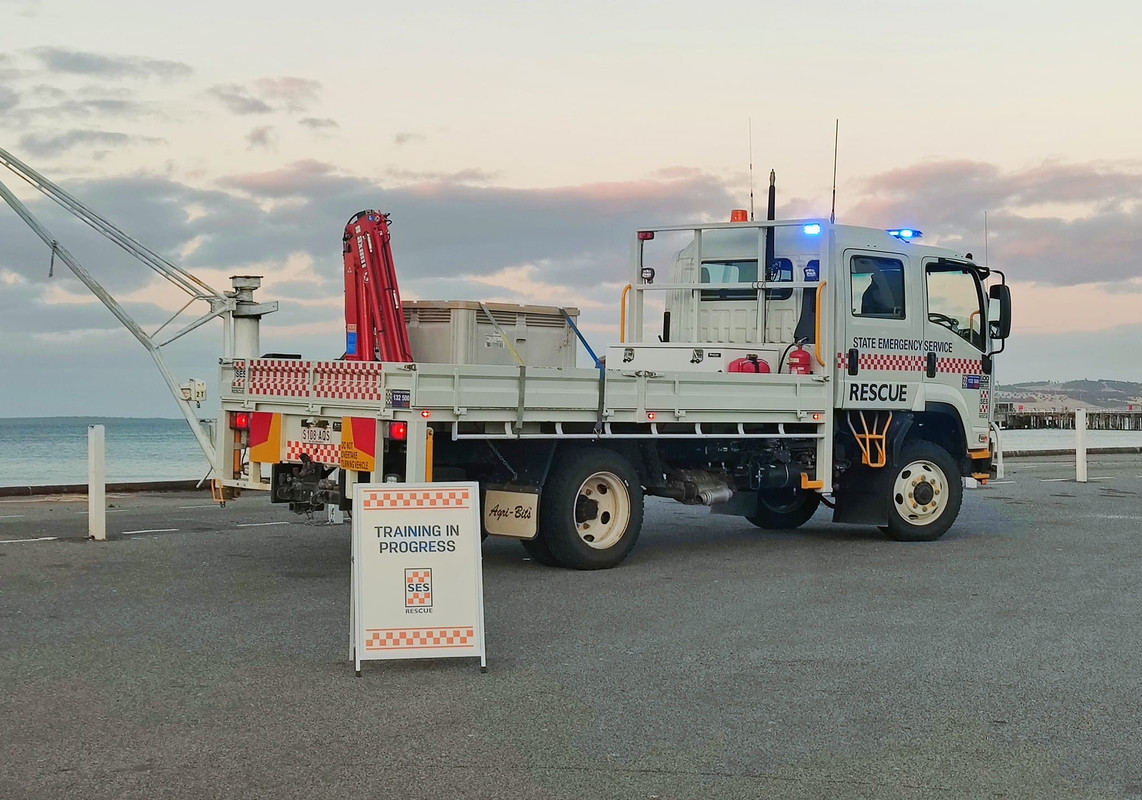 |
| All-Terrain Vehicle | 13 | 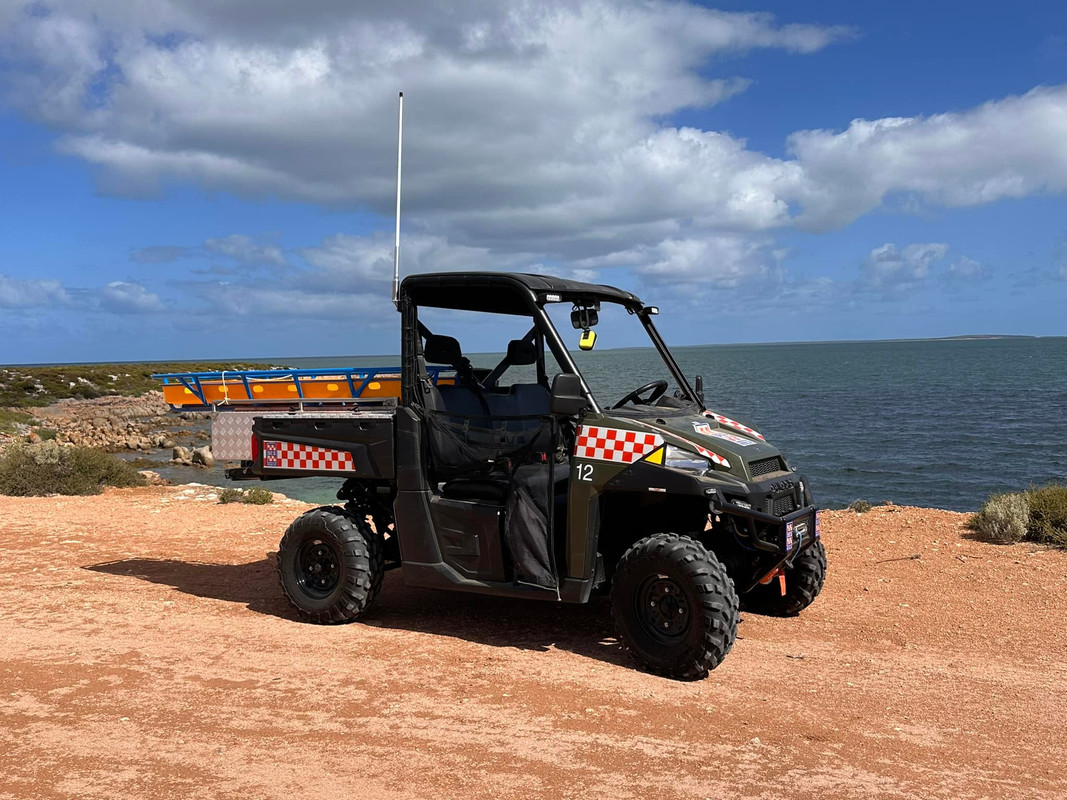 |
| Motorcycles | 4 |  |
| Flood Boat | 7 |  |
| SES Marine Rescue Boat | 5 | 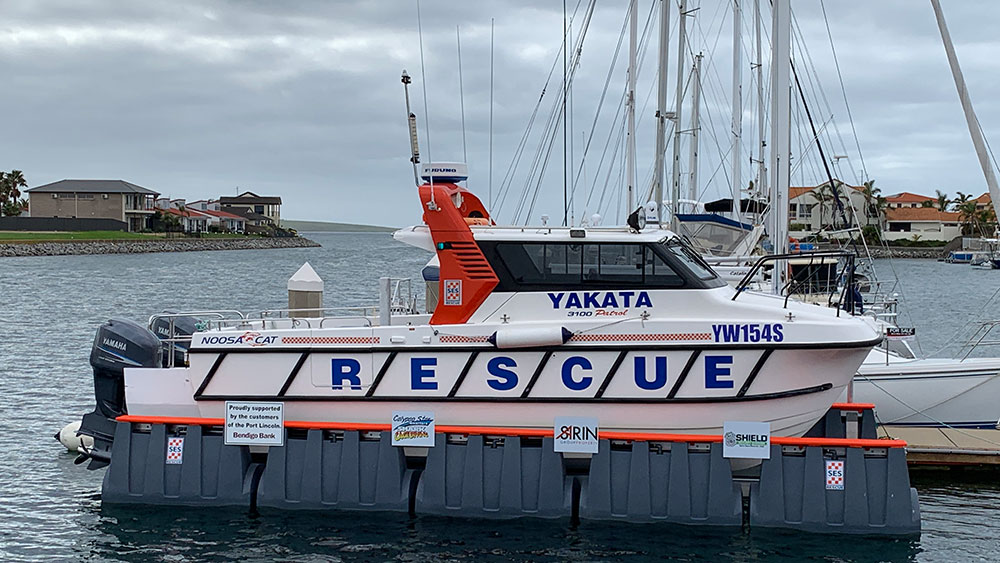 |
| Large Marine Rescue Boat |  | |
| Small Marine Rescue Boat | 6 |  |
| Marine Rescue Logistics Truck |  | |
| Marine Rescue Command Vehicles |  |
| Unit: | Size: | Base: |
|---|---|---|
| State Headquarters | 25x Rescue Volunteers | Keswick Terminal |
| State Operations and Support Unit | 35x Rescue Volunteers, 1x Rescue Vehicle, 1x Command Vehicle, 2x Logistics Trucks | Netley |
| Dog Operations Unit | 30x Rescue Volunteers, 2x Rescue Vehicles, 1x Command Vehicle | Norwood |
| Community Engagement Unit | 25x Rescue Volunteers, 1x Rescue Vehicle, 1x Command Vehicle | Netley |
| Unit: | Size: | Base: |
|---|---|---|
| South Region Operations and Support Unit | 55x Rescue Volunteers, 7x General Purpose Vehicles, 1x Command Vehicle | Netley |
| Unit: | Size: | Base: |
|---|---|---|
| Sturt Unit | 40x Rescue Volunteers, 3x Rescue Trucks, 2x General Purpose Vehicles | Coromandel Valley |
| Metro South Unit | 30x Rescue Volunteers, 2x Rescue Trucks, 2x General Purpose Vehicles | Lynton |
| Noarlunga Unit | 30x Rescue Volunteers, 2x Rescue Trucks, 1x Rescue Vehicle, 1x General Purpose Vehicle | Lonsdale |
| Western Adelaide Unit | 30x Rescue Volunteers, 2x Rescue Trucks, 1x Rescue Vehicle, 1x General Purpose Vehicle | Netley |
| Eastern Suburbs Unit | 30x Rescue Volunteers, 2x Rescue Trucks, 2x General Purpose Vehicles | Norwood |
| Mount Barker Unit | 25x Rescue Volunteers, 2x Rescue Trucks, 1x General Purpose Vehicle | Mount Barker |
| Unit: | Size: | Base: |
|---|---|---|
| Tea Tree Gully Unit | 40x Rescue Volunteers, 2x Rescue Trucks, 1x Storm Response Vehicle, 2x General Purpose Vehicles | St Agnes |
| Prospect Unit | 35x Rescue Volunteers, 2x Rescue Trucks, 2x General Purpose Vehicles, 1x All-Terrain Vehicle | Dudley Park |
| Campbelltown Unit | 30x Rescue Volunteers, 2x Rescue Trucks, 2x General Purpose Vehicles | Campbelltown |
| Enfield Unit | 30x Rescue Volunteers, 2x Rescue Trucks, 2x General Purpose Vehicles | Northfield |
| Gawler Unit | 25x Rescue Volunteers, 2x Rescue Trucks, 1x General Purpose Vehicle | Willaston |
| Salisbury Unit | 20x Rescue Volunteers, 1x Rescue Truck, 2x General Purpose Vehicles | Salisbury Heights |
| Unit: | Size: | Base: |
|---|---|---|
| Murray Bridge and District Unit | 25x Rescue Volunteers, 1x Rescue Truck, 2x General Purpose Vehicles, 1x Flood Boat | Murray Bridge |
| Yankalilla Unit | 25x Rescue Volunteers, 1x Rescue Truck, 2x General Purpose Vehicles, 1x Small Marine Rescue Boat | Yankalilla |
| Strathalbyn Unit | 25x Rescue Volunteers, 1x Rescue Truck, 2x General Purpose Vehicles, 1x All-Terrain Vehicle | Strathalbyn |
| Kangaroo Island Unit | 25x Rescue Volunteers, 1x Rescue Truck, 1x Rescue Vehicle, 1x General Purpose Vehicle, 1x All-Terrain Vehicle | Kingscote |
| Meningie Unit | 20x Rescue Volunteers, 1x Rescue Truck, 1x General Purpose Vehicle, 1x Flood Boat | Meningie |
| South Coast Unit | 15x Rescue Volunteers, 1x Rescue Truck, 1x Rescue Vehicle | Port Elliot |
| Unit: | Size: | Base: |
|---|---|---|
| South East Operations and Support Unit | 25x Rescue Volunteers, 1x General Purpose Vehicle, 1x Command Vehicle | Naracoorte |
| Kingston Unit | 35x Rescue Volunteers, 1x Rescue Truck, 1x Rescue Vehicle, 1x General Purpose Vehicle, 1x Logistics Truck, 1x SES Marine Rescue Boat | Kingston SE |
| Mount Gambier and Districts Unit | 30x Rescue Volunteers, 2x Rescue Trucks, 2x General Purpose Vehicles | Mount Gambier |
| Millicent Unit | 25x Rescue Volunteers, 1x Rescue Truck, 2x General Purpose Vehicles, 1x All-Terrain Vehicle | Millicent |
| Bordertown Unit | 20x Rescue Volunteers, 1x Rescue Truck, 2x General Purpose Vehicles | Bordertown |
| Keith Unit | 15x Rescue Volunteers, 1x Rescue Truck, 1x General Purpose Vehicle | Keith |
| Unit: | Size: | Base: |
|---|---|---|
| Riverland Operations and Support Unit | 25x Rescue Volunteers, 1x General Purpose Vehicle, 1x Command Vehicle | Berri |
| Barmera Unit | 30x Rescue Volunteers, 1x Rescue Truck, 2x General Purpose Vehicles, 1x Flood Boat, 1x All-Terrain Vehicle | Barmera |
| Renmark and Paringa Unit | 25x Rescue Volunteers, 1x Rescue Truck, 1x Rescue Vehicle, 1x General Purpose Vehicle, 1x Flood Boat | Renmark |
| Berri Unit | 25x Rescue Volunteers, 1x Rescue Truck, 2x General Purpose Vehicles, 1x Flood Boat | Berri |
| Loxton Unit | 20x Rescue Volunteers, 1x Rescue Truck, 1x Rescue Vehicle, 1x Flood Boat | Loxton |
| Blanchetown Unit | 20x Rescue Volunteers, 1x Rescue Truck, 1x General Purpose Vehicle, 1x Flood Boat | Blanchetown |
| Unit: | Size: | Base: |
|---|---|---|
| North Region Operations and Support Unit | 70x Rescue Volunteers, 9x General Purpose Vehicles, 1x Command Vehicle, 1x Logistics Truck | Port Pirie South |
| Unit: | Size: | Base: |
|---|---|---|
| Whyalla Unit | 30x Rescue Volunteers, 1x Rescue Truck, 2x Rescue Vehicles, 1x General Purpose Vehicle, 1x All-Terrain Vehicle | Whyalla |
| Hawker and District Unit | 25x Rescue Volunteers, 1x Rescue Truck, 1x Rescue Vehicle, 2x Motorcycles | Hawker |
| Port Augusta Unit | 20x Rescue Volunteers, 1x Rescue Truck, 1x Rescue Vehicle, 1x General Purpose Vehicle | Port Augusta |
| Quorn Unit | 20x Rescue Volunteers, 1x Rescue Truck, 1x General Purpose Vehicle, 1x All-Terrain Vehicle | Quorn |
| Leigh Creek Unit | 15x Rescue Volunteers, 1x Rescue Truck, 1x General Purpose Vehicle | Leigh Creek |
| Wilpena Pound Community Response Team | 5x Rescue Volunteers, 1x Rescue Vehicle | Flinders Ranges |
| Beverley Community Response Team | 5x Rescue Volunteers, 1x Rescue Vehicle | Wooltana |
| Angorichina Community Response Team | 5x Rescue Volunteers, 1x Rescue Vehicle | Parachilna |
| Balcanoona Community Response Team | 5x Rescue Volunteers, 1x Rescue Vehicle | Gammon Ranges |
| Wirrealpa Community Response Team | 5x Rescue Volunteers, 1x Rescue Vehicle | Wirrealpa |
| Unit: | Size: | Base: |
|---|---|---|
| Eyre and West Operations and Support Unit | 25x Rescue Volunteers, 1x General Purpose Vehicle, 1x Command Vehicle | Port Lincoln |
| Ceduna Unit | 45x Rescue Volunteers, 1x Rescue Truck, 1x Rescue Vehicle, 2x General Purpose Vehicles, 1x All-Terrain Vehicle, 1x SES Marine Rescue Boat, 1x Small Marine Rescue Boat | Ceduna |
Port Lincoln Unit
| 40x Rescue Volunteers, 1x Rescue Truck, 2x General Purpose Vehicles, 1x Logistics Truck, 1x SES Marine Rescue Boat, 1x Small Marine Rescue Boat | Port Lincoln |
| Tumby Bay Unit | 35x Rescue Volunteers, 1x Rescue Truck, 1x General Purpose Vehicle, 1x All-Terrain Vehicle, 1x SES Marine Rescue Boat, 1x Small Marine Rescue Boat | Tumby Bay |
| Cleve Unit | 15x Rescue Volunteers, 1x Rescue Truck, 1x Rescue Vehicle | Cleve |
| Streaky Bay Unit | 15x Rescue Volunteers, 1x Rescue Truck, 1x General Purpose Vehicle | Streaky Bay |
| Kimba Unit | 15x Rescue Volunteers, 1x Rescue Truck, 1x Rescue Vehicle | Kimba |
| Cummins Unit | 10x Rescue Volunteers, 1x Rescue Truck | Cummins |
| Nullarbor Community Response Team | 5x Rescue Volunteers, 1x General Purpose Vehicle | Nullarbor |
| Unit: | Size: | Base: |
|---|---|---|
| Port Pirie Unit | 40x Rescue Volunteers, 1x Rescue Truck, 2x General Purpose Vehicles, 1x All-Terrain Vehicle, 1x Small Marine Rescue Boat, 1x SES Marine Rescue Boat | Port Pirie South |
| Kapunda Unit | 30x Rescue Volunteers, 2x Rescue Trucks, 1x Rescue Vehicle, 1x All-Terrain Vehicle | Kapunda |
| Clare Unit | 25x Rescue Volunteers, 2x Rescue Trucks, 1x General Purpose Vehicle | Clare |
| Booleroo Centre Unit | 25x Rescue Volunteers, 1x Rescue Truck, 1x Rescue Vehicle, 2x Motorcycles | Booleroo Centre |
| Laura Unit | 20x Rescue Volunteers, 1x Rescue Truck, 1x General Purpose Vehicle, 1x All-Terrain Vehicle | Laura |
| Burra Unit | 15x Rescue Volunteers, 1x Rescue Truck, 1x General Purpose Vehicle | Burra |
| Snowtown Unit | 15x Rescue Volunteers, 1x Rescue Truck, 1x General Purpose Vehicle | Snowtown |
| Spalding Unit | 15x Rescue Volunteers, 1x Rescue Truck, 1x General Purpose Vehicle | Spalding |
| Hallett Unit | 15x Rescue Volunteers, 1x Rescue Truck, 1x General Purpose Vehicle | Hallett |
| Saddleworth and District Unit | 10x Rescue Volunteers, 1x Rescue Truck | Saddleworth |
| Unit: | Size: | Base: |
|---|---|---|
| Port Broughton Unit | 30x Rescue Volunteers, 2x Rescue Trucks, 1x General Purpose Vehicle, 1x Small Marine Rescue Boat | Port Broughton |
| Maitland Unit | 20x Rescue Volunteers, 1x Rescue Truck, 2x General Purpose Vehicles | Maitland |
| Warooka Unit | 20x Rescue Volunteers, 1x Rescue Truck, 1x General Purpose Vehicle, 1x All-Terrain Vehicle | Warooka |
| Copper Coast Unit | 15x Rescue Volunteers, 1x Rescue Truck, 1x General Purpose Vehicle | Kadina |
| Unit: | Size: | Base: |
|---|---|---|
| Coober Pedy Mine Rescue/SES Unit | 35x Rescue Volunteers, 3x Rescue Trucks, 1x General Purpose Vehicle | Coober Pedy |
| Roxby Downs Unit | 15x Rescue Volunteers, 1x Rescue Truck, 1x General Purpose Vehicle | Roxby Downs |
| Marla Unit | 15x Rescue Volunteers, 1x Rescue Truck, 1x General Purpose Vehicle | Marla |
| Andamooka Unit | 10x Rescue Volunteers, 2x Rescue Vehicles | Andamooka |
| Innamincka Community Response Team | 5x Rescue Volunteers, 1x Rescue Vehicle | Innamincka |
 |
NOTE: SES units at Ceduna, Port Lincoln, Port Pirie, Tumby Bay and Kingston SE also provide volunteer marine rescue services for offshore incidents. Yankalilla and Port Broughton SES units provide an inshore response only. Inland marine rescue services are provided by SES units at Renmark, Loxton, Berri, Murray Bridge, Blanchetown, Meningie and Barmera. |
 |  |
| Unit: | Size: | Base: |
|---|---|---|
| North Haven Flotilla | North Haven | |
| O'Sullivans Beach Flotilla | Lonsdale | |
| Port Augusta Flotilla | Port Augusta West | |
| Port Vincent Flotilla | Port Vincent | |
| Kangaroo Island Flotilla | Brownlow Ki |
 |
| Unit: | Size: | Base: |
|---|---|---|
| Adelaide Shores Flotilla | West Beach | |
| Copper Coast Flotilla | Wallaroo | |
| Edithburgh Flotilla | Edithburgh | |
| Wirrina Flotilla | Normanville |
 |  |
| Unit: | Size: | Base: |
|---|---|---|
| Port Victoria Division | 2x Large Marine Rescue Boats, 1x Small Marine Rescue Boat, 2x Logistics Trucks | Port Victoria |
| Point Turton Division | 2x Large Marine Rescue Boats, 2x Logistics Truck | Point Turton |
| Unit: | Size: | Base: | Crest: |
|---|---|---|---|
| Cowell Sea Rescue Squadron | 1x Large Marine Rescue Boat, 1x Logistics Truck | Cowell |  |
| Victor Harbor-Goolwa Sea Rescue Squadron | 1x Large Marine Rescue Boat, 1x Logistics Truck, 1x Marine Rescue Command Vehicle | Victor Harbor |  |
| Whyalla Sea Rescue Squadron | 1x Large Marine Rescue Boat, 1x Logistics Truck | Whyalla |  |
 |
| Type: | Amount: | Image: |
|---|---|---|
| Park Rangers | 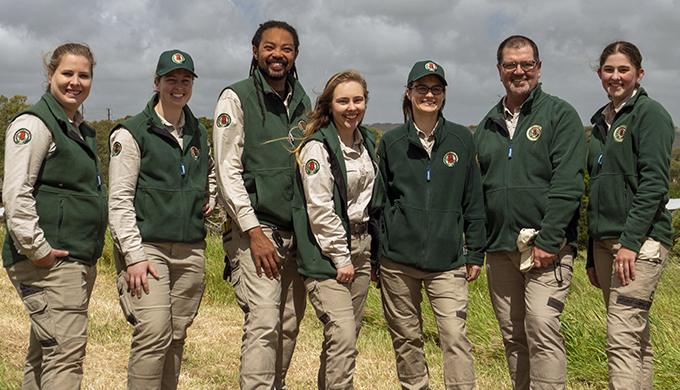 | |
| Firefighters |  |
| Type: | Amount: | Image: |
|---|---|---|
| Patrol Cars | ||
| Heavy Tanker | 20 | |
| Light Tanker | 10 | |
| Light Unit | 35 | |
| Command Vehicle | 15 | |
| Bulk Water Carrier | 10 |
| Unit: | Size: | Base: |
|---|---|---|
| Adelaide and Mount Lofty Ranges Fire Management Unit | 14x Heavy Tankers, 3x Light Tankers, 15x Light Units, 6x Command Vehicles, 3x Bulk Water Carriers | Athelstone |
| Eyre and Far West Fire Management Unit | 1x Heavy Tanker, 5x Light Units, 2x Command Vehicles, 1x Bulk Water Carrier | Port Lincoln |
| Flinders and Outback Fire Management Unit | 3x Heavy Tankers, 2x Light Units, 2x Bulk Water Carriers | Mambray Creek |
| Kangaroo Island Fire Management Unit | 1x Heavy Tanker, 1x Light Tanker, 3x Light Units, 1x Command Vehicle, 1x Bulk Water Carrier | Kingscote |
| Limestone Coast Fire Management Unit | 2x Light Tankers, 4x Light Units, 2x Command Vehicles, 1x Bulk Water Carrier | Naracoorte |
| Riverland and Murraylands Fire Management Unit | 2x Light Tankers, 3x Light Units, 1x Command Vehicle, 1x Bulk Water Carrier | Berri |
| Yorke and Mid North Fire Management Unit | 1x Heavy Tanker, 2x Light Tankers, 3x Light Units, 3x Command Vehicles, 1x Bulk Water Carrier | Clare |
...
| Type: | Amount: | Image: |
|---|---|---|
| Forestry Rangers (all firefighting accredited) | 100 |  |
| Type: | Amount: | Image: |
|---|---|---|
| FireKing | 15 | 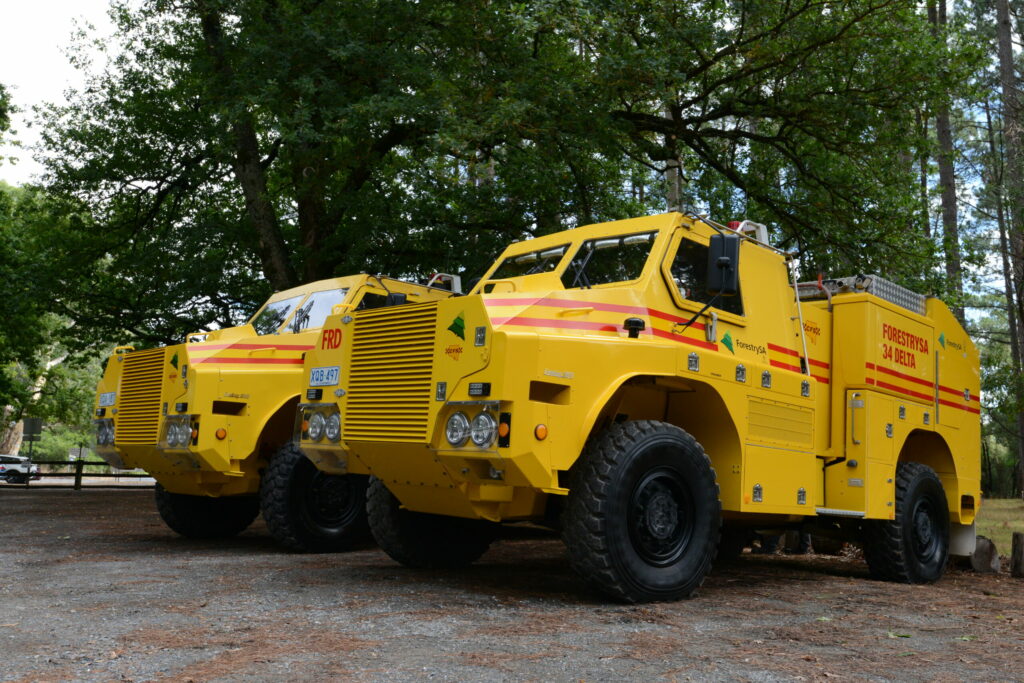 |
| Heavy Tanker | 10 | |
| Medium Tanker | 6 | |
| Light Unit | 5 | |
| Command Vehicle | 10 | |
| Bulk Water Carrier | 10 |
| Station: | Size: | Location: | Forests Managed: | Fire Towers: |
|---|---|---|---|---|
| Mount Gambier Forest Fire Station | 35x Forestry Rangers, 7x FireKings, 6x Heavy Tankers, 3x Medium Tankers, 5x Command Vehicles, 2x Light Units, 5x Bulk Water Carriers | Mount Gambier |
|
|
| Penola Forest Fire Station | 10x Forestry Rangers, 2x Heavy Tankers, 1x Medium Tanker, 1x Light Unit | Penola |
|
|
| Station: | Size: | Location: | Forests Managed: | Fire Towers: |
|---|---|---|---|---|
| Mount Crawford Forest Fire Station | 15x Forestry Rangers, 3x FireKings, 1x Light Unit, 1x Command Vehicle, 1x Bulk Water Carrier | Williamstown |
|
|
| Southern Hills Forest Fire Station | 15x Forestry Rangers, 3x FireKings, 3x Command Vehicles, 2x Bulk Water Carriers | Meadows |
|
|
| State Flora Fire Station | 10x Forestry Rangers, 2x Medium Tankers, 1x Bulk Water Carrier | Murray Bridge |
|
|
| Station: | Size: | Location: | Forests Managed: | Fire Towers: |
|---|---|---|---|---|
| Jamestown Forest Fire Station | 15x Forestry Rangers, 2x FireKings, 2x Heavy Tankers, 1x Light Unit, 1x Command Vehicle, 1x Bulk Water Carrier | Jamestown |
|
|
| Type: | Amount: | Image: |
|---|---|---|
| Emergency Services Officers | 30 | 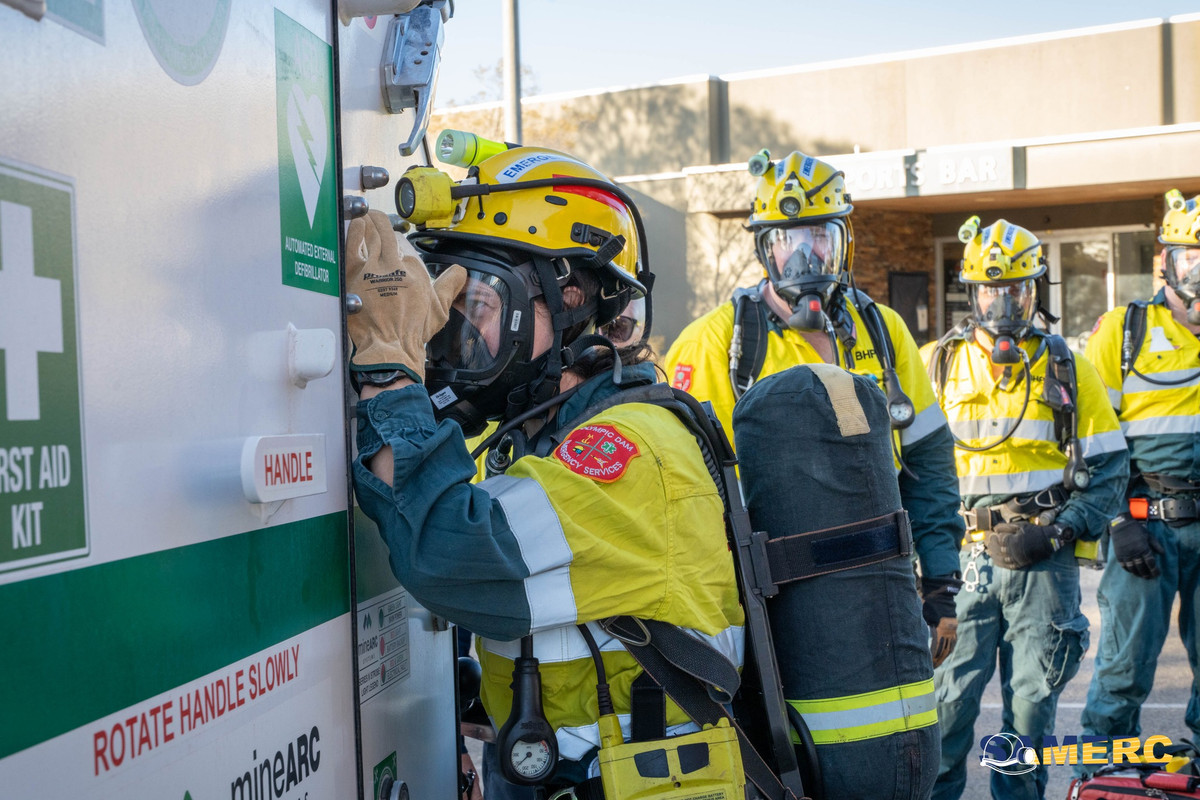 |
| Type: | Amount: | Image: |
|---|---|---|
| Heavy Pumper | 1 |  |
| Light Pumper | 2 | |
| Ambulance | 2 | 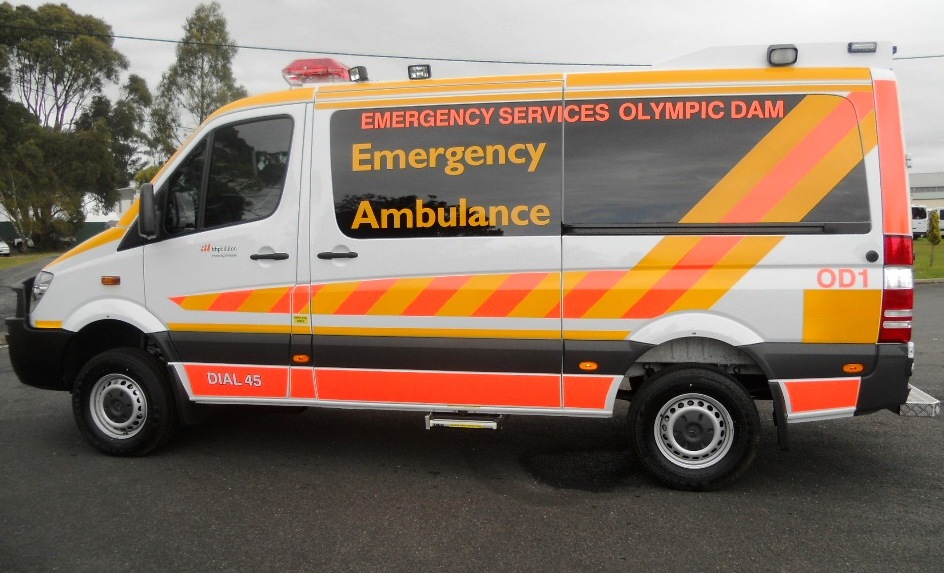 |
| 4WD Ambulance | 1 |  |
| Rescue Truck | 1 | |
| HAZMAT Response Vehicle | 1 |  |
 |  |
 |
...
...
...
...
...
...
Last edited: