- Jul 2, 2018
- 2,704
 |
OPERATION ACCORDION II |
DECLASSIFIED |
 |
Objective: | Defend the State of Israel. Free Turkish Jews from captivity. |
Date: | 6 January 2000 - 6 June 2000 |
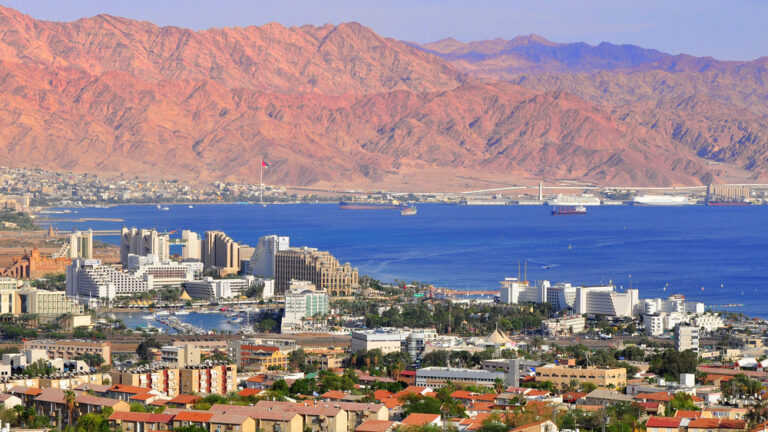
Location: | Israel, Palestine, Turkey, Saudi Arabia, the Red Sea, the Mediterranean Sea |
Status: | Australian/Coalition victory:
|
BELLIGERENTS |

Support: 


| 

|
COMMANDERS AND LEADERS |


|
|
STRENGTH |
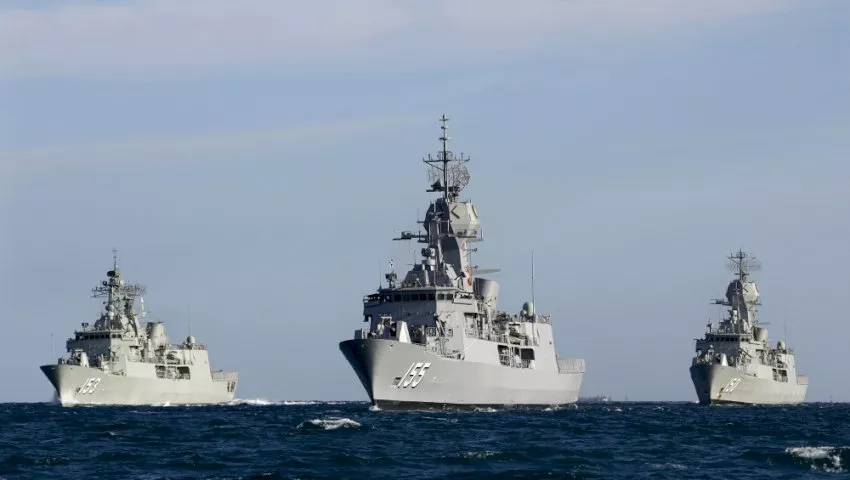
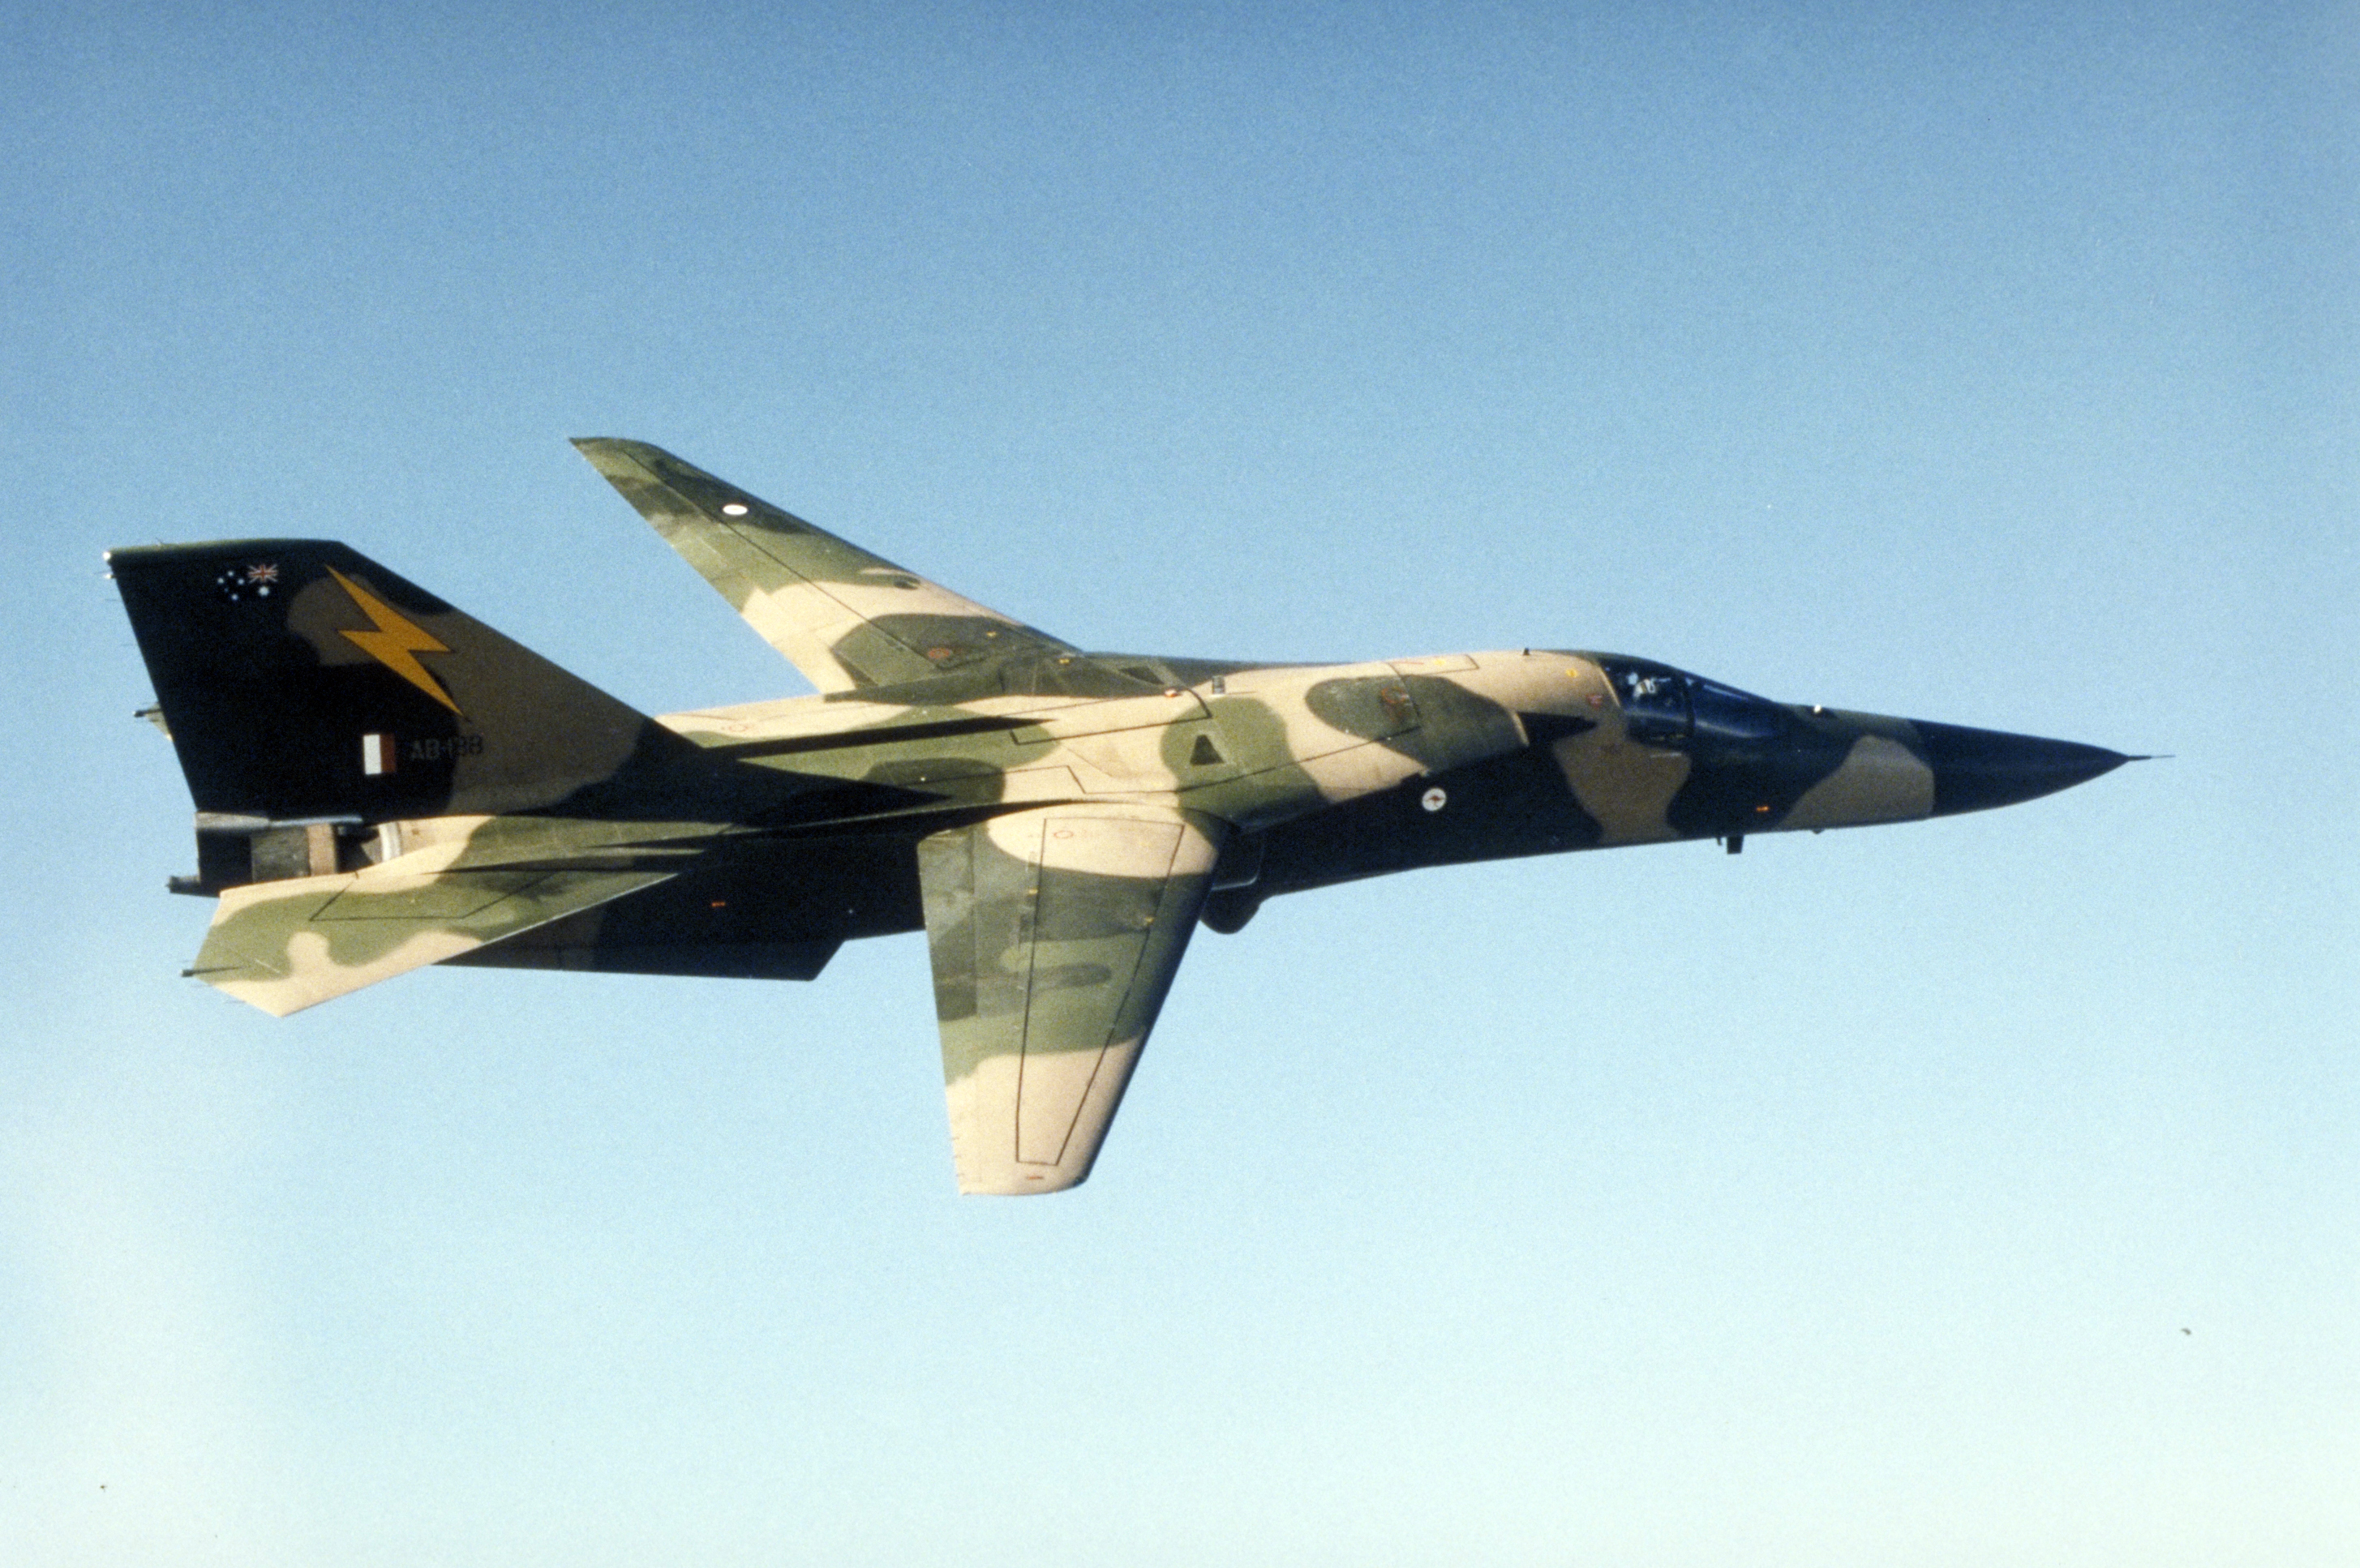
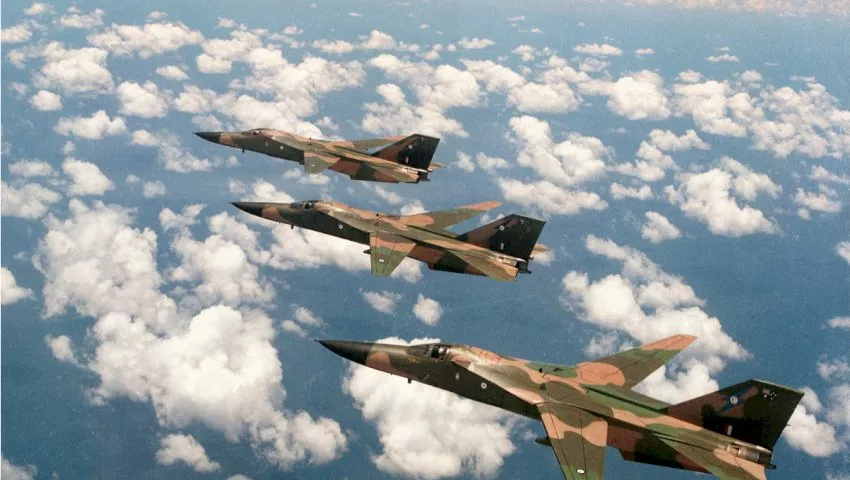
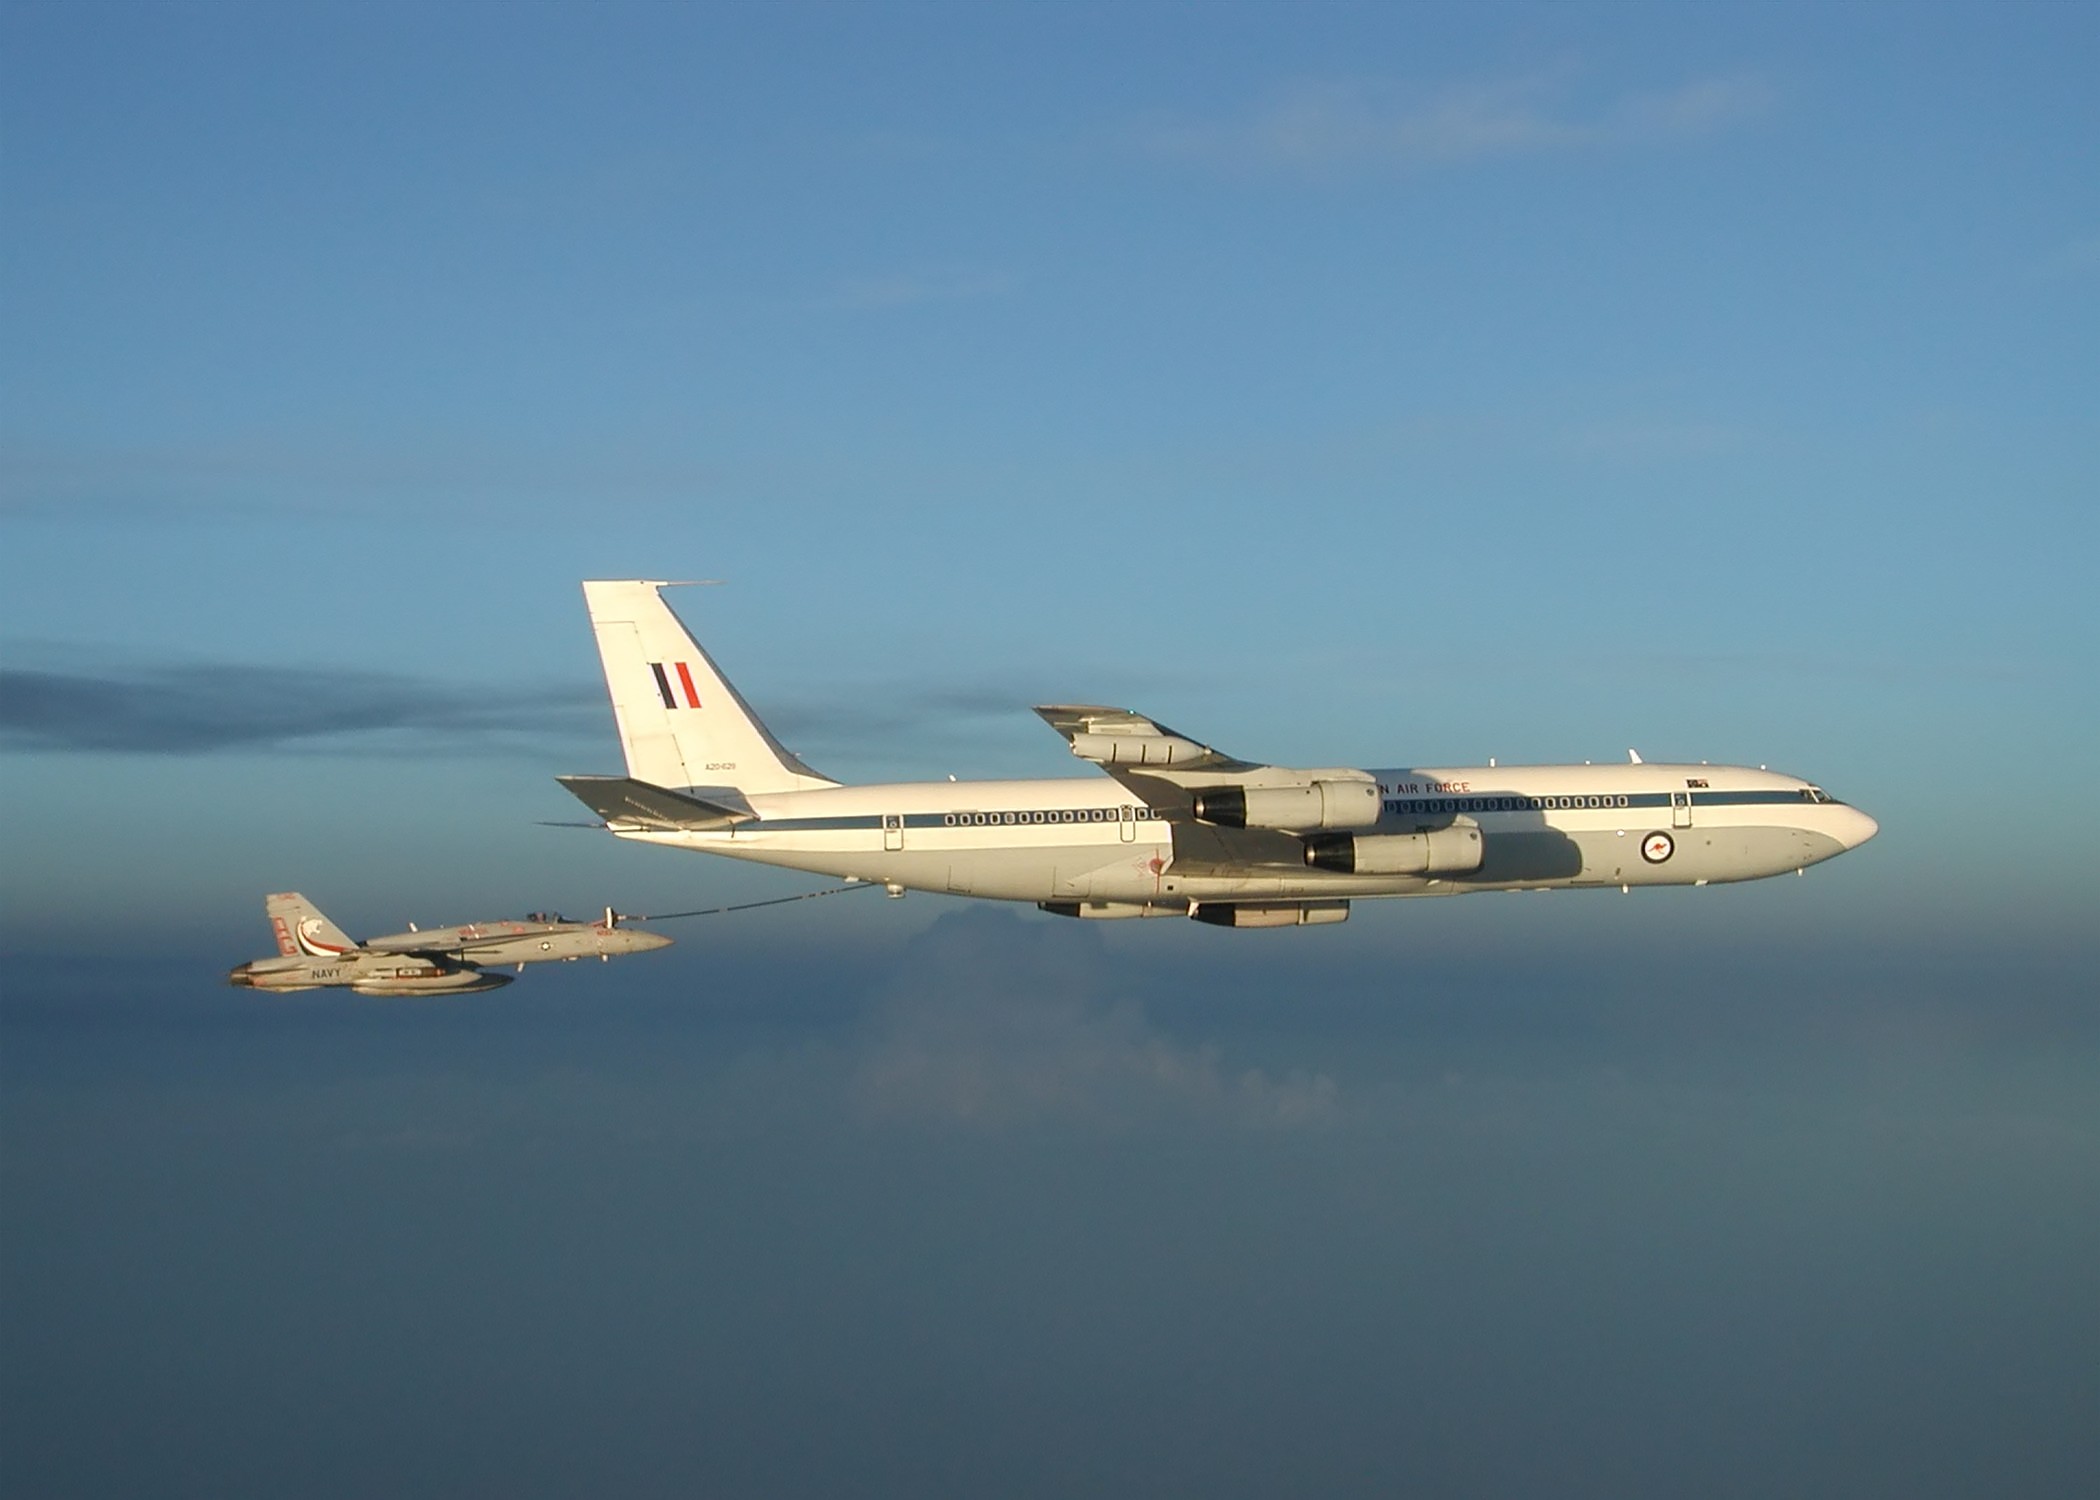
600 special forces 100 navy clearance divers 32 reconnaissance vehicles 25 F/A-18 Hornets 12 F-111C Aardvarks 4 Boeing 707s 3 Locheed AP-3C Orions 2 Kanimbla-class Landing Ships 3 Collins-class Submarines 2 Perth-class Destroyers 4 Anzac-class Frigates 3 Adelaide-class Frigates 2 Huon-class Minesweepers | Unknown |
CASUALTIES AND LOSSES |
None | Saudi Arabia: 6,800 soldiers killed 24 soldiers captured 200 main battle tanks destroyed 6 armored personnel carriers destroyed 70 multiple-launched rocket launchers destroyed 20 surface-to-air missile systems destroyed 5 destroyers sunk 4 frigates sunk 61 aircraft destroyed |
Last edited: